How to replace a broken laptop screen
A cracked screen can make a laptop unusable. Luckily, you can fix it. Bill Detwiler gives you step-by-step instructions for replacing a broken laptop LCD panel.

Whether it's cracked or has one too many blown pixels, a broken laptop display can stop you dead in your tracks. But with the right tools, a little technical know-how, and a bit of patience you can replace a damaged LCD.
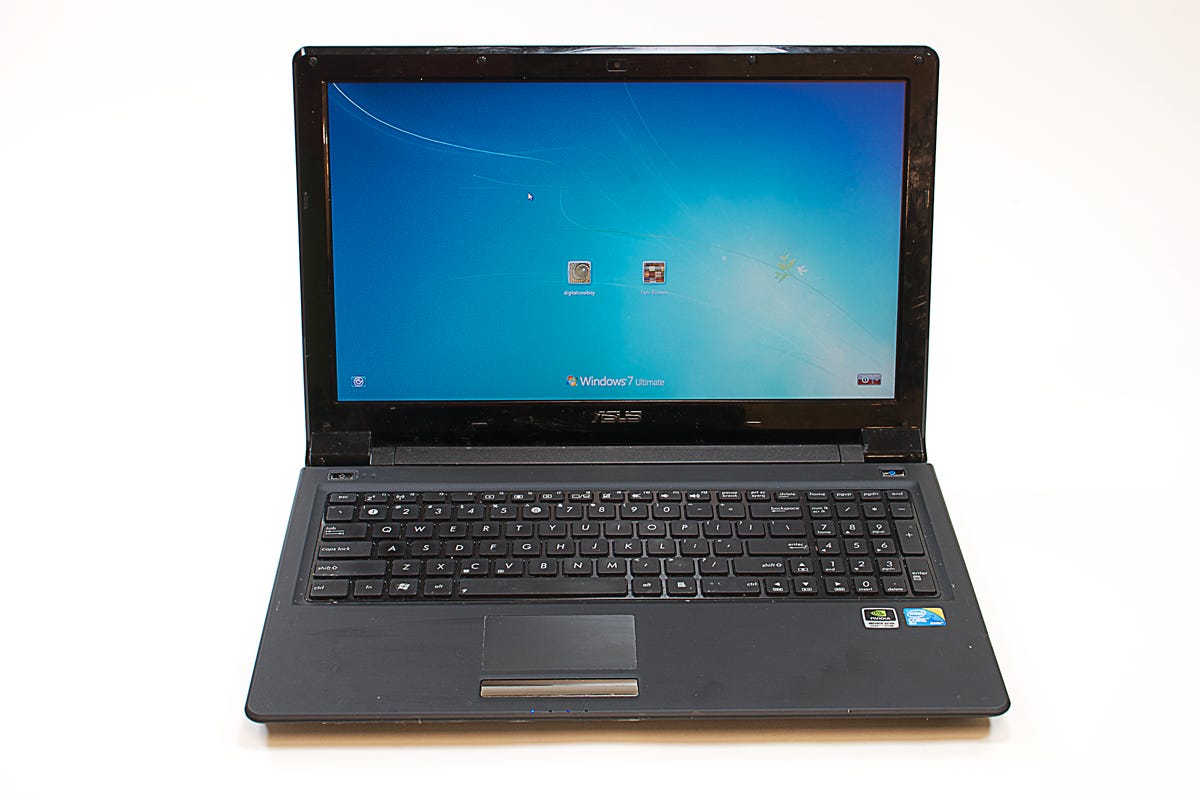
Note: In this article, I show you how to replace the screen on an Asus UL50V notebook, which has an LED-backlit LCD. Depending on the make and model of your laptop, the internal hardware and specific steps may vary. The general process, however, should be the same.

Should you try this fix?
If accidental damage is covered under your laptop's warranty, don't do this fix yourself. Get the laptop repaired under the warranty.
I also suggest you watch my earlier video on what to know before trying to fix a smartphone or tablet. It's not specifically about laptops, but the information is still relevant, and it will help you decide if you should repair the machine yourself or take it to a shop.
Lastly, understand that if you follow the instructions in this video, you do so at your own risk. Neither CNET nor any of its representatives can be held responsible for injury, damage, or loss of data.
Getting a replacement screen and tools
To begin your fix, you'll need a few simple tools and a replacement LCD screen. For tools, I recommend a screwdriver set with a variety of small bits, such as a Phillips #00 and a Torx T5. It's also a good idea to have a few thin metal blades or plastic spudgers. These are really handy for removing the trim that surrounds the screen.
As for the replacement LCD, you should be able to buy one either from the laptop manufacturer's authorized parts dealer or a third-party supplier. Depending on the screen, they usually cost between $50 and $250 dollars -- more if it's a high-end display or if you buy an OEM replacement. Regardless, you'll want to buy a new screen that matches your broken one exactly. The only sure way to do this is to remove the broken one.
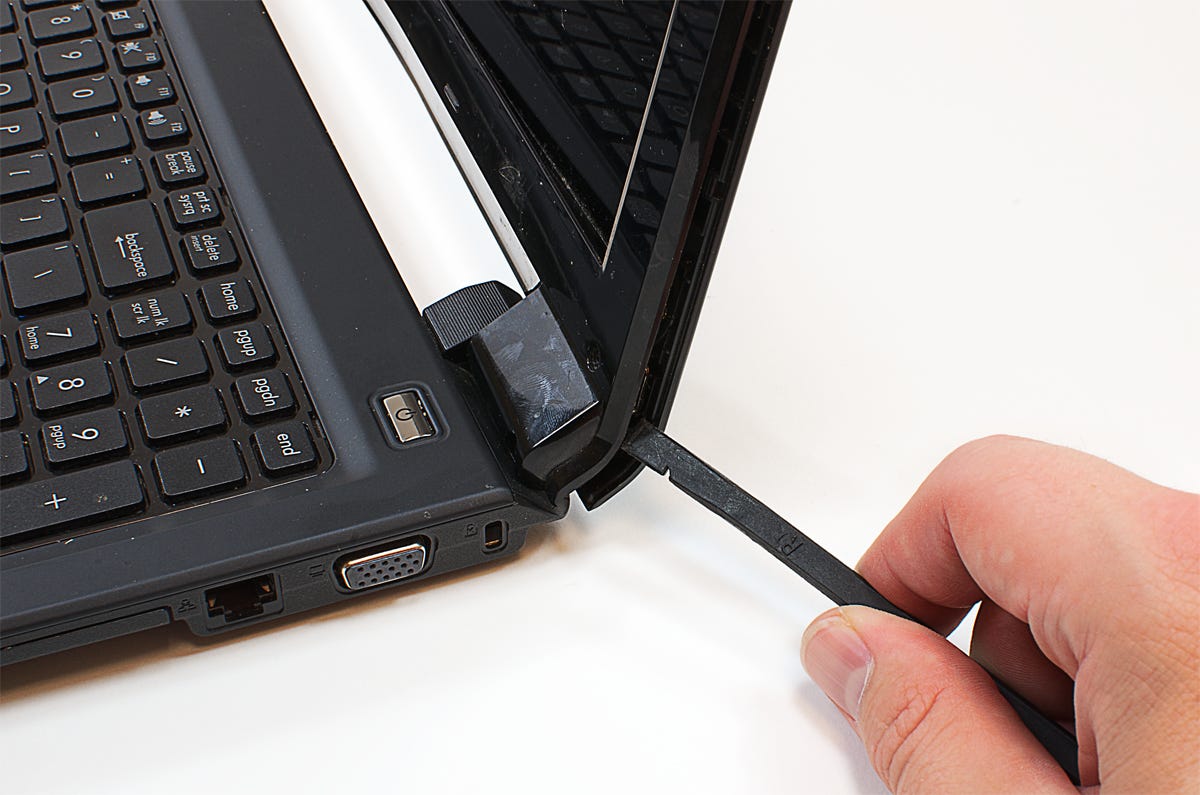
1. Remove the screen bezel
After disconnecting the power supply and removing the battery, carefully examine the bezel around the screen. You'll need to remove this bezel to access the screws that hold the LCD panel in place.

On this laptop, several rubber cushions hide screws, which hold the bezel in place. I'll need to remove these cushions and the screws that are underneath.
With the hidden screws removed, I use a thin metal blade to pop loose one of the bottom corners, and work my way around the bezel with a plastic spudger.
Note: Your laptop may not have cushions or hidden screws. The bezel may simply snap onto the lid or be held in place with double-sided tape. Just adapt my instructions to fit your specific laptop.
Regardless of how you do it, you'll need to completely remove the bezel.
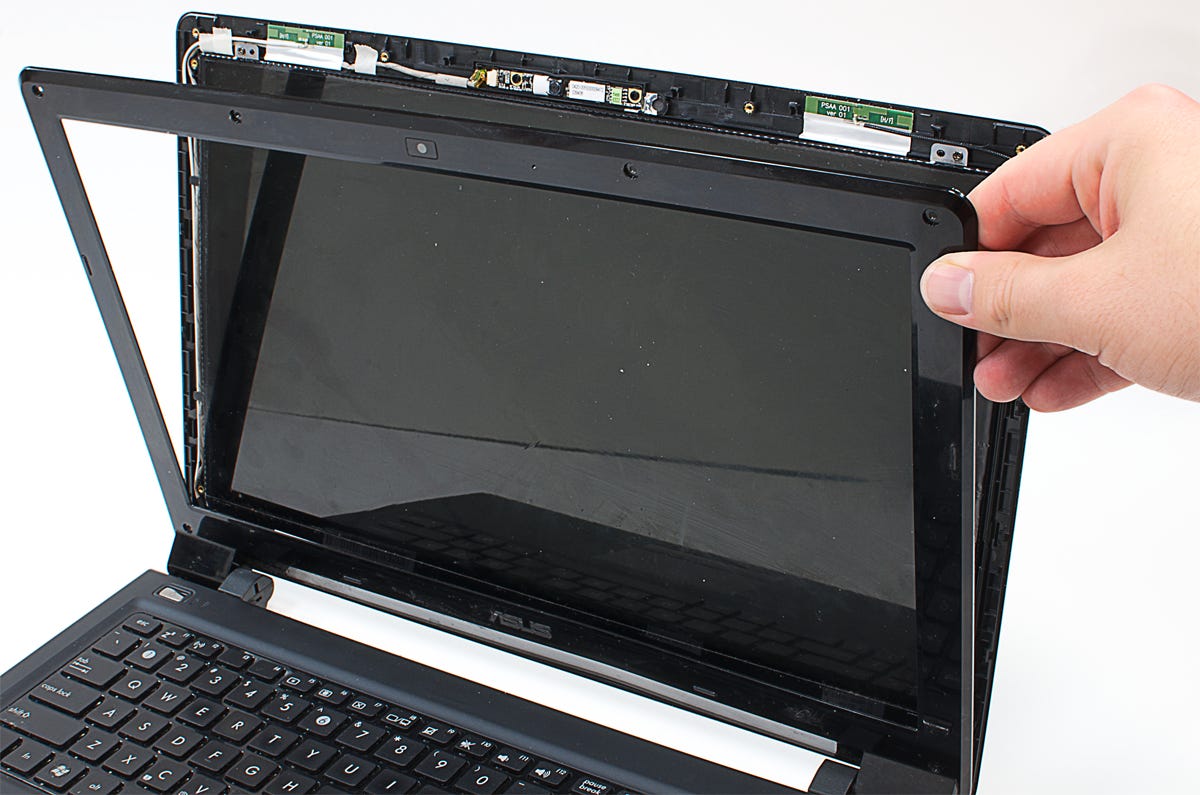
2. Remove the broken LCD panel
With the LCD's mounting brackets exposed, you can remove the screws that secure it to the lid. Then rest the display front-side-down on the case and disconnect its cable.
If your laptop was made before 2010 and has a LCD with fluorescent backlights, it will likely have two cables. But as this is an LED-backlit LCD, it only has one.
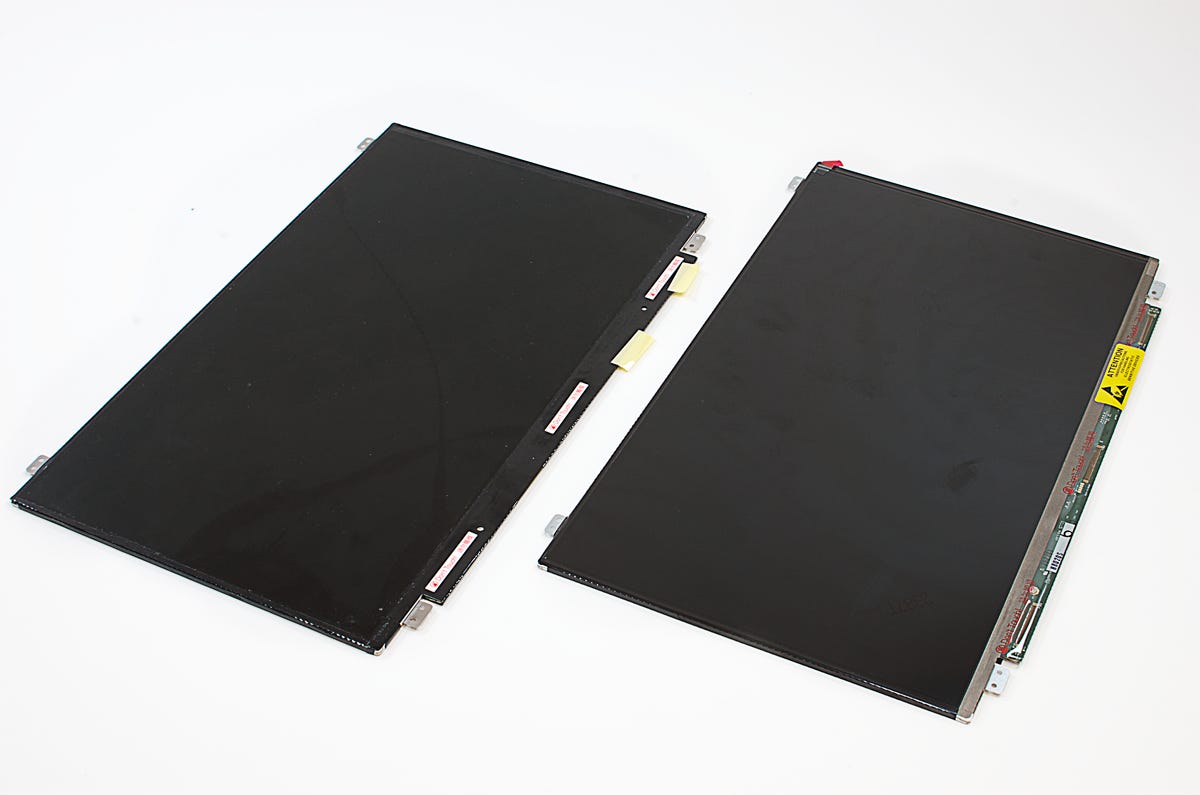
Now, locate the manufacturer's label and note the model number. Using this information you should be able to buy an exact match for your broken screen.
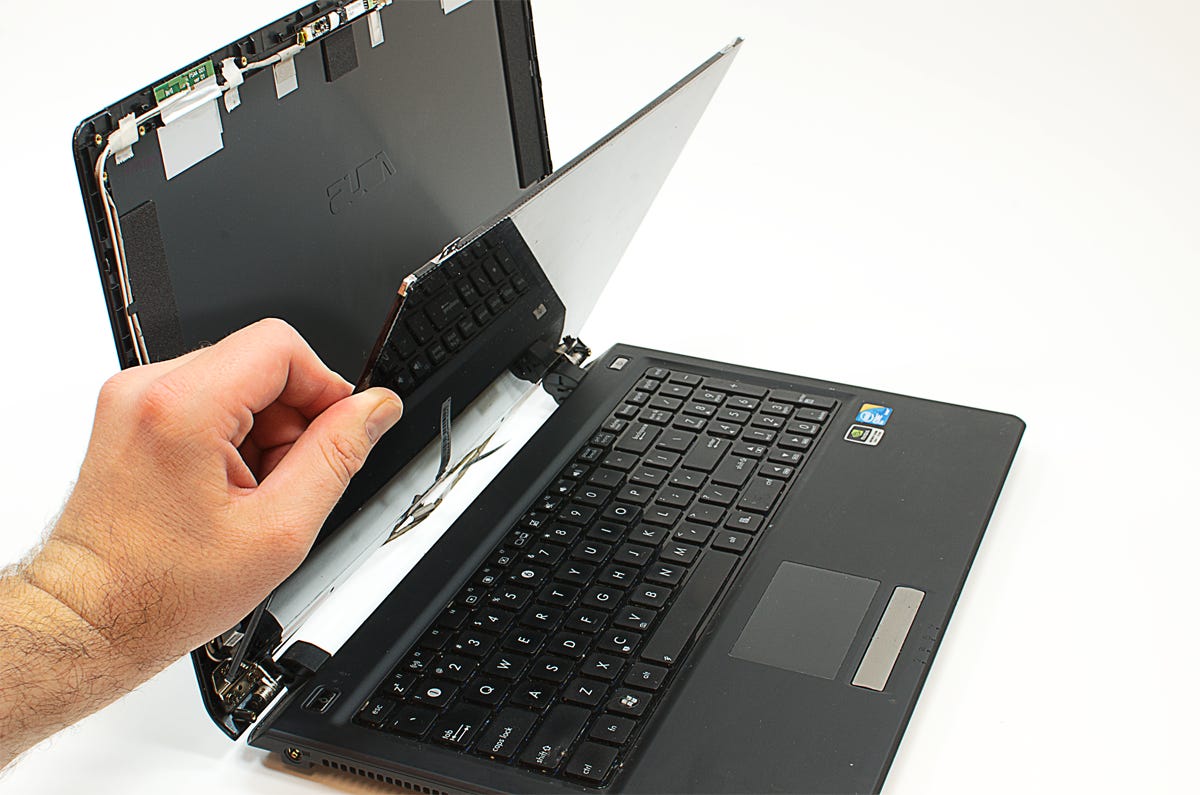
3. Install the new LCD panel
Once your new screen arrives, unpack it and make sure it matches the old one.
If the dimensions, mounting brackets, and connector all match, you're ready to install the screen. Connect the new panel to the cable, position the panel in the lid, and secure it using the appropriate screws.

4. Test the new LCD panel and reinstall the bezel
Before reattaching the bezel, it's a good idea to test the new panel. Reconnect the battery and power cable and turn the machine on. If the display works, you can reattach the bezel and any external screws and rubber cushions. The repair is now complete.
As fixes go, this one isn't too tough, but it does take a little patience and planning to make sure you get the right replacement screen.
For more teardown photos of laptops, smartphones, tablets, and other gadgets, check out my Cracking Open blog on TechRepublic.