
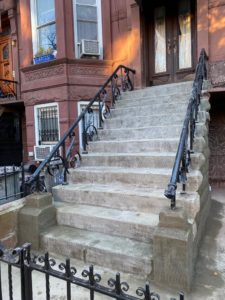
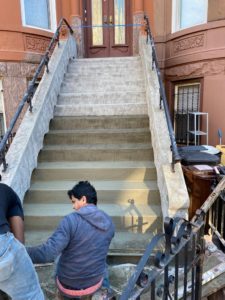
Although you may never notice it, a scratch coat plays an integral role in the decorative facade of a building. How fundamental? Let’s put it this way. Without a healthy scratch coat, that beautiful finish might crumble long before its time.
What is a Scratch Coat?
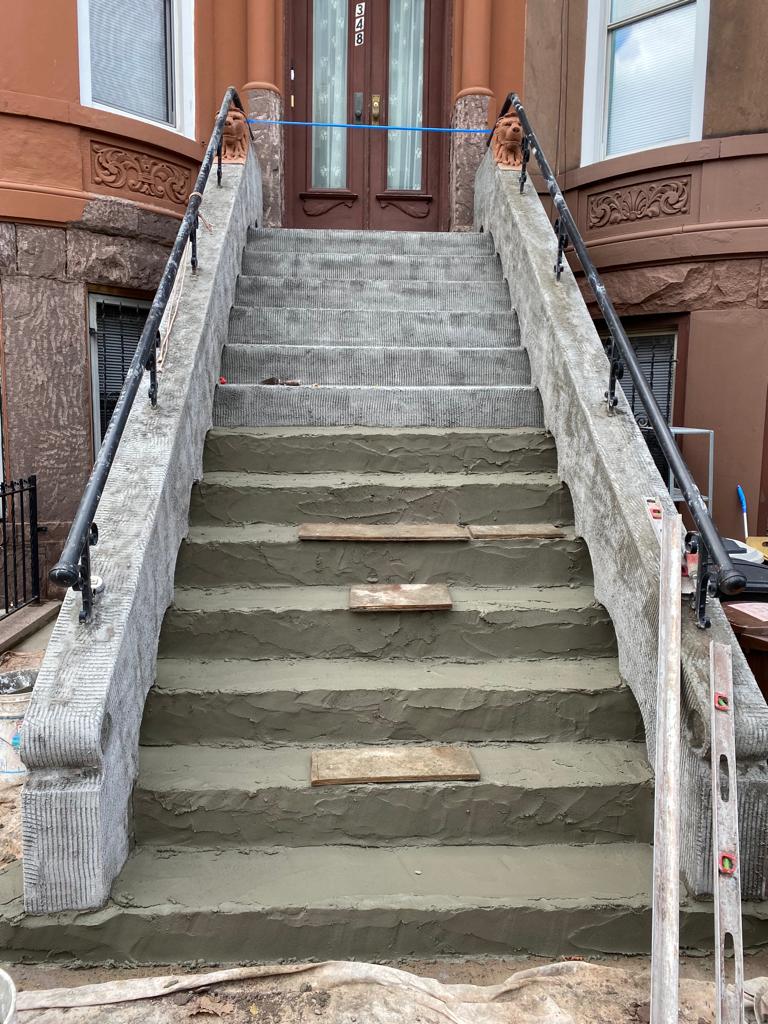
In vertical, decorative concrete, workers have to lay up between one and three inches of material. That much material (and weight)l needs something solid to hold onto, and what it adheres to is the scratch coat.
If your scratch coat is smooth, there’s nothing there to assist with holding up the new layer except the chemical bond between the products. However, when you lay down an aggressive, textured scratch coat first, you have both the chemical bond and also a mechanical bond to keep your facade solid for years to come.
How to Prepare a Surface for a Scratch Coat
A great scratch coat begins with surface preparation, no matter what kind of wall you currently have.
Plywood and Drywall
Keep in mind that plywood and drywall are not appropriate surfaces for the base of a cement facade. Plywood expands and absorbs too much moisture, and drywall deteriorates over time. Both of these substrates, left unprotected, have the potential to cause future headaches.
That’s why you need to install a more appropriate substrate.
First of all, protect the existing surface with a moisture-proof barrier like house wrap or even common tar paper. These materials can be installed using a staple gun.
Next, you’ll install the lath. You can use either fiberglass or metal lath. Metal is more difficult to work with, and it may eventually rust. Fiberglass lath doesn’t rust, and you can cut it with a pair of scissors, so it’s the more popular choice. Be sure to always secure the lath to the studs in the wall if you’re installing over drywall. In general, you can use roofing nails, plastic-headed nails or even a staple gun for this process. Be sure to overlap the lath pieces by several inches to increase the strength of your scratch coat.
Also, if you’re planning on creating decorative or open ends, don’t allow the lath to go all the way to the edge of the wall. By keeping it back about an inch, you’ll avoid exposing the lath after your final applications of mud.
Masonry, Brick, and Concrete
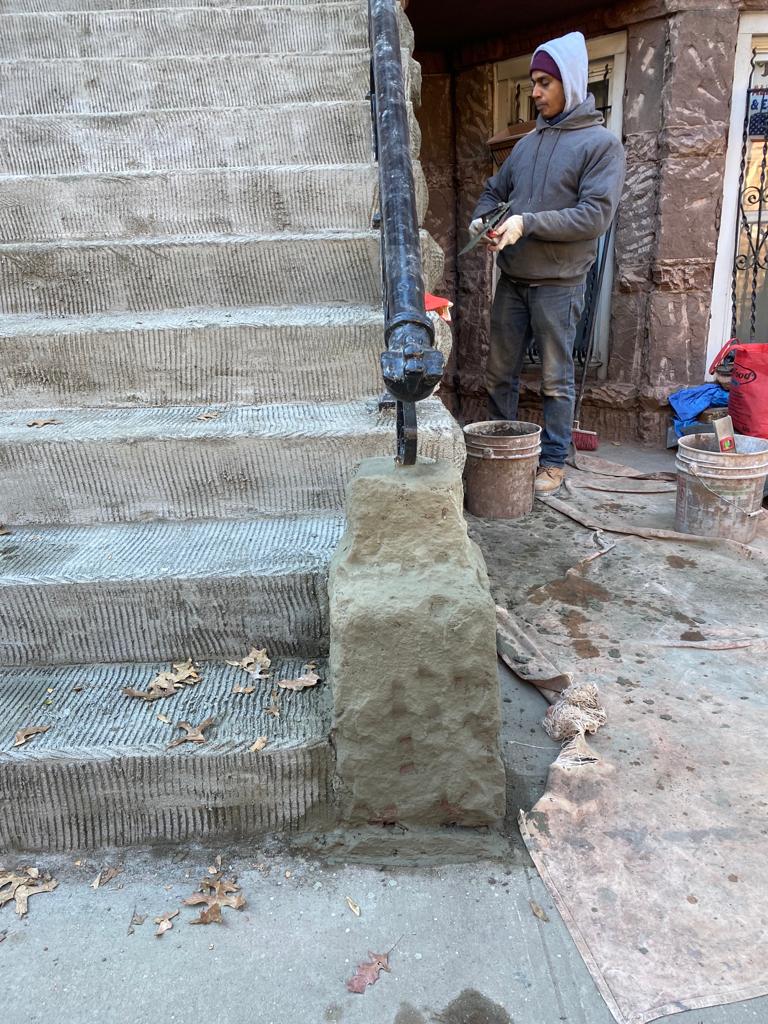
These types of walls are easier to prepare for your scratch coat. Inspect the wall for dirt and debris and then pressure wash it to ensure cleanliness.
Foam Core Construction and Foam Substrates
If you have a foam substrate, you’ll need to choose a structure coat that is specifically designed to adhere to foam. Fortunately, there are products out there that provide incredibly strong bonds for foam core construction. When you use a mortar sprayer, you don’t have to scarify the surface, saving a step.
Applying the Scratch Coat
With your surface prepared, you’re ready to apply the scratch coat. Use a sprayer or trowel to achieve an even overall surface. If the wall is very soft, you might want to use a scarifier rake, which has flexible steel tines that won’t get caught on anything.
Choosing Products for Your Scratch Coat
In most cases, the best product for your scratch coat is the same as the carving or stamping coats. For bonders, look for a concentrated re-emulsifiable co-polymer solution designed as an overlayment primer.

Contact Us at Z. Abedin
For questions, concerns, or quotes about renovating your home’s exterior, reach out to us at Z. Abedin Construction. We have the skills, expertise, and equipment to handle all exterior home improvements, including restoring your brownstone facade. Call us at 718-633-9605, or drop us a line and we’ll get back with you soon.
