Full Bust Adjustment Tutorial
What Is A Full Bust Adjustment?
A Full Bust Adjustment is a modification to a pattern such that it will accommodate a larger bust than the pattern was drafted for. Typically patterns are drafted for a B Cup or a full bust measurement which is 2” or 5cm larger than the upper bust measurement. Don’t be fooled by your bra cup size, this is a different thing altogether.
If your full bust measurement is 2.5” or 7.5cm larger than your high or upper bust measurement, you’ll probably benefit from doing a full bust adjustment as the finished garment will almost certainly fit you better.
If you find that selecting a pattern size based on your full bust measurement sometimes results in a loose or gaping neckline, this can also be a sign that doing a full bust adjustment will produce a better fit.
Some patterns do provide a choice of cup sizes, such as our own Chichester Wrap Dress pattern, but generally this isn’t the case so a full bust adjustment will be of benefit if you have a larger bust.
Do I Need A Full Bust Adjustment?
In order to determine if you really need a full bust adjustment, you’ll need to take a couple of measurements, these are your Full Bust and your Upper Bust (sometimes called High Bust). See the diagram below for where you should place your tape measure in order to take these measurements.

An important point to note when taking these measurements is to make sure you are wearing a good bra! This will ensure you get measurements that are the same as those you’ll have when wearing the garment, bra-and-all. Likewise when finding your bust point later, you’ll want to be wearing a bra like the one you’ll be wearing with the finished garment.
Once you’ve taken both you upper and full bust measurements, we need to do some simple maths. Just subtract your full bust measurement from your upper bust measurement.
As mentioned previously, most patterns allow for a difference between these measurements of around 5cm (approx. 2 inches). If the difference between your full bust measurement and your upper bust measurement is greater than 2.5” or 7.5cm , you’ll probably benefit from a full bust adjustment.
What Equipment Do I Need To Do A Full Bust Adjustment?
The main thing you’ll need that you may not have laying around is suitable paper to create your adjusted bodice pattern. You’ll need paper which is slightly larger than the bodice piece you’ll be adjusting because we’ll be increasing the size of the piece to accommodate a larger bust.
If you already have dressmaking pattern paper, that would be perfect, but any suitably large piece of paper will do. Feel free to improvise with greaseproof paper or just tape multiple pieces of printer paper together. So long as it’s large enough for the pattern piece you should be fine.
Beyond that you’ll just need a pen or pencil, some sticky tape, scissors, a tape measure (for measuring yourself) and a ruler (for marking up the pattern piece). Although you can use a basic school-type ruler, a set square or specialist pattern making ruler like a Pattern Master (or cheaper equivalent) is helpful for ensuring your lines are parallel to other lines on the pattern, as you’ll see later. It can be trickier to do this accurately with a basic ruler.
How To Do A Full Bust Adjustment
If you’d prefer a video to written instructions, or would simply like to see a demonstration, then we’ve created a full bust adjustment tutorial over on our YouTube channel. Take a look at the link below. Otherwise, read on…
We’re going to show you how to do a basic full bust adjustment, suitable for someone who’s not done one before. This is for the most common case, where the pattern has a side seam with a single bust dart. If you have something more complex than this (e.g. a Princess Seam), then there are other tutorials available online for these slightly more complex cases, but it’s still worth understanding the basics as the underlaying principles are the same.
Note also that we’ll be covering the bust adjustment only and are using a top pattern to demonstrate (our Salvington Top Pattern in fact), if you are making an adjustment for a dress then you’ll likely need to make adjustments to the dress skirt as well in order to accommodate the wider bodice (this will be easier if it’s a simple gathered skirt such as in our Amberely Dress). As every dress pattern will be different, these additional changes are beyond the scope of this article.
Step 1 - Select The Correct Pattern Size
Once you’ve determined that you need to do a full bust adjustment, we’ll need to modify the bodice pattern piece. We’re going to be cutting this piece up pretty significantly, so you may want to trace the piece onto another piece of paper and use that instead if you’re nervous about cutting up the original pattern, or want to re-use the original at a later date. This is one instance where a PDF pattern is helpful, as you can just print off a new one.
First we need to select the right size of pattern piece to use as our starting point. To do this, refer to the sizing chart of the pattern and find the size where the pattern’s stated Bust Size is equal (or closest to) your Upper Bust size (not your full bust size).
It probably sounds counter-intuitive to be selecting a size that is smaller than your full bust as a starting point, but it will make the maths easier later, since we won’t need to take into account the 5cm or so bust accommodation that is already in the pattern. This also ensures a better fit around your neckline and shoulders.
Cut the pattern piece out in the size you’ve determined from the above steps and you are ready to start.
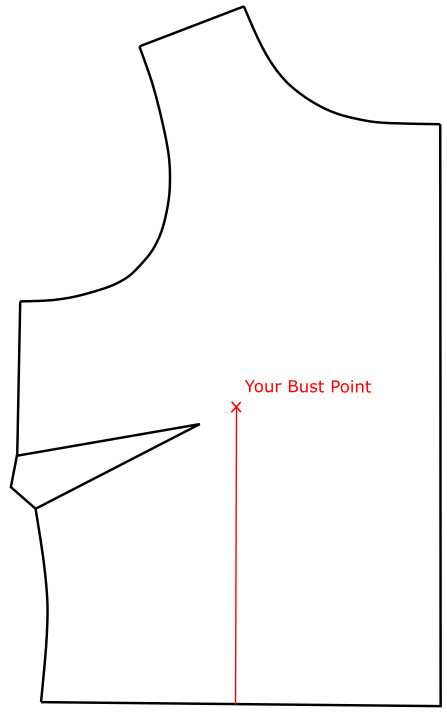
Step 2 - Mark Your Bust Point
The first step is to mark your bust point onto the pattern piece. This is your personal bust point, not the bust point on the pattern, if there is one already marked.

To do this, lay the pattern piece over your body, as close to the way it will lay when the finished garment is made as possible. This can be tricky to do by yourself, so you may want to enlist the help of a friend or family member. Once the pattern piece is in position, mark your bust point on the pattern with an X. Remember to be wearing a good bra when you do this, so that the point marked will be as similar as possible to how it will be when you are wearing the garment, bra-and-all. Your personal bust point may be higher or lower than the example shown here, but the process will be the same.
Step 3 - Draw a Line Vertically Down from Your Bust Point
Next, we want to draw a line vertically down the pattern piece from your bust point to the waist or hem. This should be parallel to the grainline or centre front.
To ensure the line is parallel to the centre front, measure horizontally from your bust point to the centre front and note down this measurement. Then move your ruler down the pattern, marking a couple of additional points the same distance from the centre front. This is where a set square or Pattern Master is useful, as you can ensure the ruler is laid parallel to the centre front more accurately.
Now draw a line from your bust point, all the the way down to the waist or hem, following the points you’ve marked to ensure the line is parallel to the centre front.
Step 4 - Draw a line from Your Bust Point to the Side Seam At The Dart’s Centre
The next part is easy. Simply draw a line from your bust point to the side seam, at the centre of the side seam dart. See the diagram below.

Step 5 - Draw a Line from Your Bust Point to the Underarm Curve
Now draw a line from your bust point to the underarm curve. The exact position you draw to on the underarm is not vital, but it should be on the lower third of the overall arm hole. I usually try to avoid putting it too close to any notches if there happen to be any close to that point.

Step 6 - Draw a Line at Right Angles to the Centre Front
The final line we want to draw is at right angles to the centre front, about half way between your bust point and the waist/hem. Draw from the centre front, across to the line you drew from your bust point to the waist. As with the underarm line, this doesn’t have to be in an exact location, so long as it is roughly as shown in the diagram below.

Step 7 - Cut Along the Lines, but not Completely
Now we’re ready to start cutting the pattern piece. The diagram below shows how things should look when we are finished cutting.

Cut from the waist up along the line you drew from the your bust point to the waist. Pivot when you get to the bust point, continuing to cut along the line you drew from your bust point to the underarm - but not all the way! Stop just before you get to the underarm, such that the pattern piece does not completely detach.
Now make a separate cut from the side seam, along the line you drew between your bust point and the side seam dart. Again, you want to stop cutting before you reach the bust point, such that the piece does not detach.
Finally, cut along the line you drew at right angles to the centre front. This is the only line that we want to cut all the way so that we have a rectangular piece in the bottom right that we can move around freely.
You should now have pattern pieces that look like the diagram above.
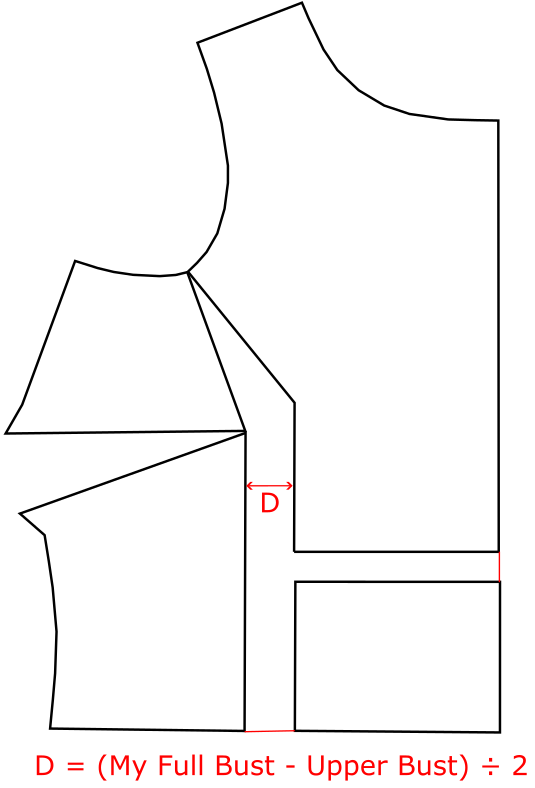
Step 8 - Calculate The Bust Adjustment Amount
Before we start adjusting the pattern pieces, we need to calculate how far apart we need to place the pattern pieces horizontally in order to accommodate the bust correctly. We know we need to make the pattern piece larger, but by how much?
To calculate how far apart to place the pattern pieces horizontally, simply subtract your full bust measurement from your upper bust measurement and divide the answer by 2. This maths is super easy because we started with a pattern size that effectively had no accommodation for our bust to start with (as it was based on our upper bust measurement, not the full bust), so we can simply calculate the required accommodation for our own bust. We are dividing the answer by 2 because we are adjusting half of the bodice piece, so when the pattern is cut on the fold, the entire bodice piece will contain the full bust adjustment, half on the left and half on the right.
As an example, if the difference between your full bust and upper bust is 10cm. Then the bust adjustment required to the pattern will be 10cm divided by 2, which is 5cm.
Step 9 - Tape the Main Pattern Pieces in Place
Place the pattern pieces onto a large sheet of paper if you’ve not done so already. Draw a straight line on the paper and tape the centre front of the pattern piece to it, as shown below, leaving the lower rectangle separate for now.

Tape the main, still connected, pattern pieces so that the horizontal gap between them is the same as the adjustment amount you calculated in the previous step (see diagram).
Let’s call this measurement “D”. Firstly measure “D” cm from the taped down piece and put a dot on the paper to show where this measurement lays. Then measure from the centre front right across to the dot you made on the paper. Moving the ruler down & keeping it parallel to the centre front, mark a couple of additional dots further down the paper. Use these as a guide to align the left side pattern sections so that they are parallel to the centre front at D cm from the right hand pattern pieces. (See the video above, as it’s much easier to show than explain!). Tape in place.
Step 10 - Tape the Rectangular Pattern Piece in Place & Cut Out Pattern Piece
Next we want to tape the rectangular piece in place. This needs to be placed so that it is aligned with the waist/hem at the bottom and with the centre front of the bodice pattern. See diagram below.
You’ll need to draw a line across from the bottom of the waist/hem on the left to the centre front on the right and use this for aligning the bottom of the rectangle. This has now created a pattern piece that is longer and wider over the bust to accommodate your own bust measurement.
Now you can cut around the whole pattern, leaving some paper around the bust dart side seam area so we can complete the end of the dart in the next step.
Step 11 - Finish the Dart
Next draw a line from your bust point to the centre point of the dart. See diagram below.

Now mark a point around 2cm to 2.5cm (about 1 inch) along this line from the bust point. This will form the point of the new dart. Finally draw lines from the new dart point to the ends of the original dart on the side seam.
To create the end of the dart, fold the pattern along the dart centre line, creating a dart in the paper as if you were creating the dart in fabric. You can then trim the excess paper around the end of the dart, following the line of the side seam.
Open the pattern piece back out and that’s it - you’ve created your bust adjusted pattern piece.
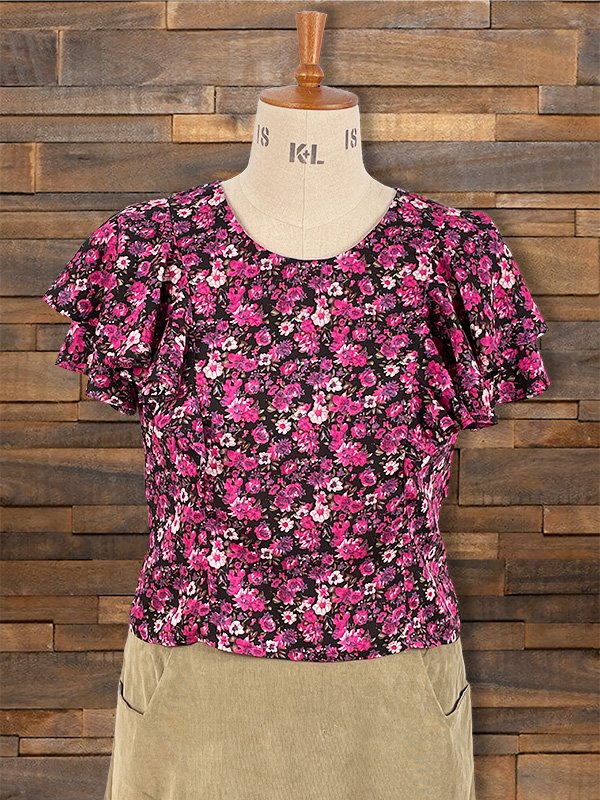
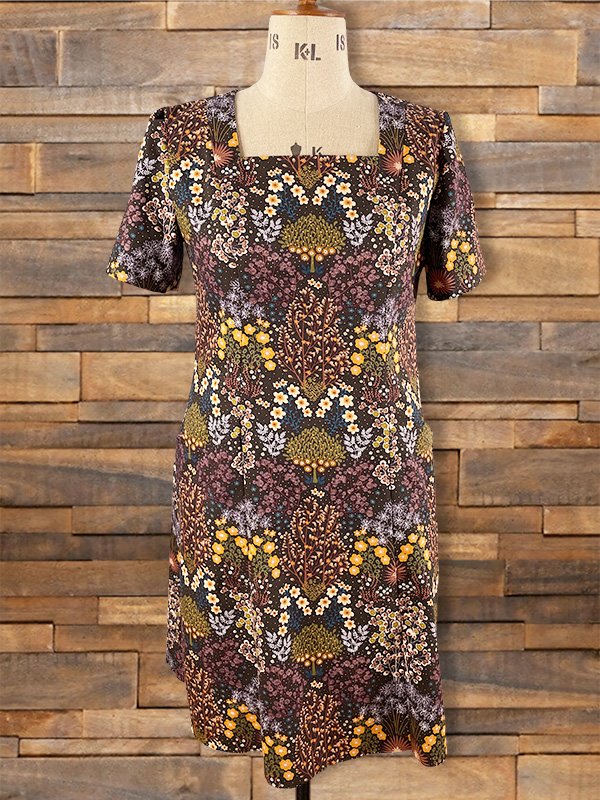
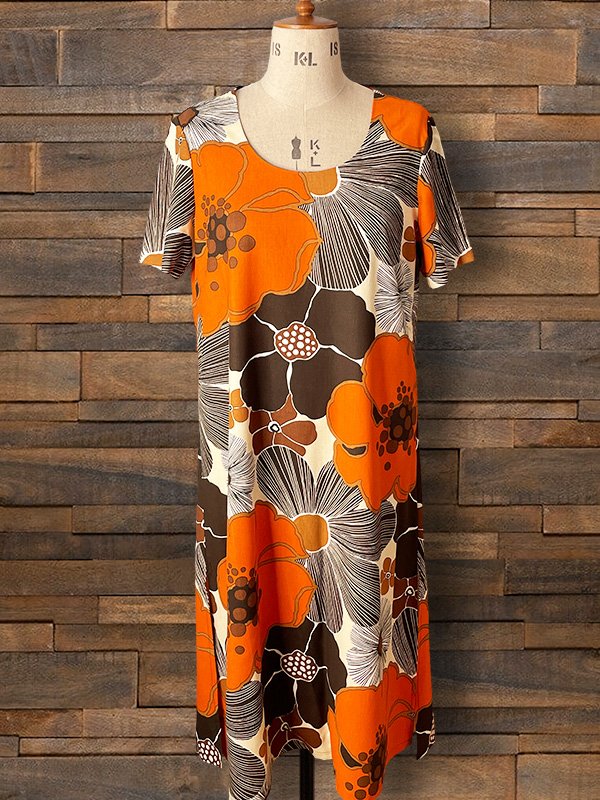
Our Dressmaking Patterns

Sussex Seamstress is an independent pattern maker, based in Sussex, UK. A selection of our patterns (sizes 6-30) are shown below, with paper patterns, pdf downloads, and full sewing kits available.