

5 Steps for Maintaining Indoor Seedlings
Congratulations! You’ve checked on your seed pots and you found your seed bursting open and a teeny, tiny plant is starting to unfurl. Hooray! You are now the proud parent of your very own seedling.
First step is to remove the plastic wrap you had on your pot to keep your seed warm. Once your seeds have germinated, the plastic is no longer needed to hold in humidity and moisture. Your newly sprouted seedling will need good air circulation and light.
With the plastic wrap off, you will need to be aware that moisture will be released as well as heat. Keep your seedlings in a warm area and make sure to check them everyday to see if they need water. Water gently when the soil is dry to the touch.
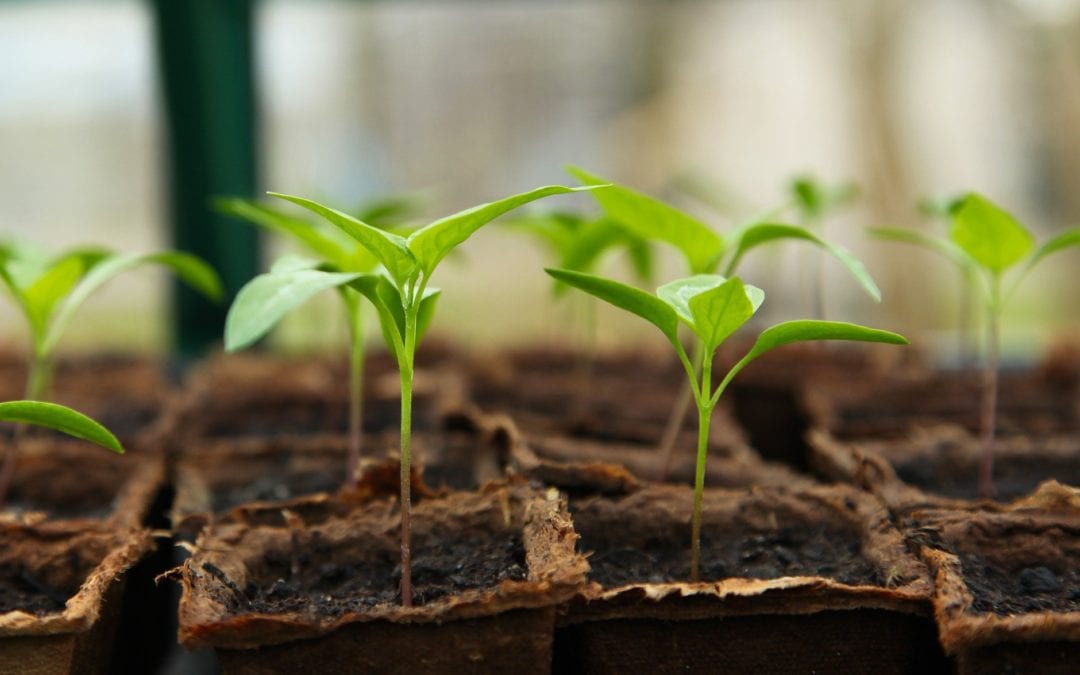
Now that your seedlings have reached out from their inner seed casing and poked up and out of the dark soil they will naturally be looking for light. The seedlings will be craving and searching for the sun, so if you can’t offer them enough natural sunlight from a window in a protected area of your home, you may have to think about investing in some grow lights.
If you can offer a substantial amount of natural sunlight for your seedlings, coming from a south-facing window, go for it! Sunlight: It’s warm, it’s free; it’s full of Vitamin D! The sun provides energy to the seedlings for healthy growth and development. You’ll just need to make sure you are turning your pots around often so that all your seedlings receive equal amounts of sun exposure. Light from a window is somewhat one-sided.
(If your seedlings begin to look like they are really stretching out and getting lanky-looking, it might be a sign that they aren’t getting enough light. You are trying to grow fuller, more vegetative transplants from your seedlings, not weak, spindly, wispy transplants.)
If the windows won’t do the trick, there are plenty of grow lights available to mimic the sun’s rays. Grow lights can offer seedlings a light source any day, anytime of the year. Have a week of cloudy days? No problem, if you have a grow light. Grow lights can offer an overhead light source so that all your seedlings get even exposure. Grow lights can also offer an extra source of warmth for your young seedlings.
You never want your seedlings to dry out, but too much water in the soil can be the kiss of death! You’ll have to find a middle ground and keep your seedlings happy in a soil medium that is consistently moist, and in other words, just right! If the soil medium dries out completely, it might never recover enough to provide any moisture to seedling and the roots shrivel up and die. If your soil stays too wet, the roots of the seedling basically soak in a bath until they become slimy, rotted and then die. Death is the common factor in these scenarios. Avoid it. Water sparingly while you have seedlings.
Remember those three seeds we told you to plant in our previous blog? Here’s why. Take a look at the seedlings in your pot. Is there one seedling that looks a bit more attractive than the others? It’s okay if the answer is yes; “survival of the fittest” is coming into play. If you thin out the weakest links, you are leaving the strongest seedling plenty of root room to continue it’s healthy development. If you leave the three seedlings in the pot to develop into transplants, they will compete with each other and you may end up with three weak and compromised transplants and none of them are that great of a candidate to be planted in your garden.
When your seedlings develop their first true set of leaves, not the first or two little mouse-ear shaped cotyledons that develop right after the seed germinates but the true leaflet set of leaves, it’s time to thin your seedlings. True leaves have the appearance that all future leaves on the seedling will have, and they probably look very different than the first leaf or two that you see. (See pics below for examples of the 1st and second set of leaves.)
Take a pair of scissors and cut the weakest seedlings off at the soil line. Don’t try to pull the seedlings out as this could disturb and damage the roots of the strong seedling left behind.


Once you’ve thinned your seedlings and your plant is continuing to grow new leaves, it’s time to either transplant your seedlings into a larger container or think about “hardening them off” for planting in the garden, if the timing is right. (Early tomatoes get bumped up to larger containers to grow while being protected until danger of frost has passed.)
“Hardening off” seedlings is a process where you gradually adapt your seedlings to the environment they will be exposed to in your garden.
Once the danger of frost has passed, set your seedlings outside, in a shady area for a few hours a day and bring them back in at night. You can do this for about 4-7 days. The following week, incrementally offer more exposure to sunlight so that by the end of two weeks, your seedlings are ready to be outside all day and night, and ready to be transplanted in your garden.
Extra tip: When you move your seedlings outside, keep an eye out for slugs and snails which love to munch on young, tender shoots of new plants.
Are you ready for the next step? Keeping those young, tender, plants growing so your seed starting endeavors won’t have been in vain? Head on over to our next blog which is all about successfully getting your indoor transplants to the outdoor garden. See you there!
~The Happy Gardener, Lisa Mulroy
I’m not that much of an internet reader to be honest but your blogs really nice, keep it up! I’ll go ahead and bookmark your website to come back down the road.
I planted tomato seed April 4 and brasscos April 5. This morning, April 7, about half are showing sprouts . I am really excited!! I added a grow light and heat pads this year and it looks like it worked. “If all else fails, follow instructions!”
Thanks for the advice!! Bill C.
Hi William,
If you live in Texas, I sure hope you end up getting some tomatoes before the heat sets in. Planting tomato seeds this late is pretty tough to get them growing and producing. Generally, we start tomato seeds indoors around the middle to end of January in order to have transplants ready for planting in the garden mid-March.
Not to discourage you, but you really have to start early with tomato seeds. If you don’t get fruit this summer, you might try starting seeds indoors in mid summer for fall tomato transplants. I hope you read the first installment of “Indoor Seed Starting”, if not, take a look at the link.
I don’t live in Texas but sometimes I wish I did. I live in central Oregon where the last frost date in June. I plan to set the plants out by middle May and protect them with walls of water. It has worked for me for 30 years. But it is central oregon and it could freeze any day. Furst 2 years we lived here it got down to 17 degrees F. on August 24. Every year is a gamble. Thanks for your help!!!
texa
Take heart, there are gambles everywhere when it comes to gardening. While freeze is an issue for you, here in Texas it gets blazing hot very quickly and so our growing seasons are relatively short. Best of luck to you in Oregon from this Texas gal.
Thank you so much for posting this information! We will be growing plants inside since we have a long winter here and only a couple hours of sunlight soon. It’ll be a first for us so I’m hoping the plants will make it.
Best of Luck!
I live in Juneau, SE AK and planted some “cold hearty tomato” seeds in an egg carton, on windowsill, covered with a ziplock, and grow lights. I HAVE SPROUTS!
I’m afraid I’ll kill them! It’s still in the 40’s here, I’m on the Northside of the hill so I don’t get a lot of sun after noon.
HALP!! I don’t want to kill them! I have a 4×3 cloche on the porch to transplant once they get a lil bigger.
I’m super excited to see if they grow to fruition.
Thank you for the watering advice! Apparently so far so good! 🙂
RamonaMayhem
Oh my! Best of luck to you. Those tomatoes are really cold sensitive so make sure they are always protected, and the more light you can offer the better. Tomatoes are sun worshippers. P.S. I’m a former Alaskan (lived in Anchorage), but I’ve been in Texas for 30+ years now.