POP Projects is a collection of new and classic projects from more than a century of Popular Mechanics. Master skills, get tool recommendations, and, most importantly, build something of your very own.
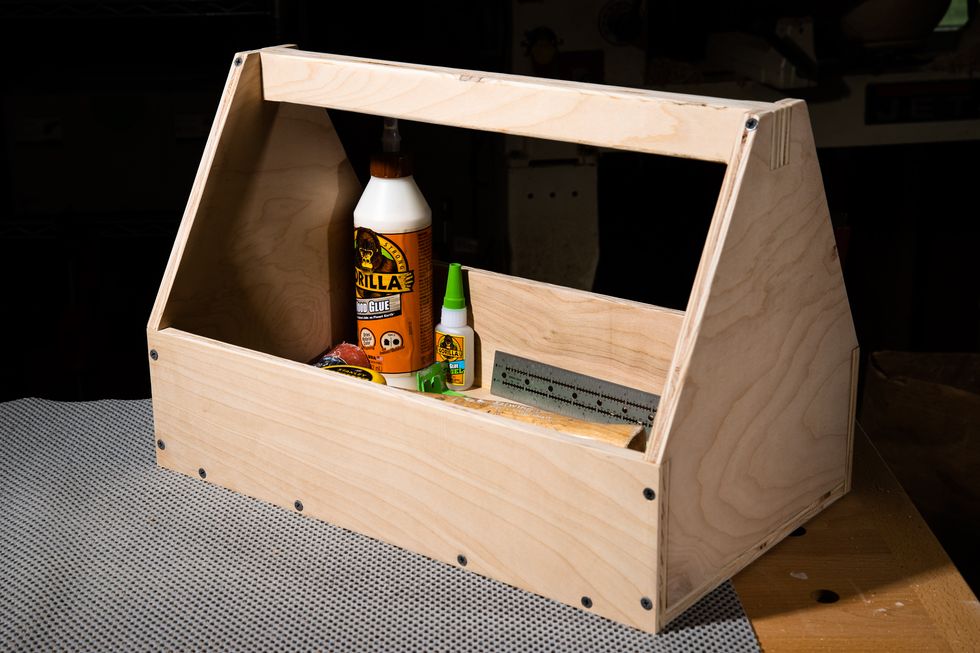
An A-Frame toolbox is more versatile than anything you can find at a big-box store. It’s easily customized to hold all your tools or fit any storage space, and its open design makes it easy to reach your gear—no overly complicated clasps, covers, or fold-out drawers. You can use any scrap wood to make this style of toolbox, but we recommend 1⁄2-in. plywood to keep the weight down.
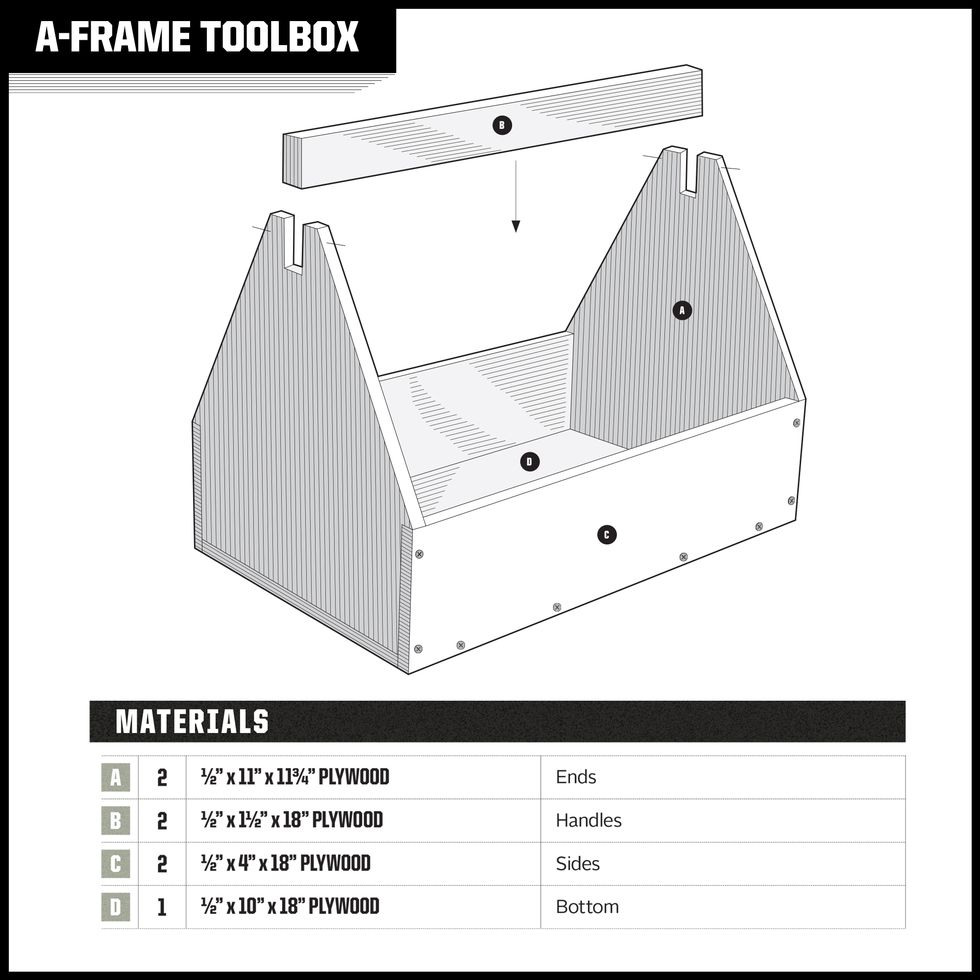
Plans and Materials
Construction Notes:
- At its widest point, Part A is 11 inches wide; between notches, it's 10 inches wide.
- Note: The handle is laminated from two pieces of 1⁄2-inch plywood.
- All screws to join the parts are 1-1⁄4-inch coarse-thread drywall screws.
The Build Process
This construction process is somewhat adaptable. We built this box cutting all the pieces to size at once, then fitting them together, but if you're less experienced, you can first build a subassembly. For that method, you’ll rip the sides and end pieces to width and crosscut them to length before fastening them together. Then you’ll crosscut and fit the bottom to match the subassembly. That order of operations gives you more room for error while cutting, though the steps themselves aren't as straightforward as those in our approach. Do what's most comfortable given your skill level.
Mark the A-Frame
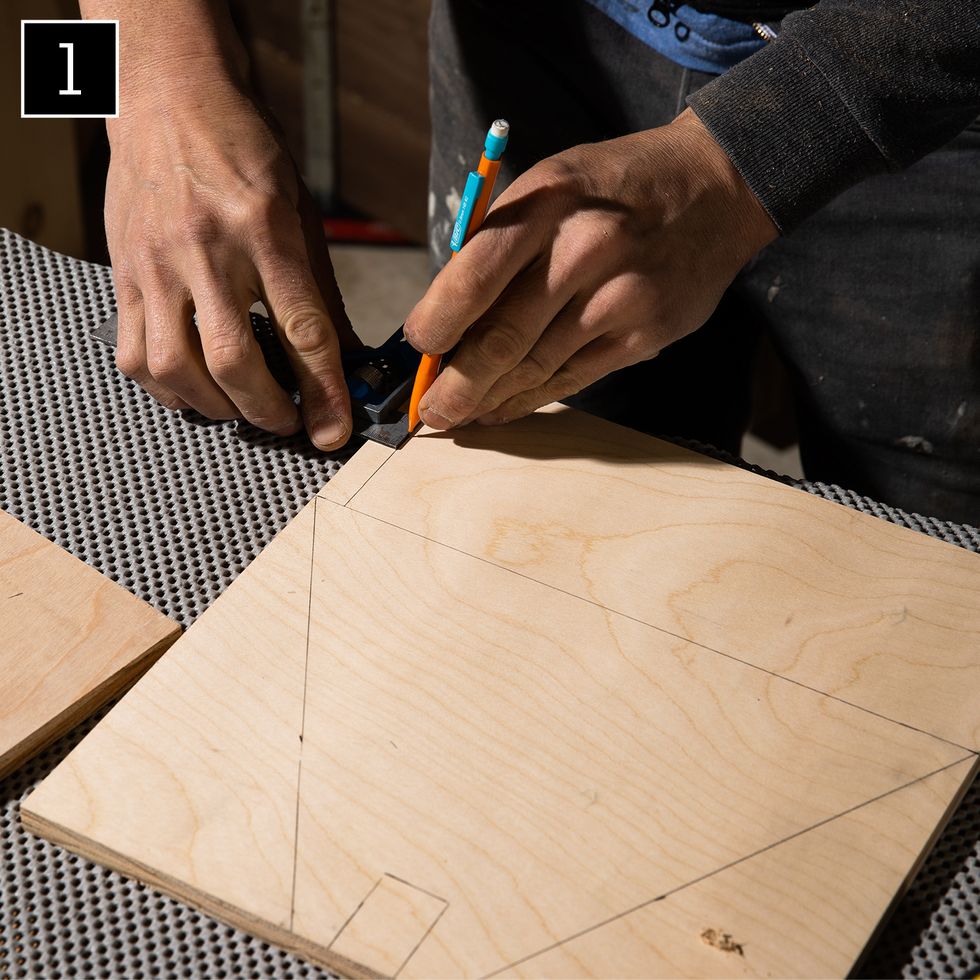
Plan out the A-frame ends. On the 11-3⁄4" sides, make a mark with a sharp pencil at 4" on both sides, and use a combination square to draw a 1⁄2" line. From the 4" mark on the edge, draw a 30-degree angle, referencing the edges of the board, to complete the A profile with the lines about 2" apart on the top of the board. On the 11" sides, measure 1⁄2" off each corner, then use a square to draw a 4" line from each mark [1].
This intersection creates a notch cut for the sides of the toolbox. On what will be the top of the toolbox, find the centerpoint of the two 30-degree lines and mark out 1" x 1-1⁄2" for the handle.
Cut the Pieces
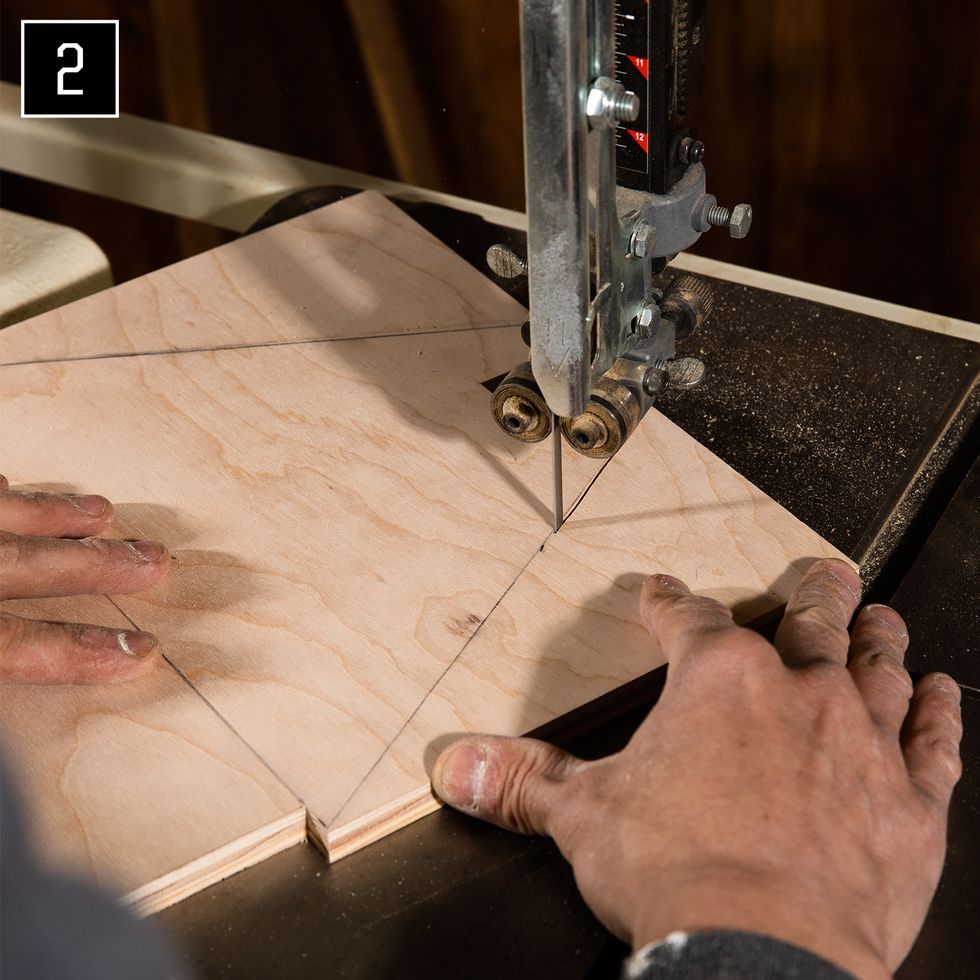
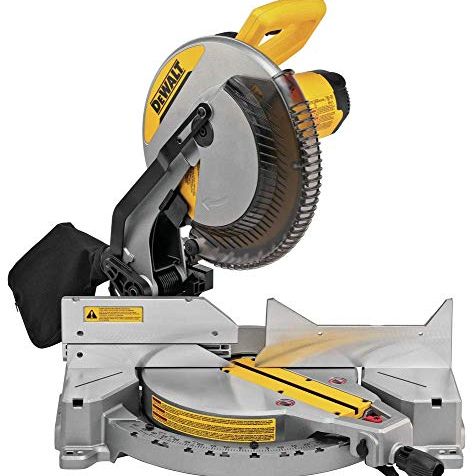
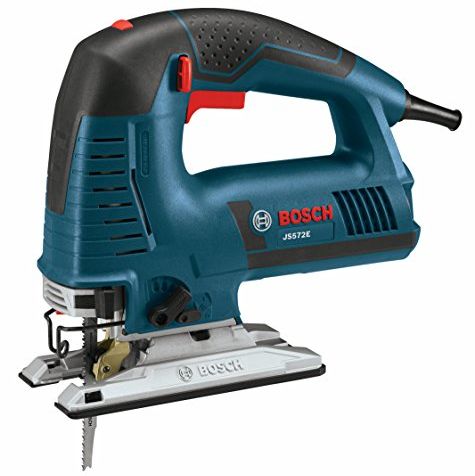
Cut the sloping sides and notches using a bandsaw or a jig saw [2]. If you want to be certain they match, you can use double-sided tape to stick the A-frame pieces together and cut both at the same time using a circular saw.
Then rip and crosscut the two plywood pieces that will be glued together to form the handle (you can cut these slightly oversize to accommodate shifting during assembly, particularly if you're new to woodworking).
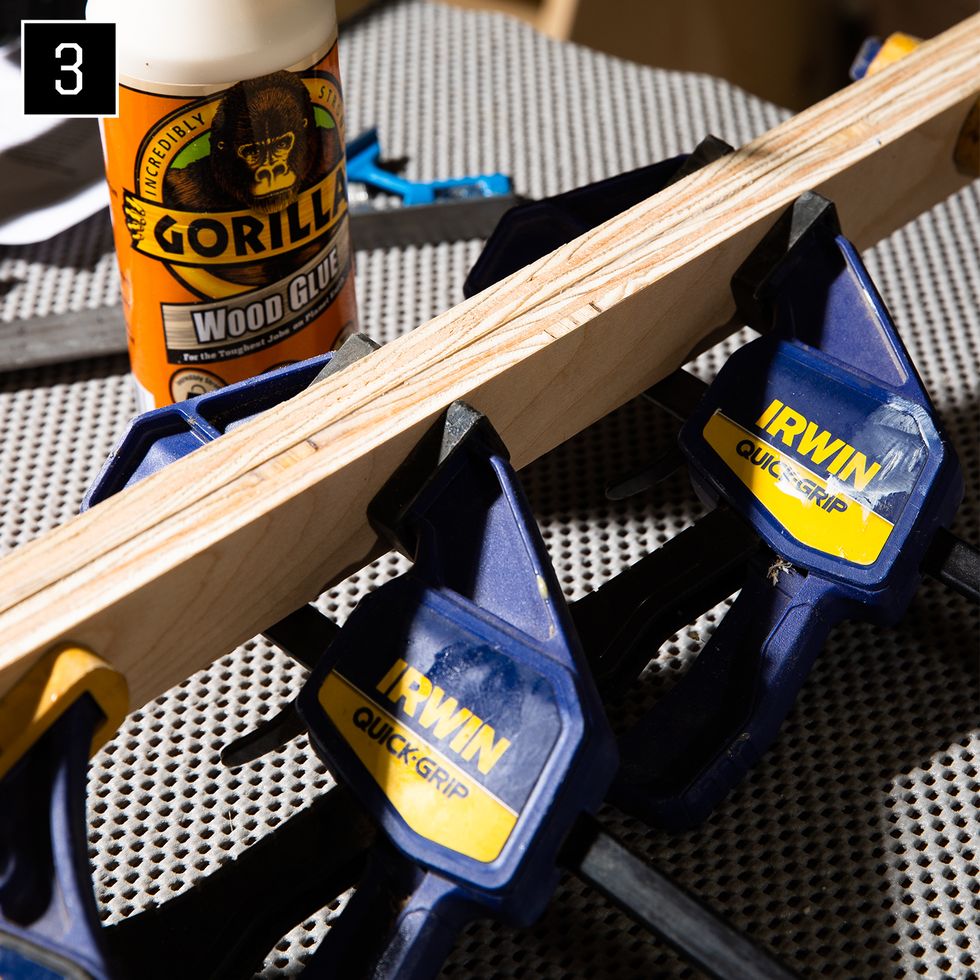
Spread glue on one face and clamp the pieces together [3]. Cutting the pieces oversize gives you some wiggle room if the pieces slide out of position—just let the glue dry, then rip and crosscut to size if needed. Round off any sharp corners in the center of the handle, where you will be placing your hand. You can sand these smooth or use a router. Do not round the corners of the handle where it will fit inside its notch.
Rip and crosscut the bottom and side pieces.
Assemble
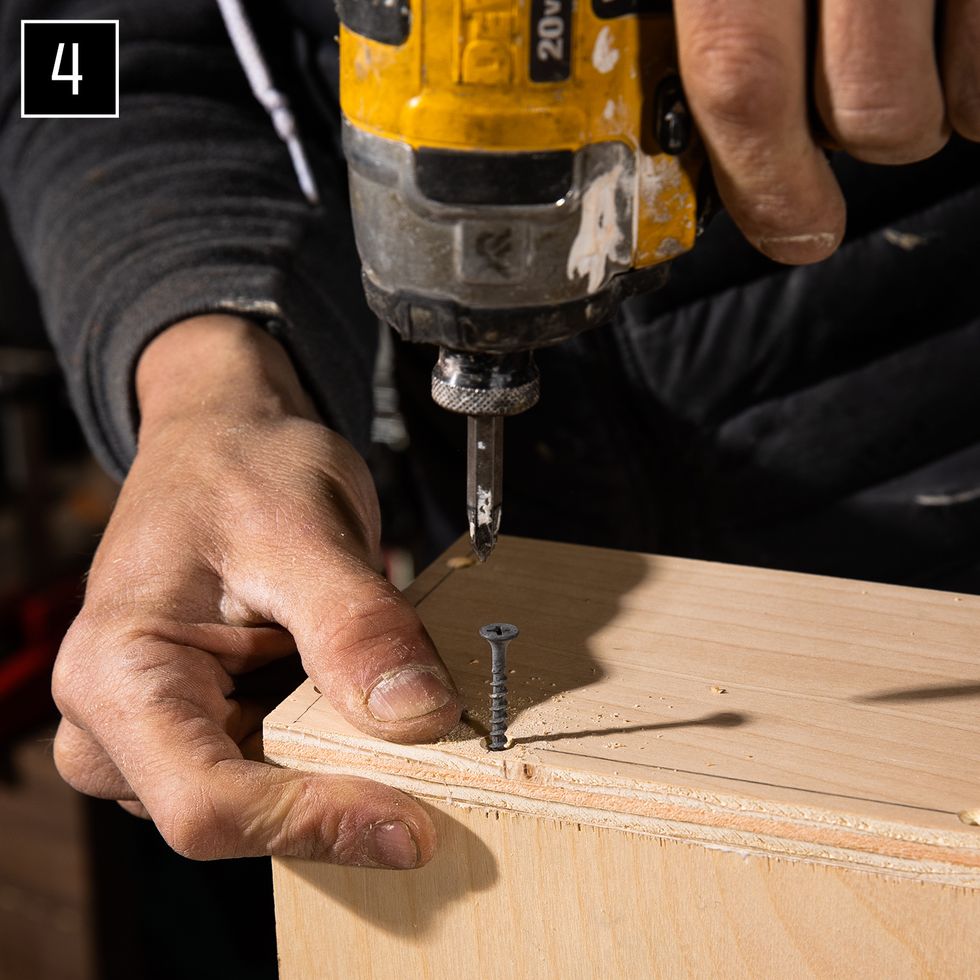
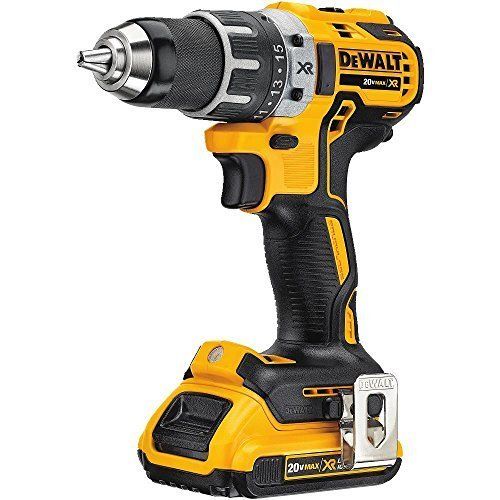
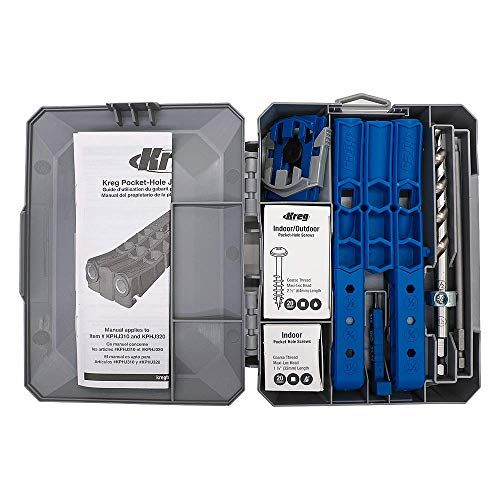
Drill pilot holes for the screws connecting the bottom to the ends, then fasten with screws. Next, place each side into its notches and repeat the pilot hole and screw driving process to fasten the sides to the bottom [4]. Finally, fasten the sides to the ends. (For the subassembly method, you would fasten the handle and sides to the A-frame ends first to make sure the cuts are flush before ripping and crosscutting the bottom to fit the subassembly above it.) In all, our design includes 14 screws holding the bottom to the sides and end pieces, more than enough fastening power for a toolbox this size.
Attach the Handle
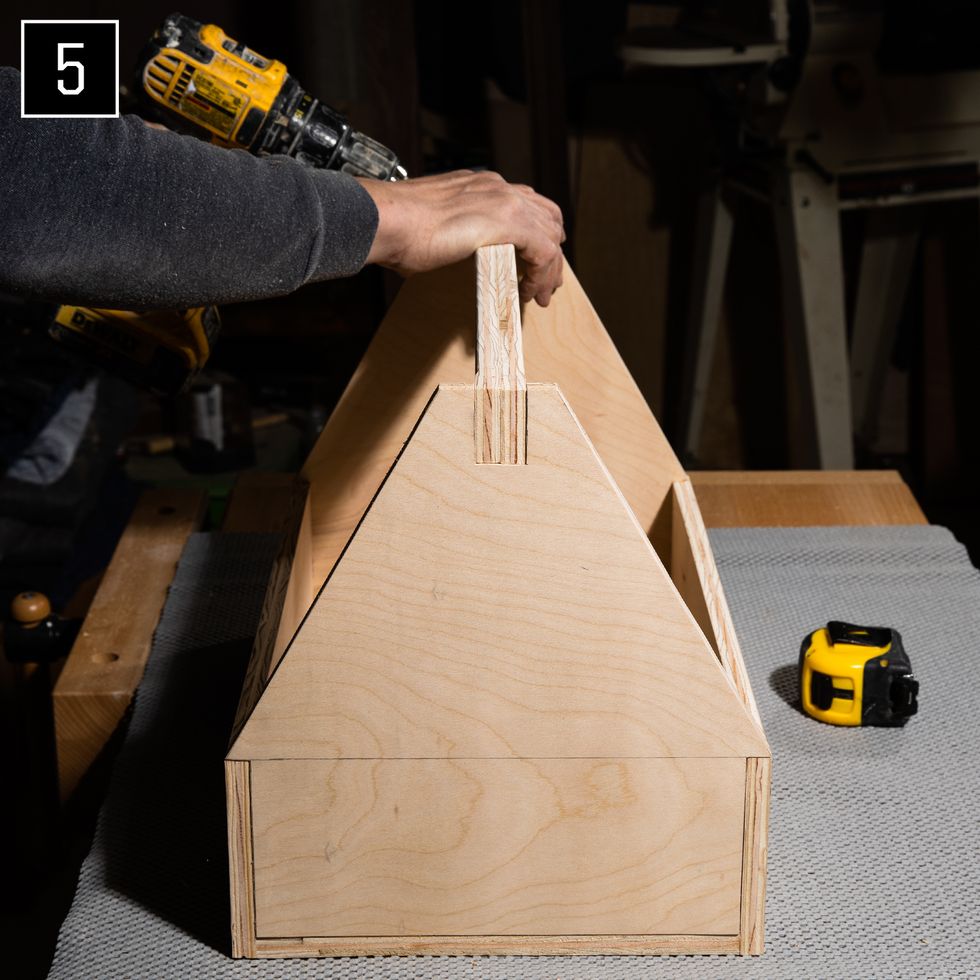
The last step is to insert the handle in its notch with a little glue. Carefully drill pilot holes through the ends and into the handle [5] then drive the screws to fasten the parts together. Let the glue dry.
With construction completed, you can leave the toolbox as is, apply a finish like a wipe-on varnish, or brush on a coat of shellac. After drying, you’ll have a build-once, use-forever toolbox perfect for a garage workshop.

