Make an acorn garland
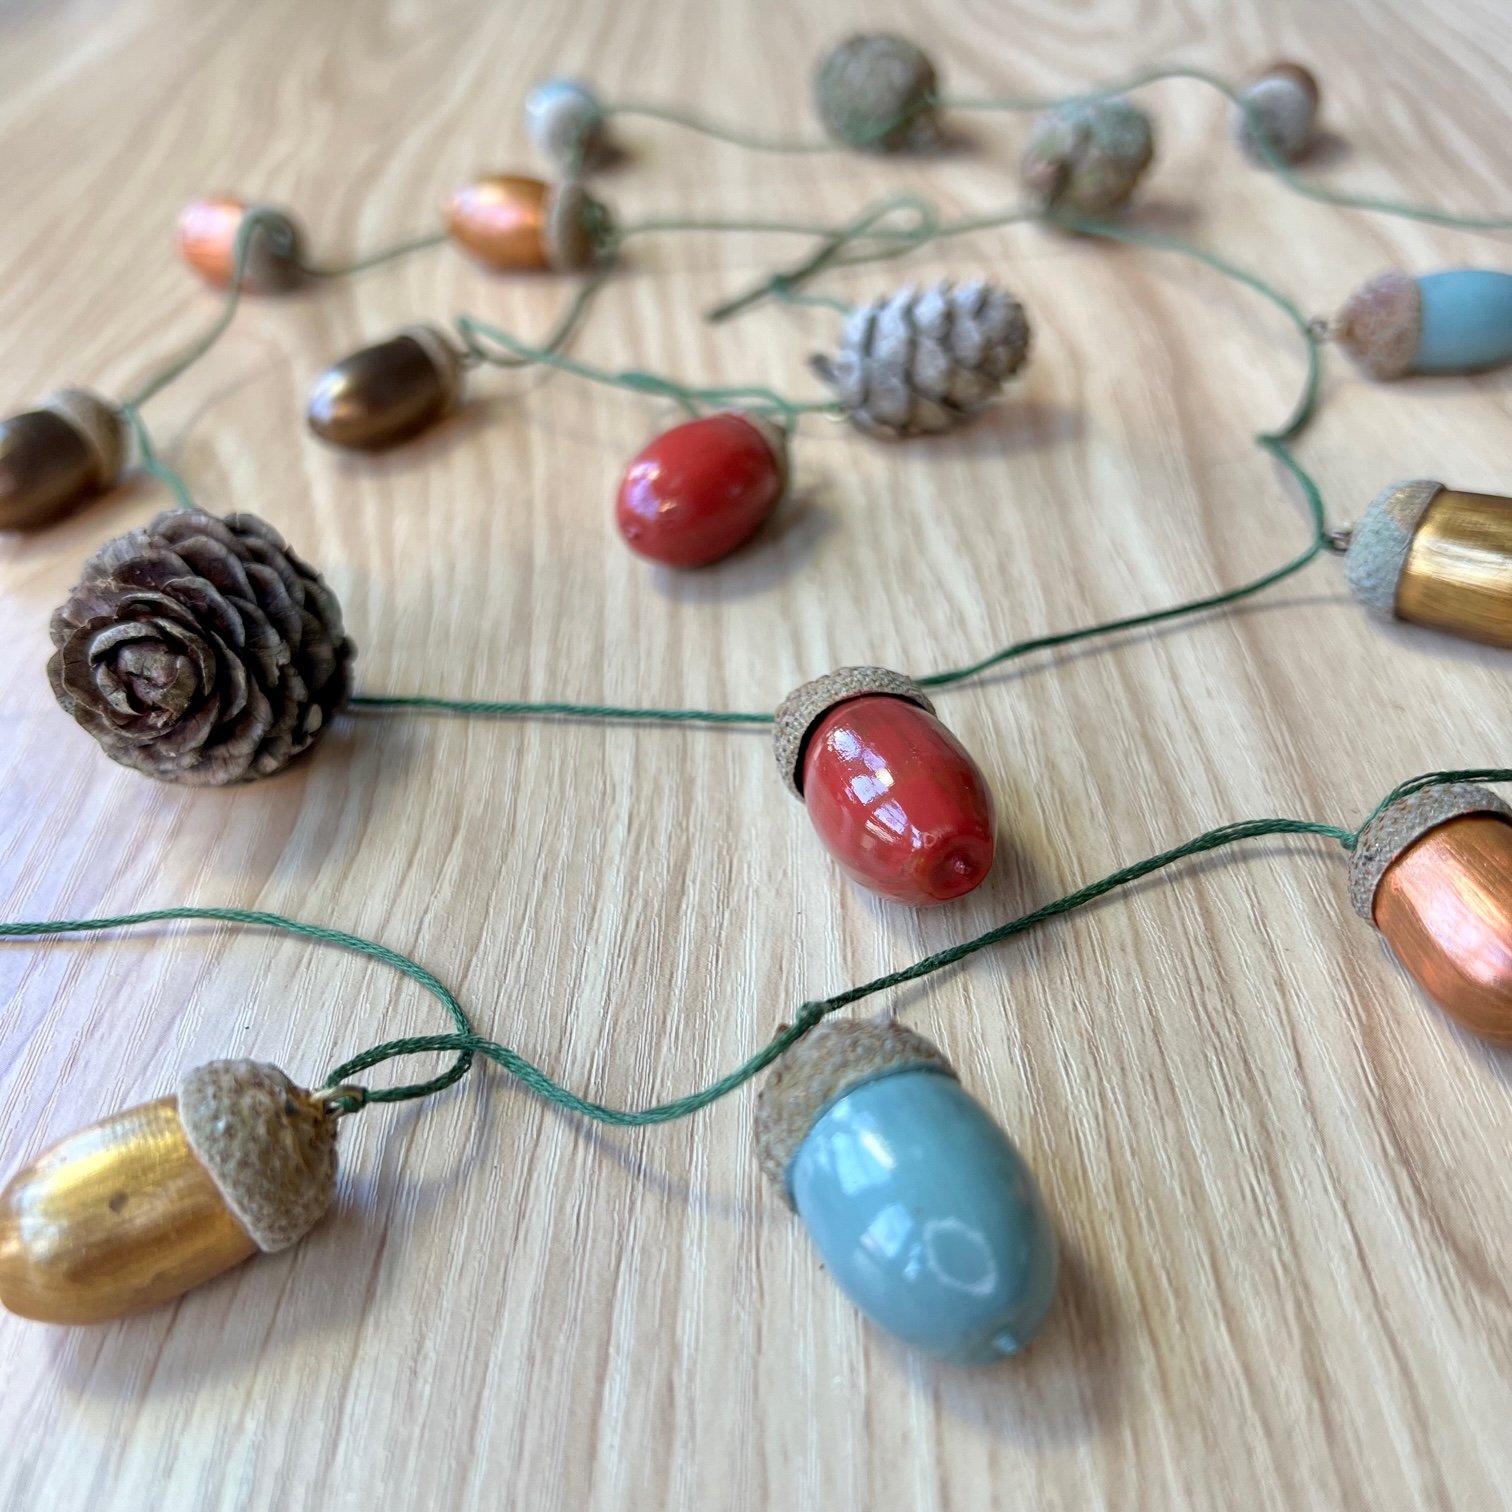
Hanging this garland made from painted acorns and small cones is a really lovely way to decorate your home for Autumn (and, dare I say it, Christmas!). It’s also really fun to make and children will have fun collecting and painting the acorns!
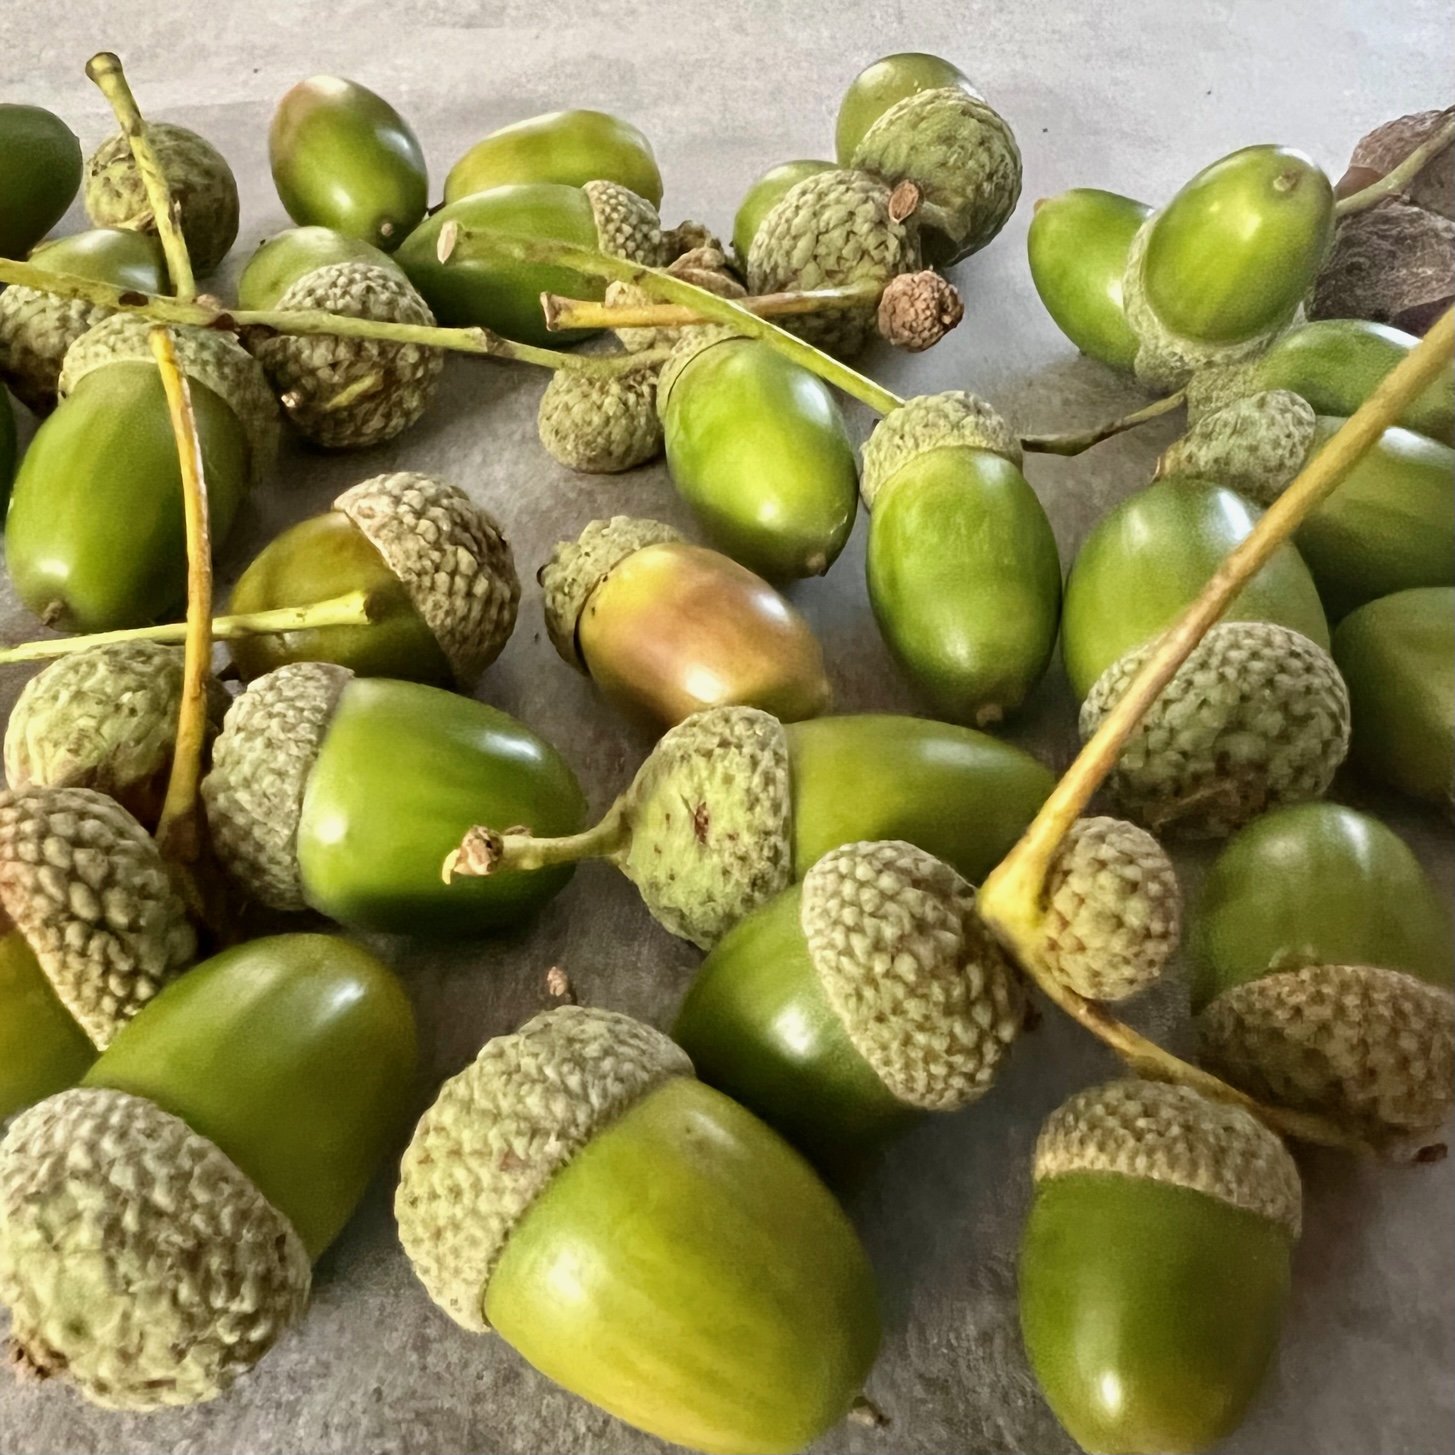
Have you noticed that there are lots more acorns this year compared to last year? Last year we had a fallow year, and there were hardly any, this was because the oak trees had had an abundant mast year in 2020. This year, there are more than even the squirrels can handle! I’ve also noticed that a lot of trees have been dropping green acorns which is likely due to these trees undergoing stress from the very hot summer we’ve had and the trees are now focusing their energy on other things rather than seed production.
Even though we’ve got a bumper year of acorns, please forage responsibly and only collect from under trees where they are in abundance and take no more than you plan to use, leaving plenty for wildlife!
What you will need:
Acorns!
Tree cones (optional)
Oven
Baking tray
Acrylic paints or nail varnish
Small paintbrush
Glue
Embroidery thread or twine
Awl
Small screw eyes and pliers (or you can use a hot glue gun)
What you need to do:
First go for a walk and collect some acorns. Green or brown ones are fine. Leave any acorns that have holes in them as they are likely to have been made by insects or larvae which might be living inside them. Don’t worry if the caps have fallen off as you will be gluing them back on later. You can also collect some small tree cones if you want.
Once you’re home, if any of the acorns are dirty, give them a wash with a soft brush and then leave to dry.
To help preserve your acorns, it’s a good idea to dry them out in an oven. Preheat your oven to 80 degrees Celsius then lay your acorns out on a baking tray and pop them in the oven for around 1-2 hours. Check them in the second hour to make sure they don’t dry out too much and crack. All the green acorns will now have turned brown.
Leave them to cool for an hour before using.
Now is the time to reattach any caps that have fallen off! A glue gun or any quick drying glue is great for this or or you can use craft glue but you’ll need to wait a few hours for the glue to dry completely.
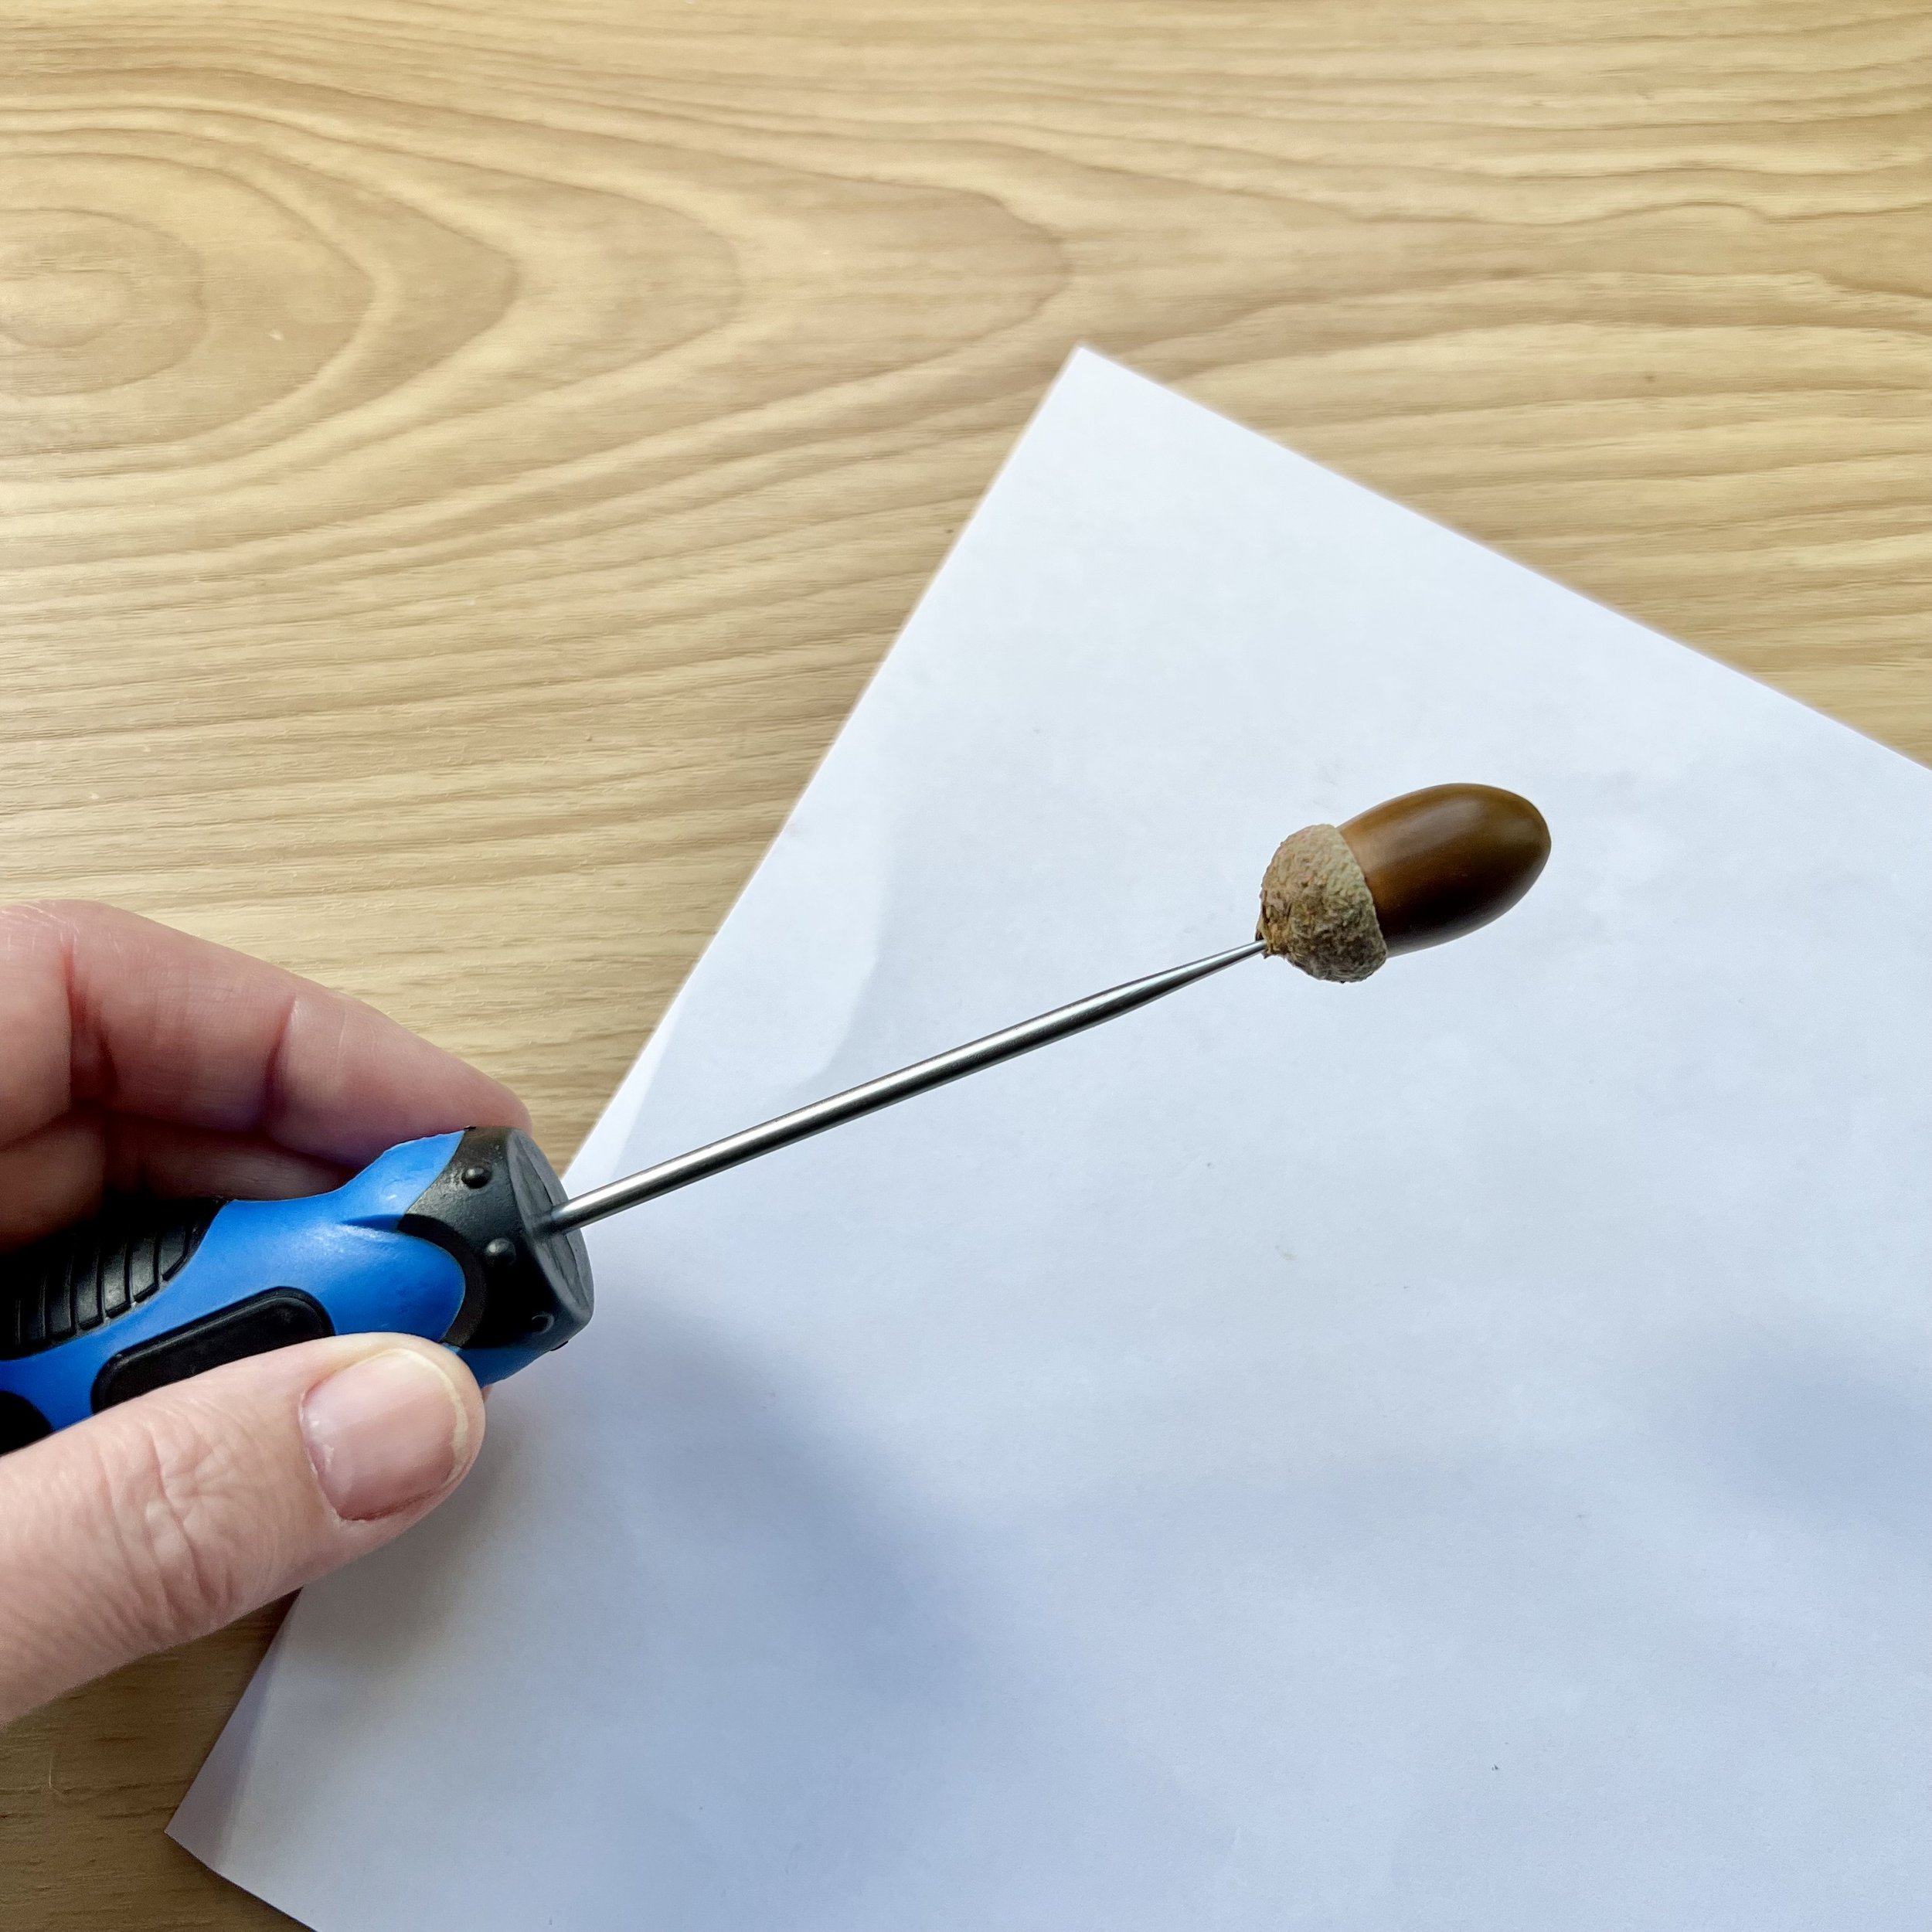
Acorns are quite fiddly to hold so I used an awl to poke a hole in the cap which gave me a handle to hold while painting. You could also use push pins for this.
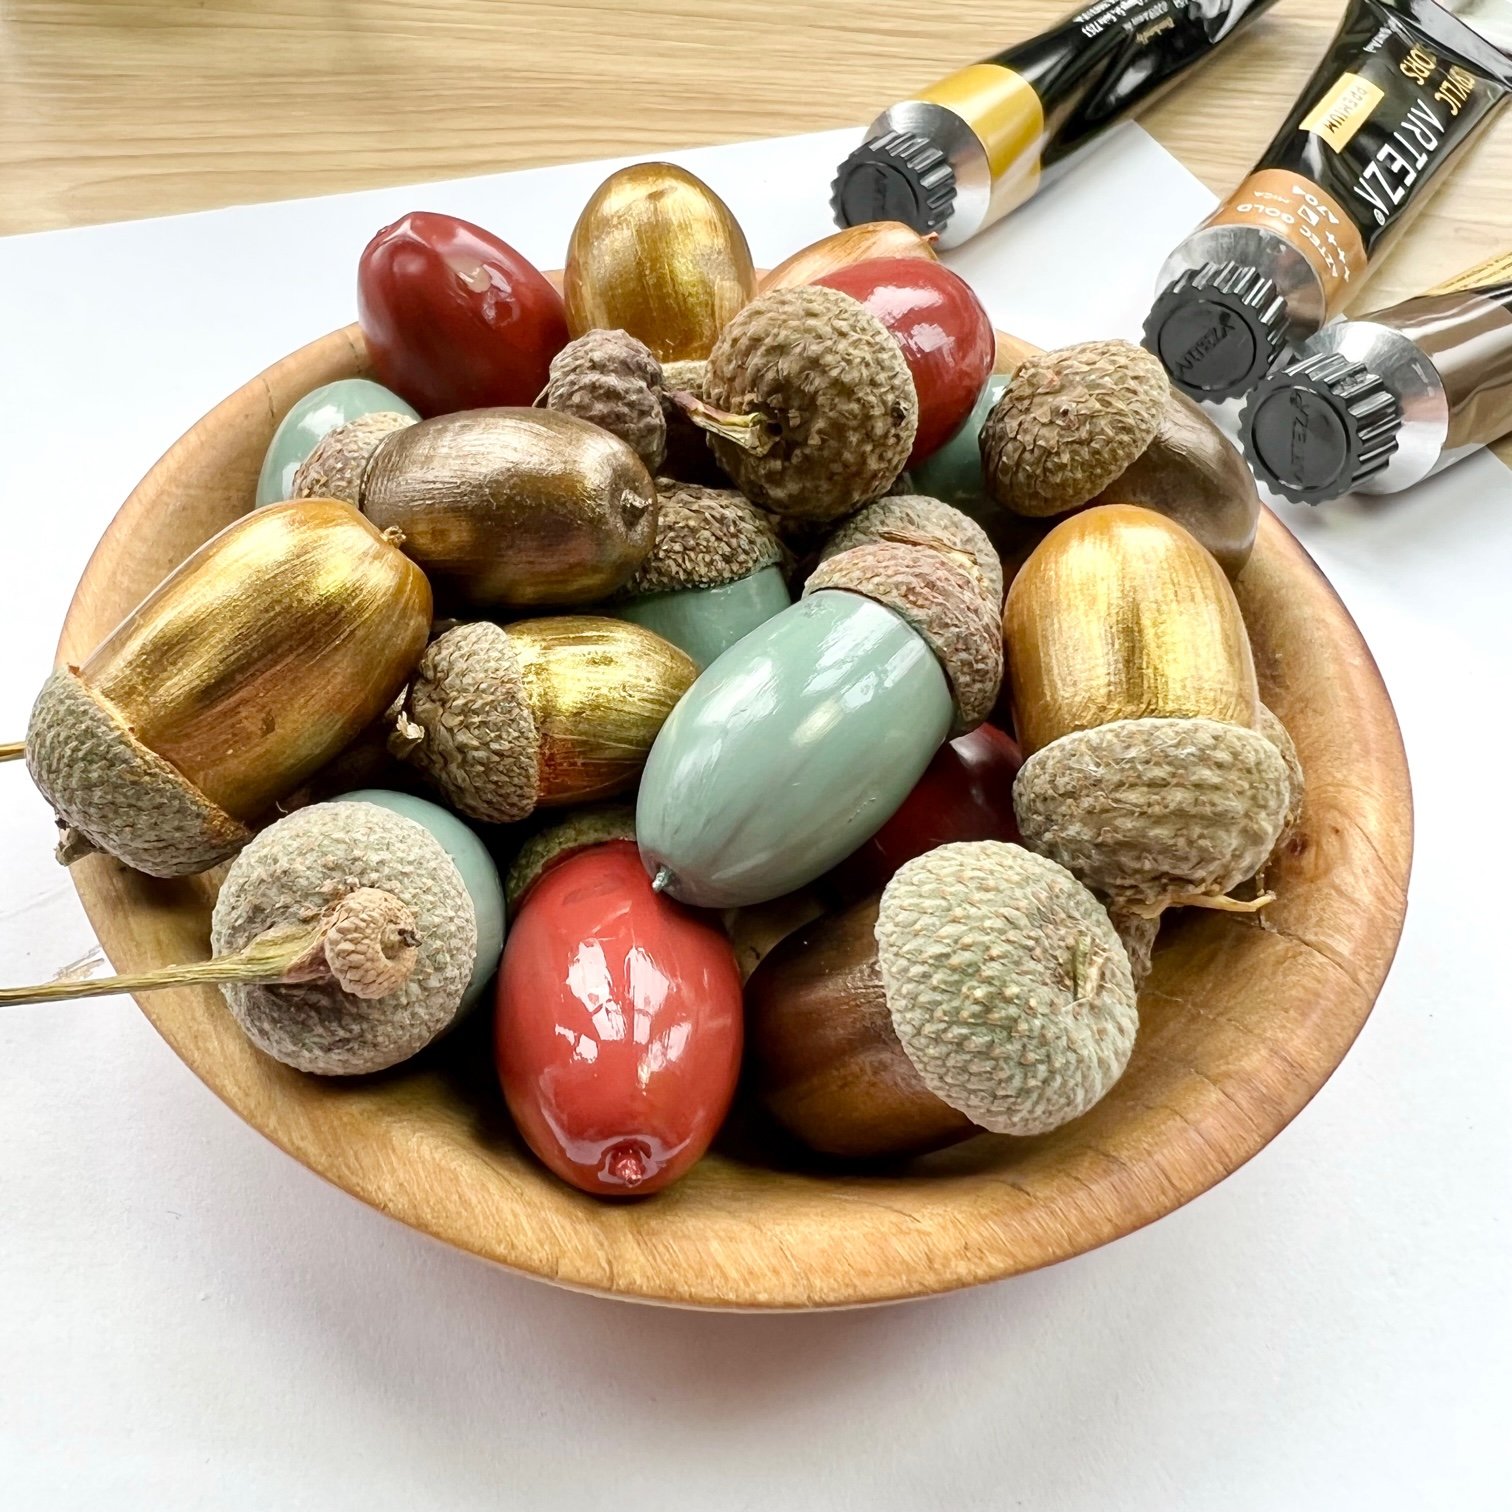
I used a mix of metallic acrylic paints in gold, copper and bronze and two of my favourite nail polish colours to paint the acorns!
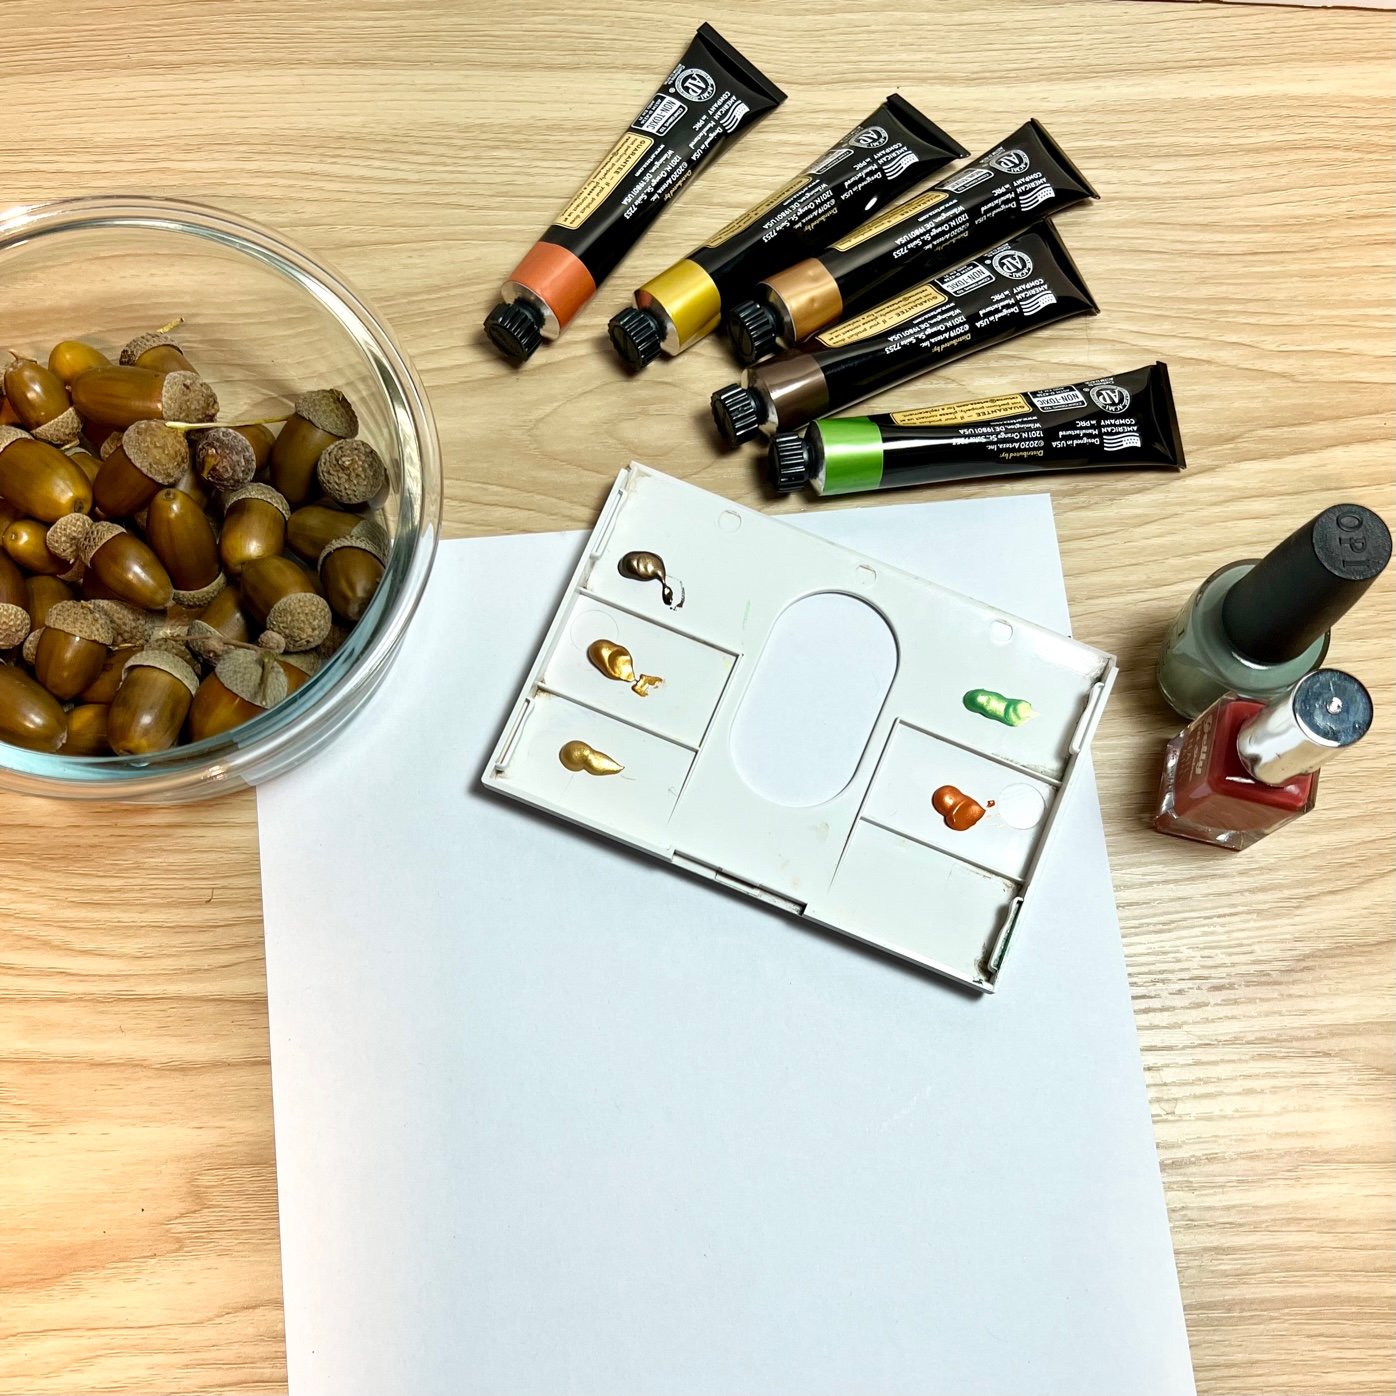
Leave the acorns to dry and then add another coat of paint if you want a more opaque colour.
Once all of your acorns are painted and dry, you can now thread them to make the garland. I have seen some crafters who have drilled through the centre of the acorns or made two holes in the cap and others that have simply used a hot glue gun to add a dab of glue onto the acorn cap to attach to the thread, however, I had these little screw eyes handy which I thought would look lovely to use.
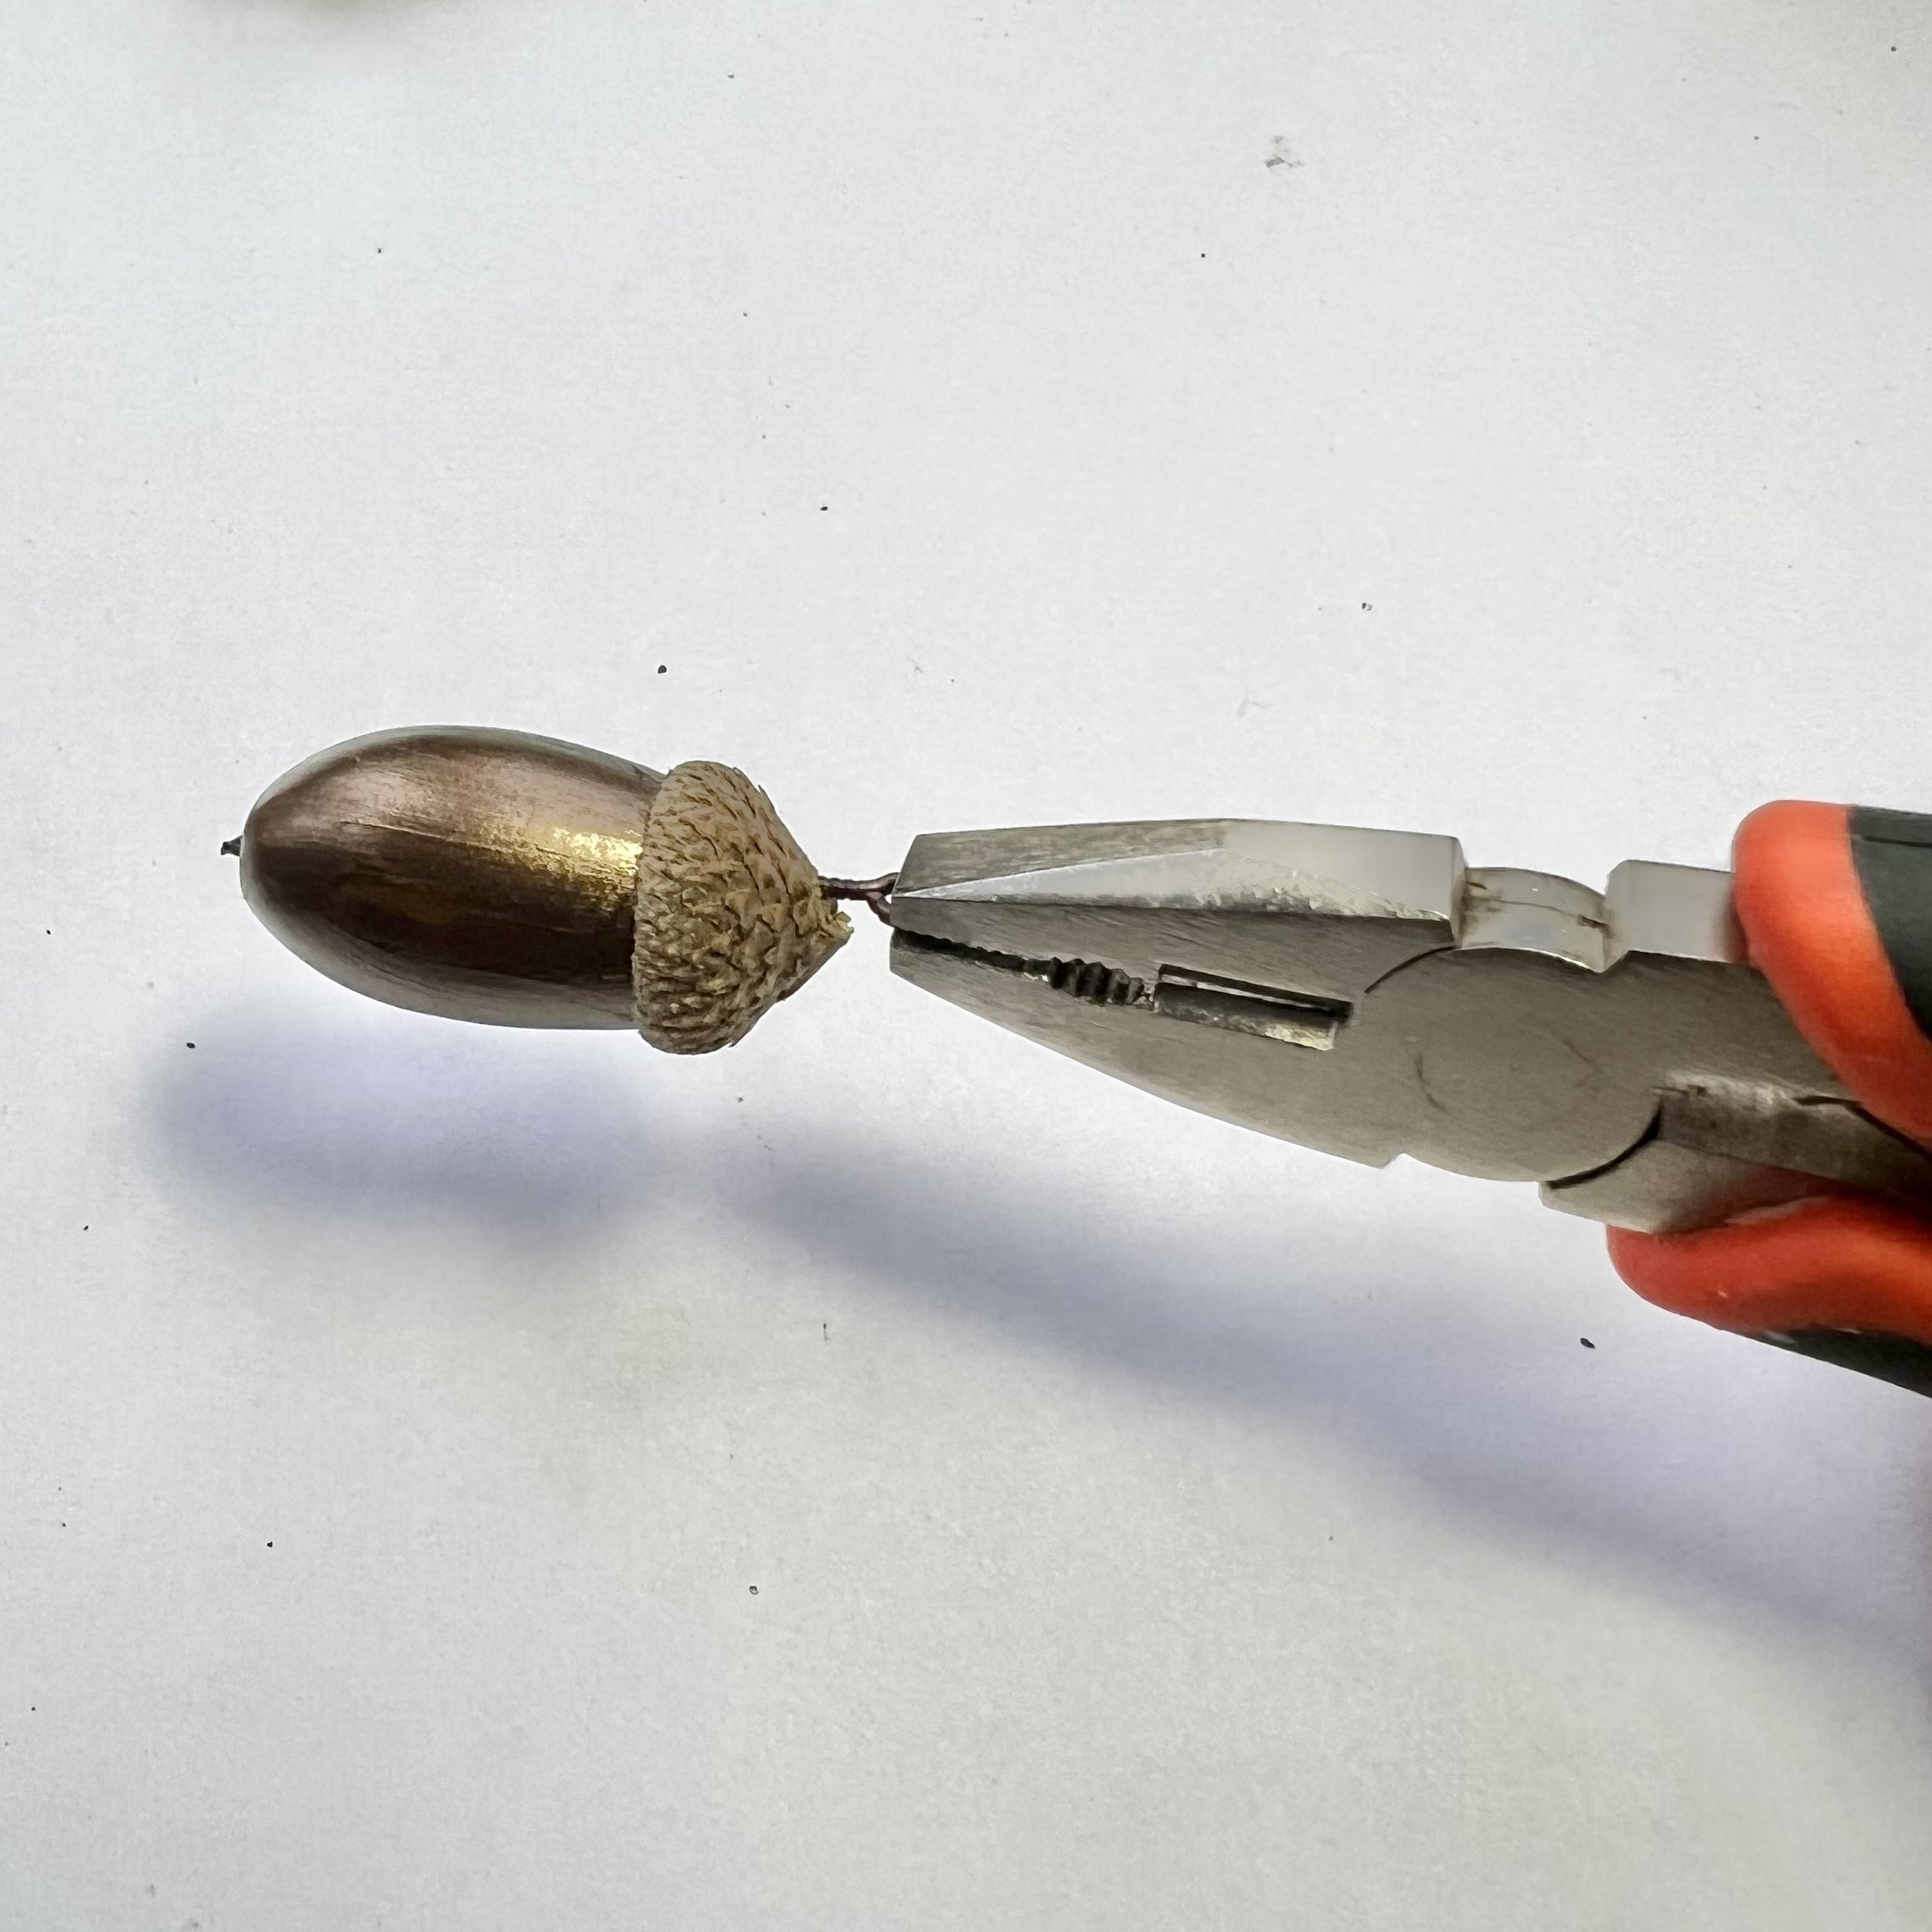
To screw the eyes into the acorn cap, first make a starter hole with an awl (if you haven’t already made one while painting), then using a small pair of pliers to hold the eye, screw it into the same place you made the hole.
If you want to add tree cones to your garland, then you can add the screw eyes in the same way to the tops of the cones.

I love the lichen on these cones!
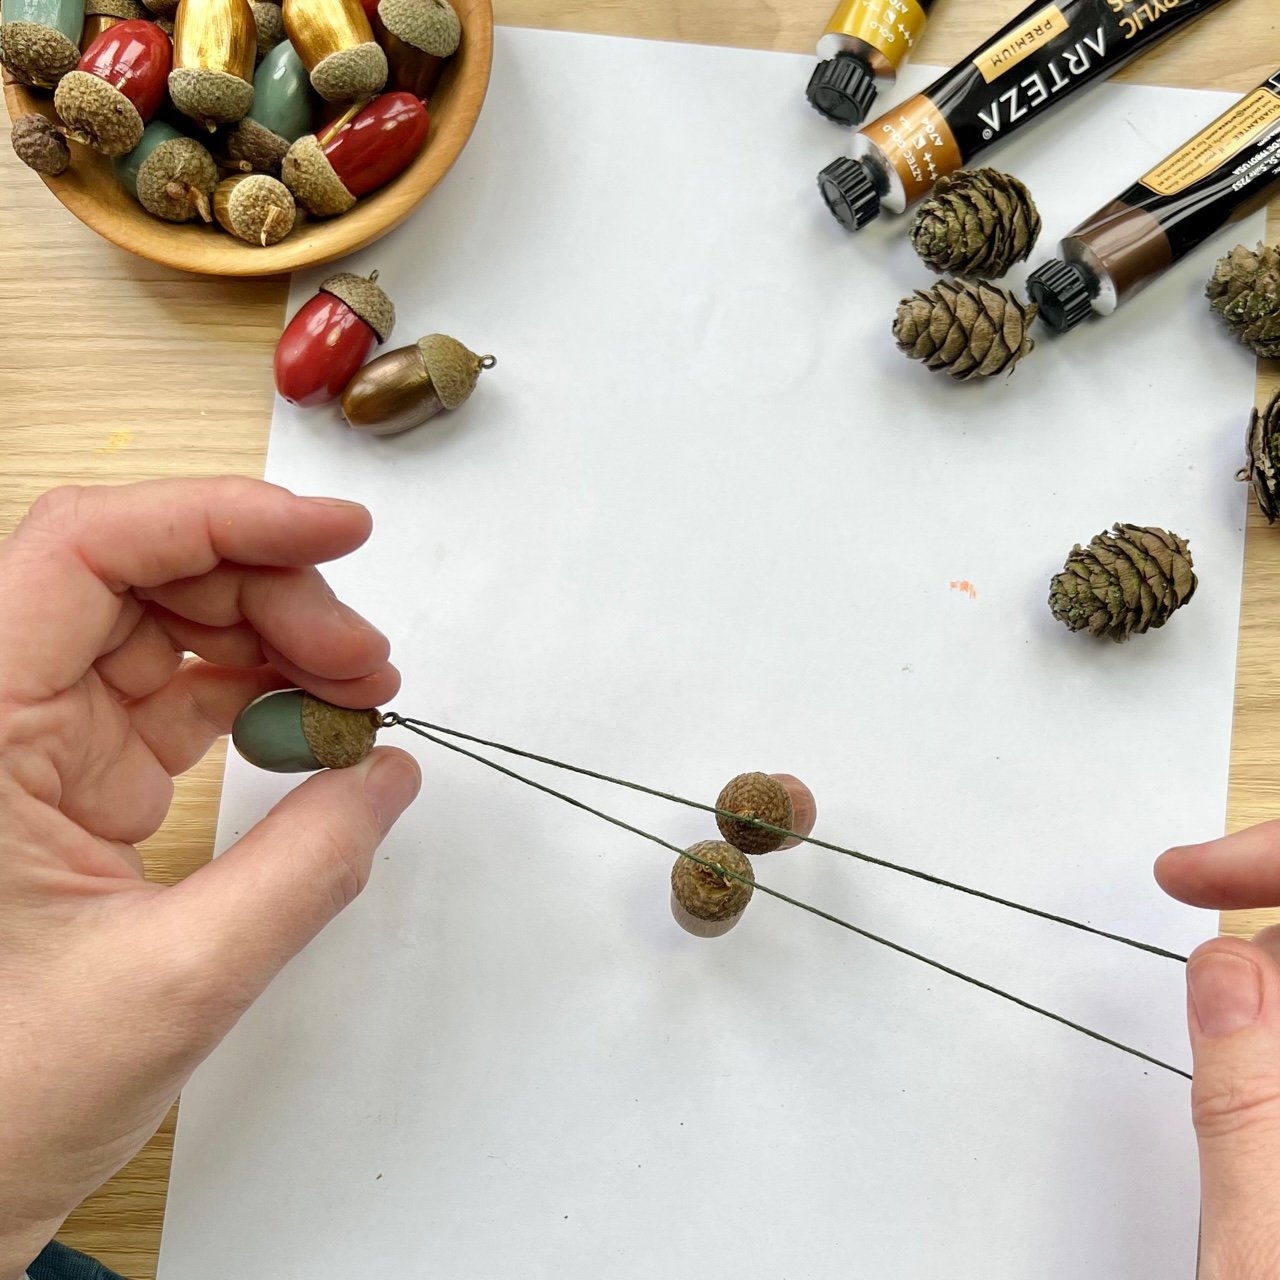
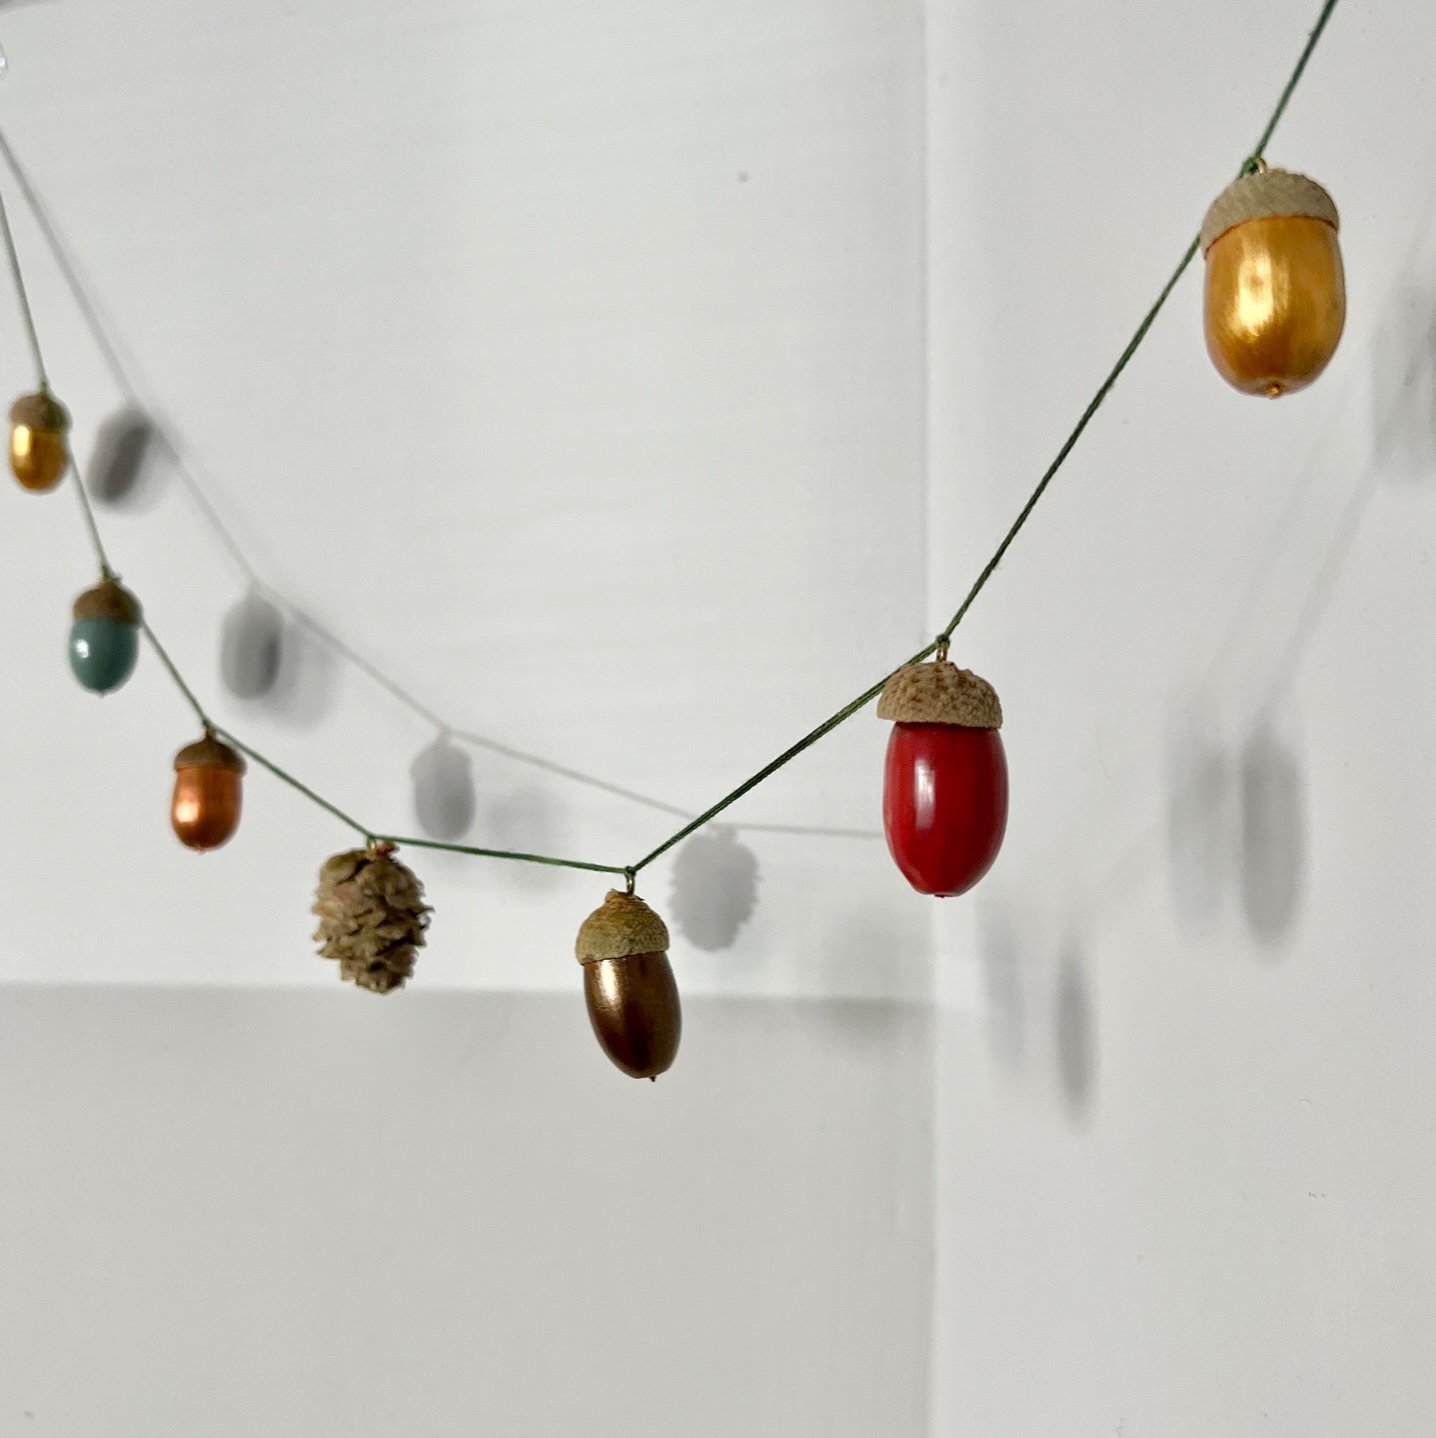
Now you can string your acorns and cones onto your thread. Start by tying a hanging loop at the end of the thread. Then thread your first acorn and tie a knot around the screw eye where you want the acorn to be.
Continue threading the rest of the acorns and the tree cones onto the thread, tying a knot to hold each one in place. You can fold the embroidery thread back on itself to check the distance between the last two acorns so you can evenly space them (See the photo above which shows this better than I can describe it!).
When you have finished, tie a loop at the end and then hang up your beautiful garland!
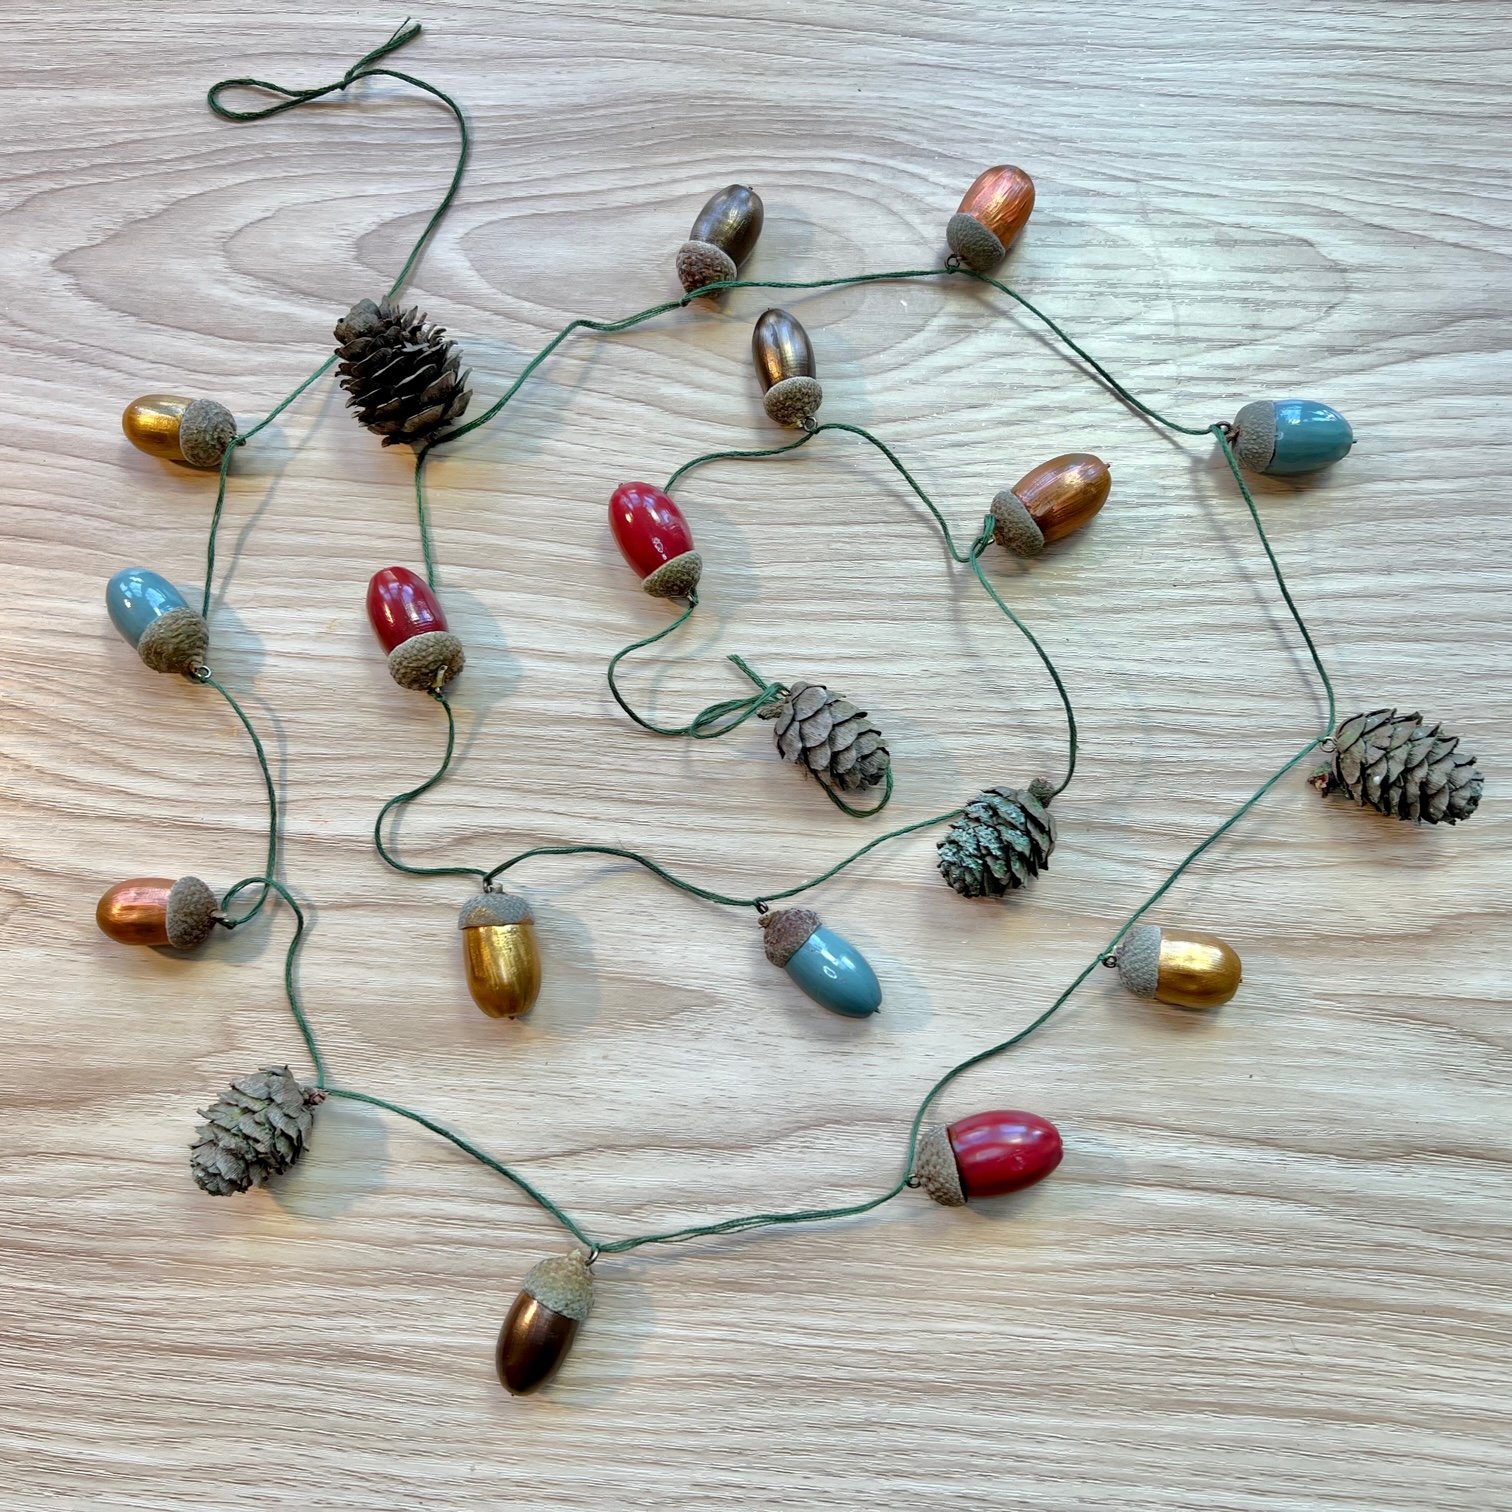
I love how this turned out and my children have asked if we can keep it up all year!

Author: Denise Hope, home educating mum of two boys