How do you measure a Scratch Coat Thickness?
One of the clarifying items that has been forgotten in the transition from the Building Codes of yesteryear and the current listing of ASTM Standards that translate into Building Codes is a little noticed footnote in Table 47-F, I believe.
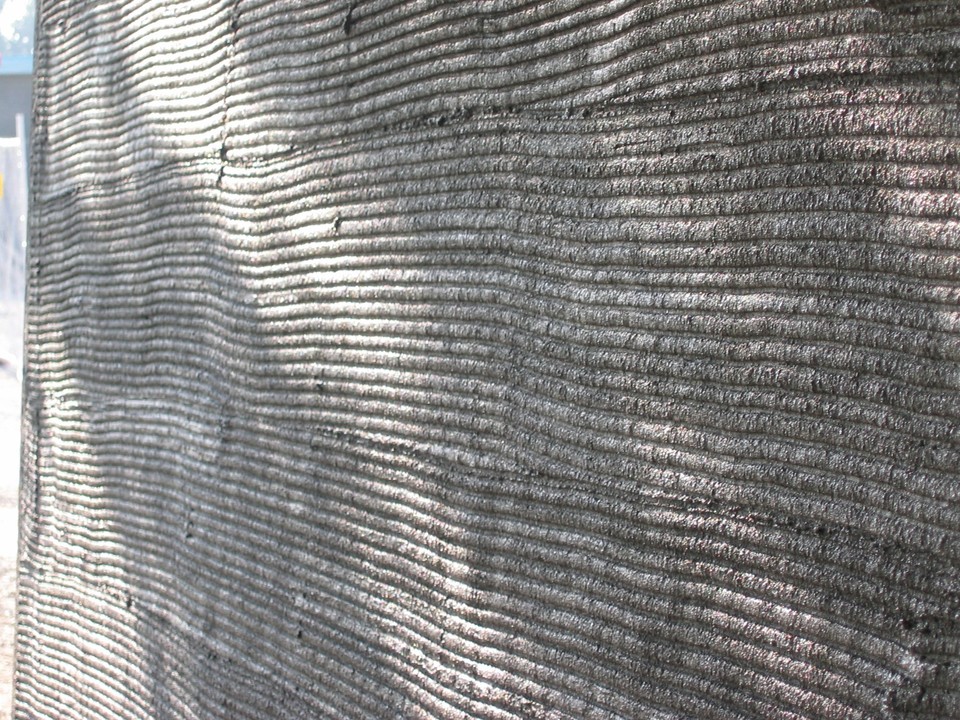
The language is in Footnote 5 of the table defining the APPROXIMATE MINIMUM THICKNESS of the first coat of Portland Cement-Lime Plaster as 3/8” . The minimum thickness of the plaster panel is 3/8” 5. Measured from face of support or backing to crest of scored plaster.
What does this mean and why is it important?
What it means is the thickness is determined by measuring the process of embedding the wire lath using sufficient pressure to push the plaster material under the ¼” furred wire, and adding enough material on top of the lath so that the plaster covers the wire. A. The ¼” furr, the distance between the backing and the bottom of the wire B. plus the thickness of the wire,ie; adding plaster to cover the wire, gives the plasterer an easy gauge to determine if he has installed enough plaster material to meet the minimum requirements in table 47-F, or in the current case ASTM C-926 Table 4 where footnote 4 would be footnote D which has disappeared from the Standard.
This is the generic method of installing 3/8” of a Portland Cement Plaster scratch coat.
We will define in other technical bulletins the curing process and the setting process for plaster panels and the characteristics of both which is called volumetric shrinkage. Slow shrinkage minimizes shrinkage cracking, fast volumetric shrinkage can create stress in the panel and some fine tight shrinkage cracks.
Shrinkage occurs in plaster from the perimeter inward. This means that a panel of plaster as it dries and cures will reduce it’s volume from (for example) ten feet square to less than that as it cures. The less defined shrinkage also occurs in plaster applied on a surface where backing and paper are used to help hold the plaster tight against the wall embedded and encasing the lath wire material. In that situation, the shrinkage occurs away from the paper creating the drainage plane that is critical to managing moisture intrusion in a moisture management system of plaster panel, lath and weather resistive paper. What rarely occurs in the measurement of the scratch coat in a laboratory setting is making provision for that shrinkage. Bell Construction Consulting believes that measurement of a scratch coat should be “in situ” or “in place” because a thin scratch coat in the lab could be perfect when installed on the wall.
If you’ve concerns about measuring the scratch coat or interpretations about scratch coat thickness, visit Bellconstructionconsulting.com or call 916-296-1823
Vice President at Lougheed Resource Group, Inc
6yASTM C 926 calls for screeding to 3/8 then scratching. So measure to the ridge
Owner Vertical Mac Construction / Stucco Contractor
6yI like 3/8 to the top of the ridge.