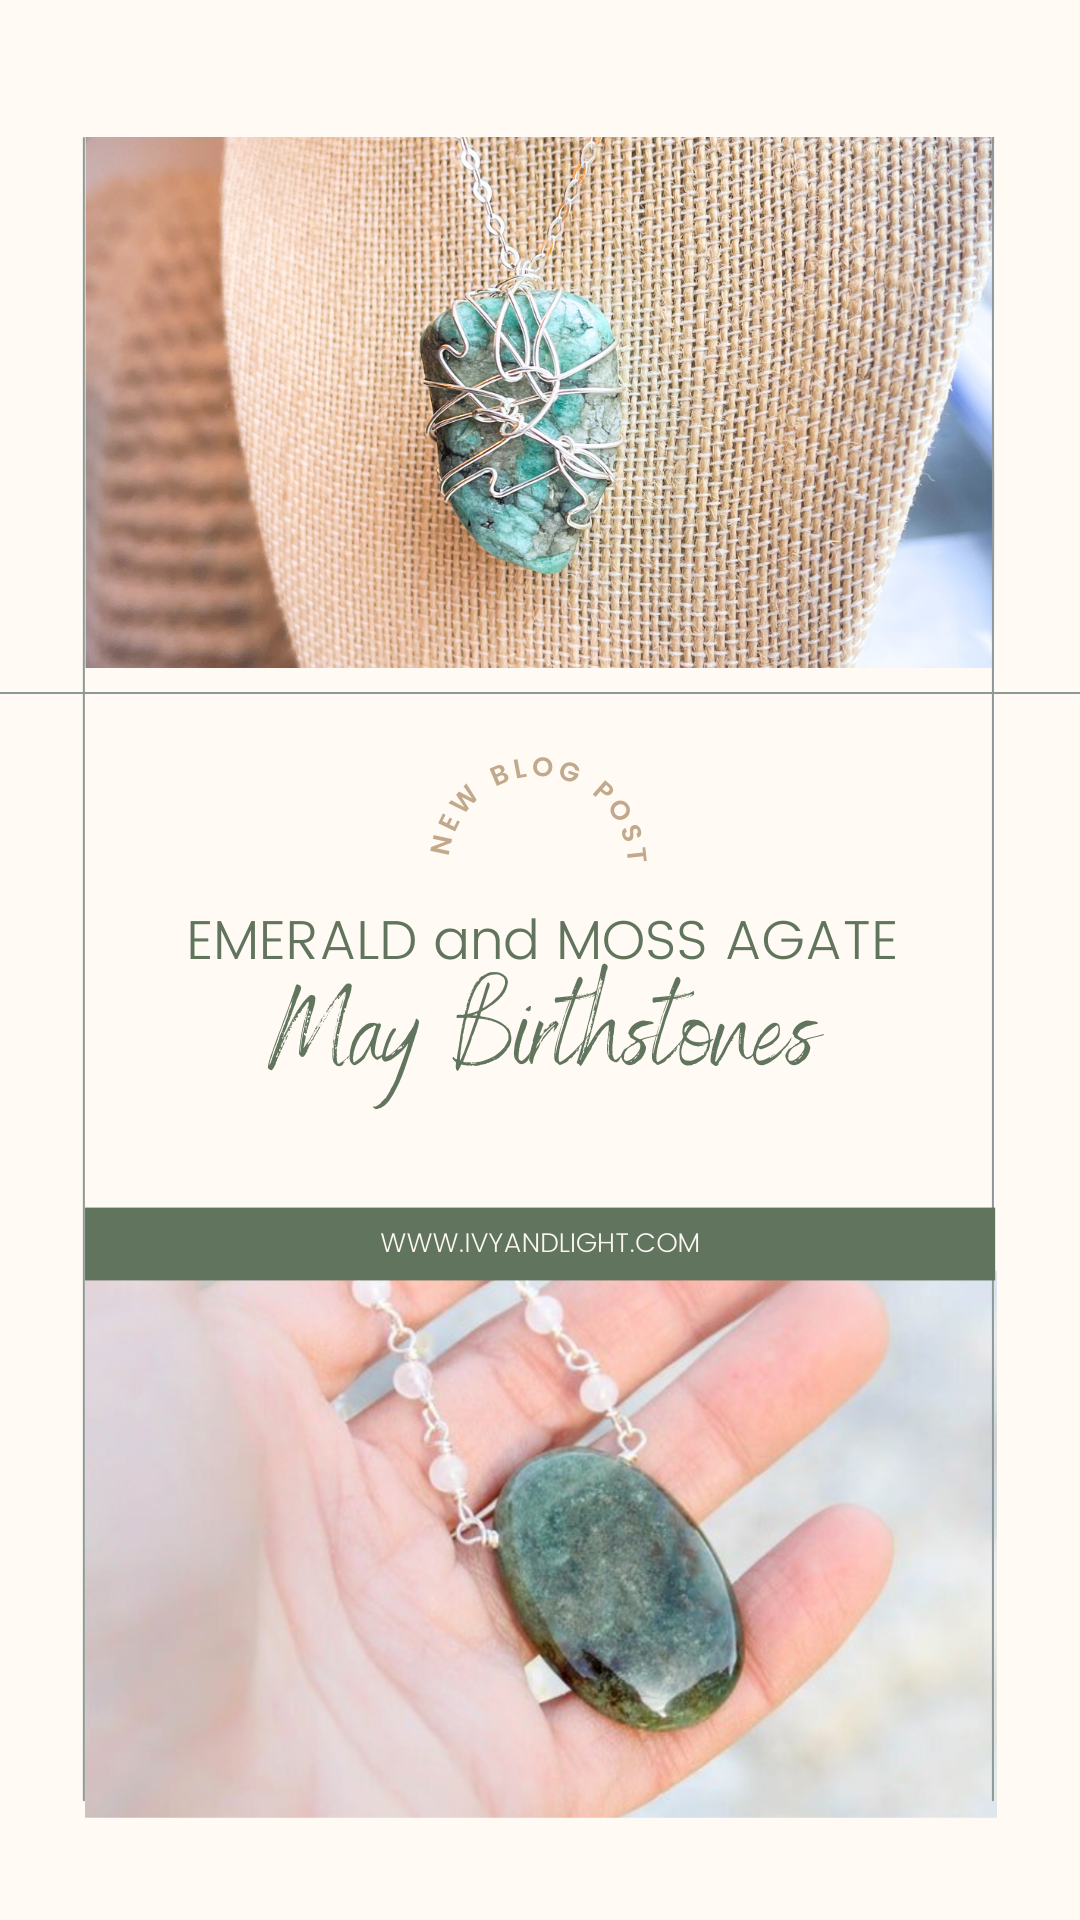
Learn the Art of Crystal Wire Wrapping: 3 D.I.Y. Techniques
Wire wrapping crystals is a fun way to try your hand at making jewelry without having to buy expensive and dangerous equipment. While each method involves the same basic principle of wire manipulation, there are three main approaches to wire wrapping a crystal pendant. In this blog post, we'll explore these techniques: wire wrapping a tumbled stone, effortlessly using a pre-drilled crystal, and the traditional wire wrapping method for cabochons.
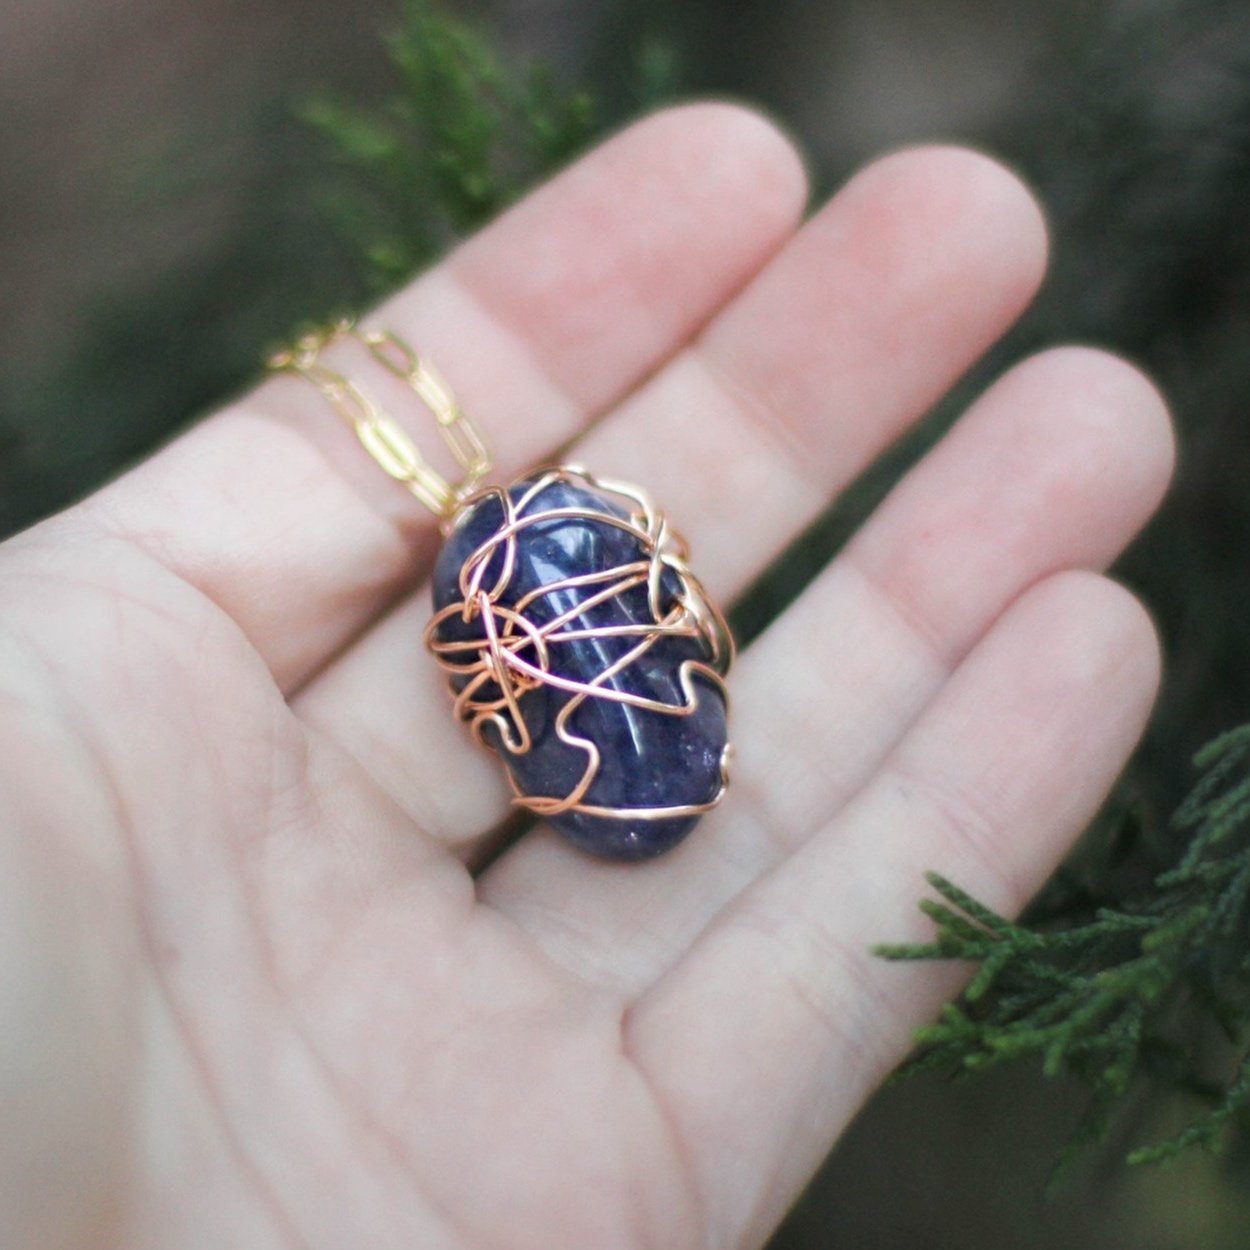
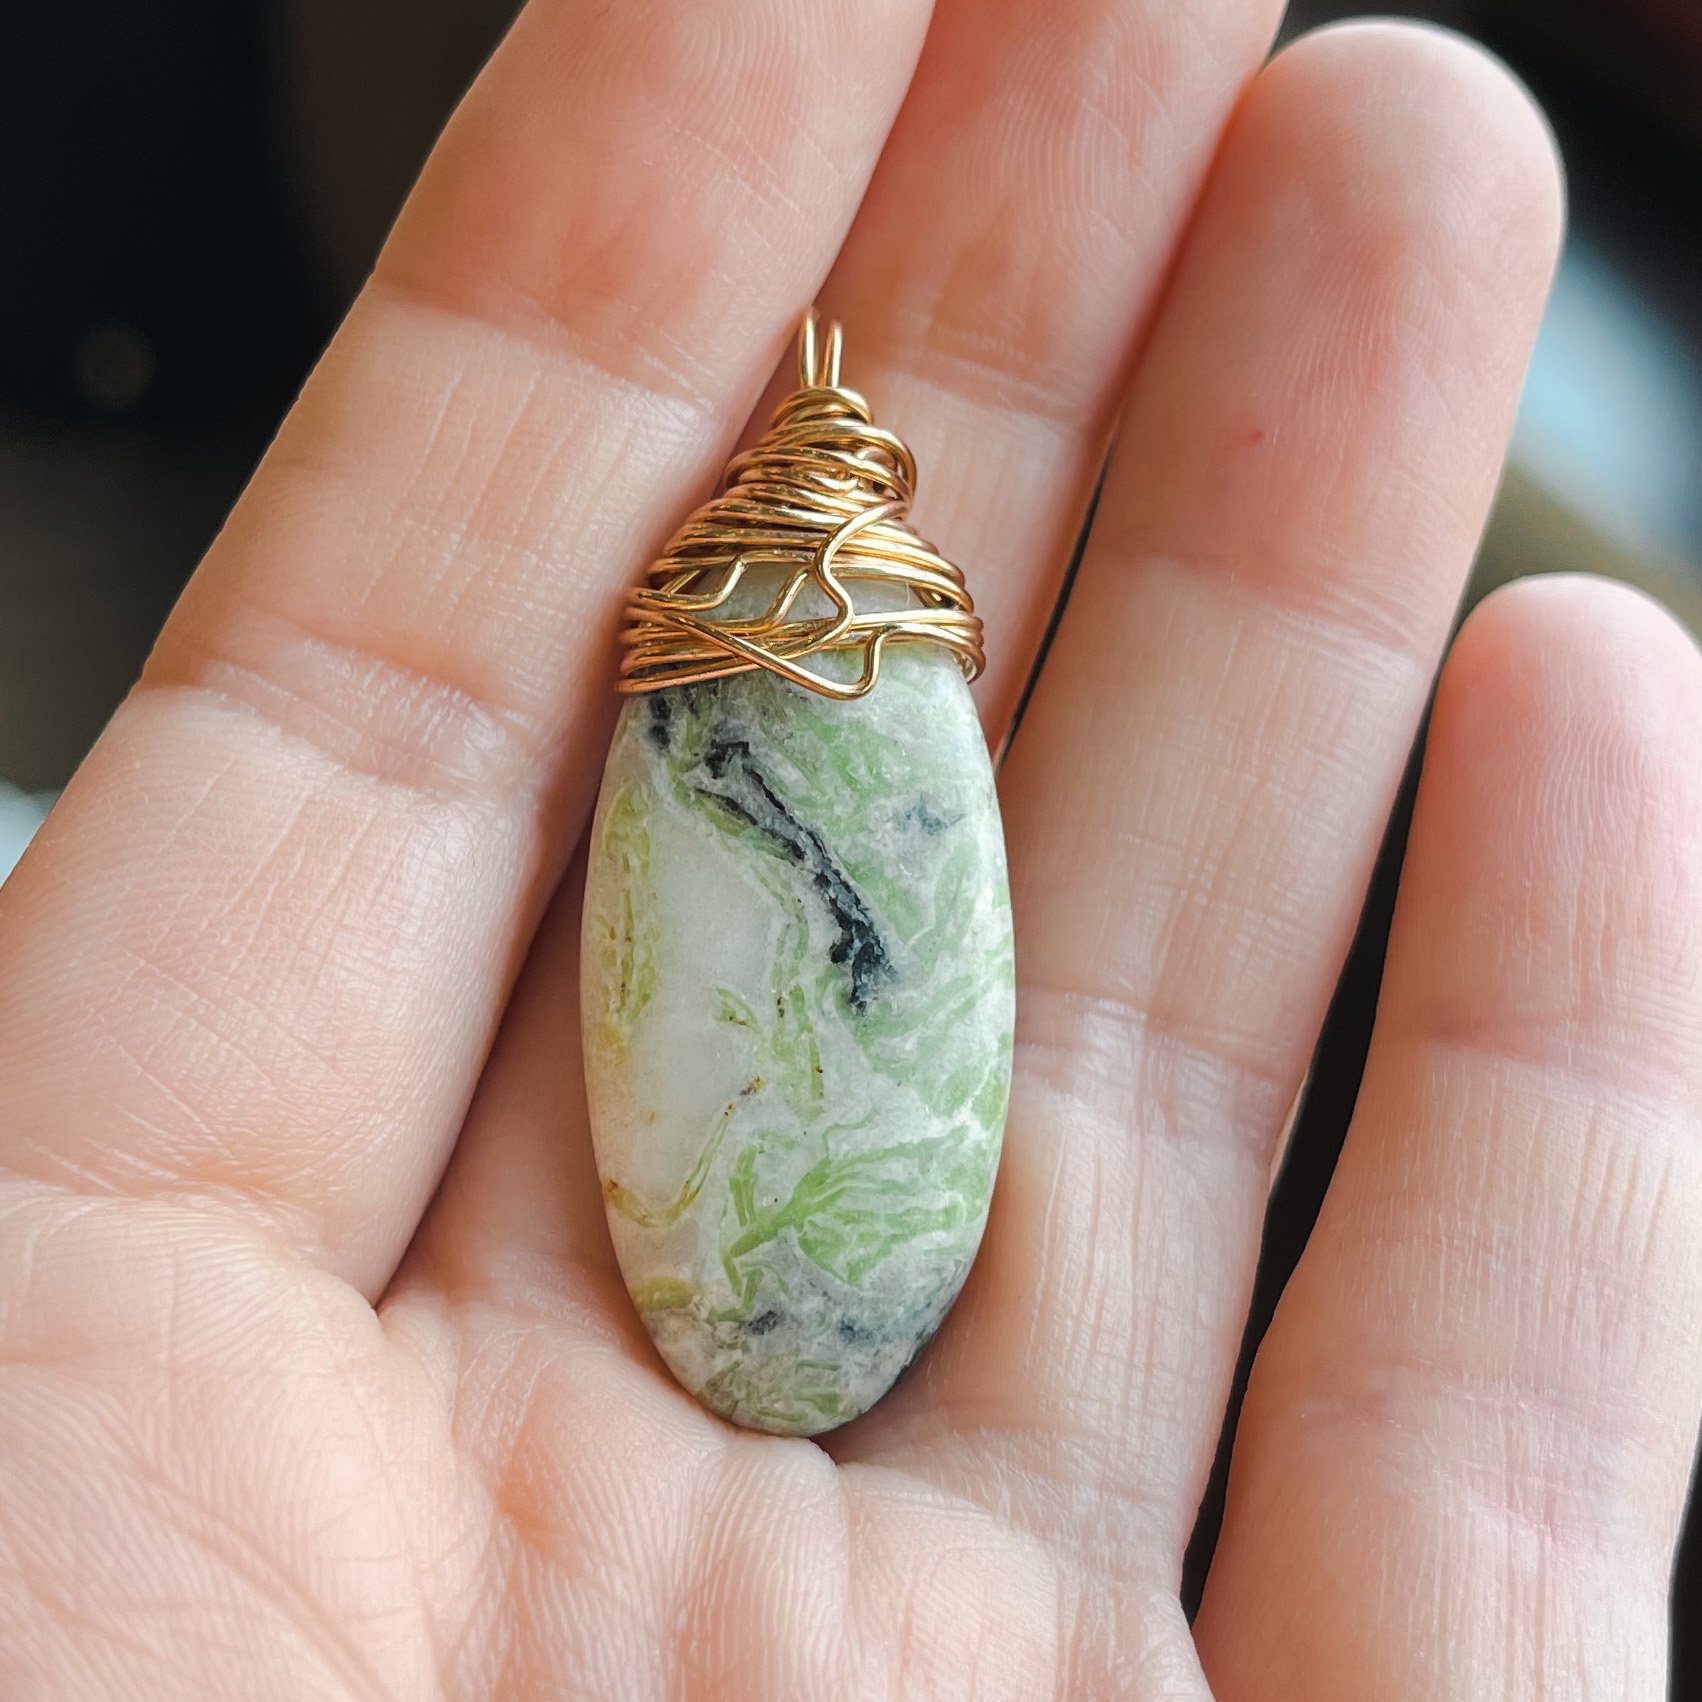
Wire Wrapping a Tumbled Stone: Allowing the Stone to Guide You
This is by far my preferred technique and the one I use most often for my Lula May Design jewelry colletion. Wire wrapping a tumbled stone creates a one-of-a-kind creation, but it also presents a unique challenge due to the slippery surface and non-uniform shape. Unlike pre-drilled crystals the tumbled stone lacks a designated attachment point, requiring a more intuitive approach. The key to success in this technique is to allow the stone itself to guide you.
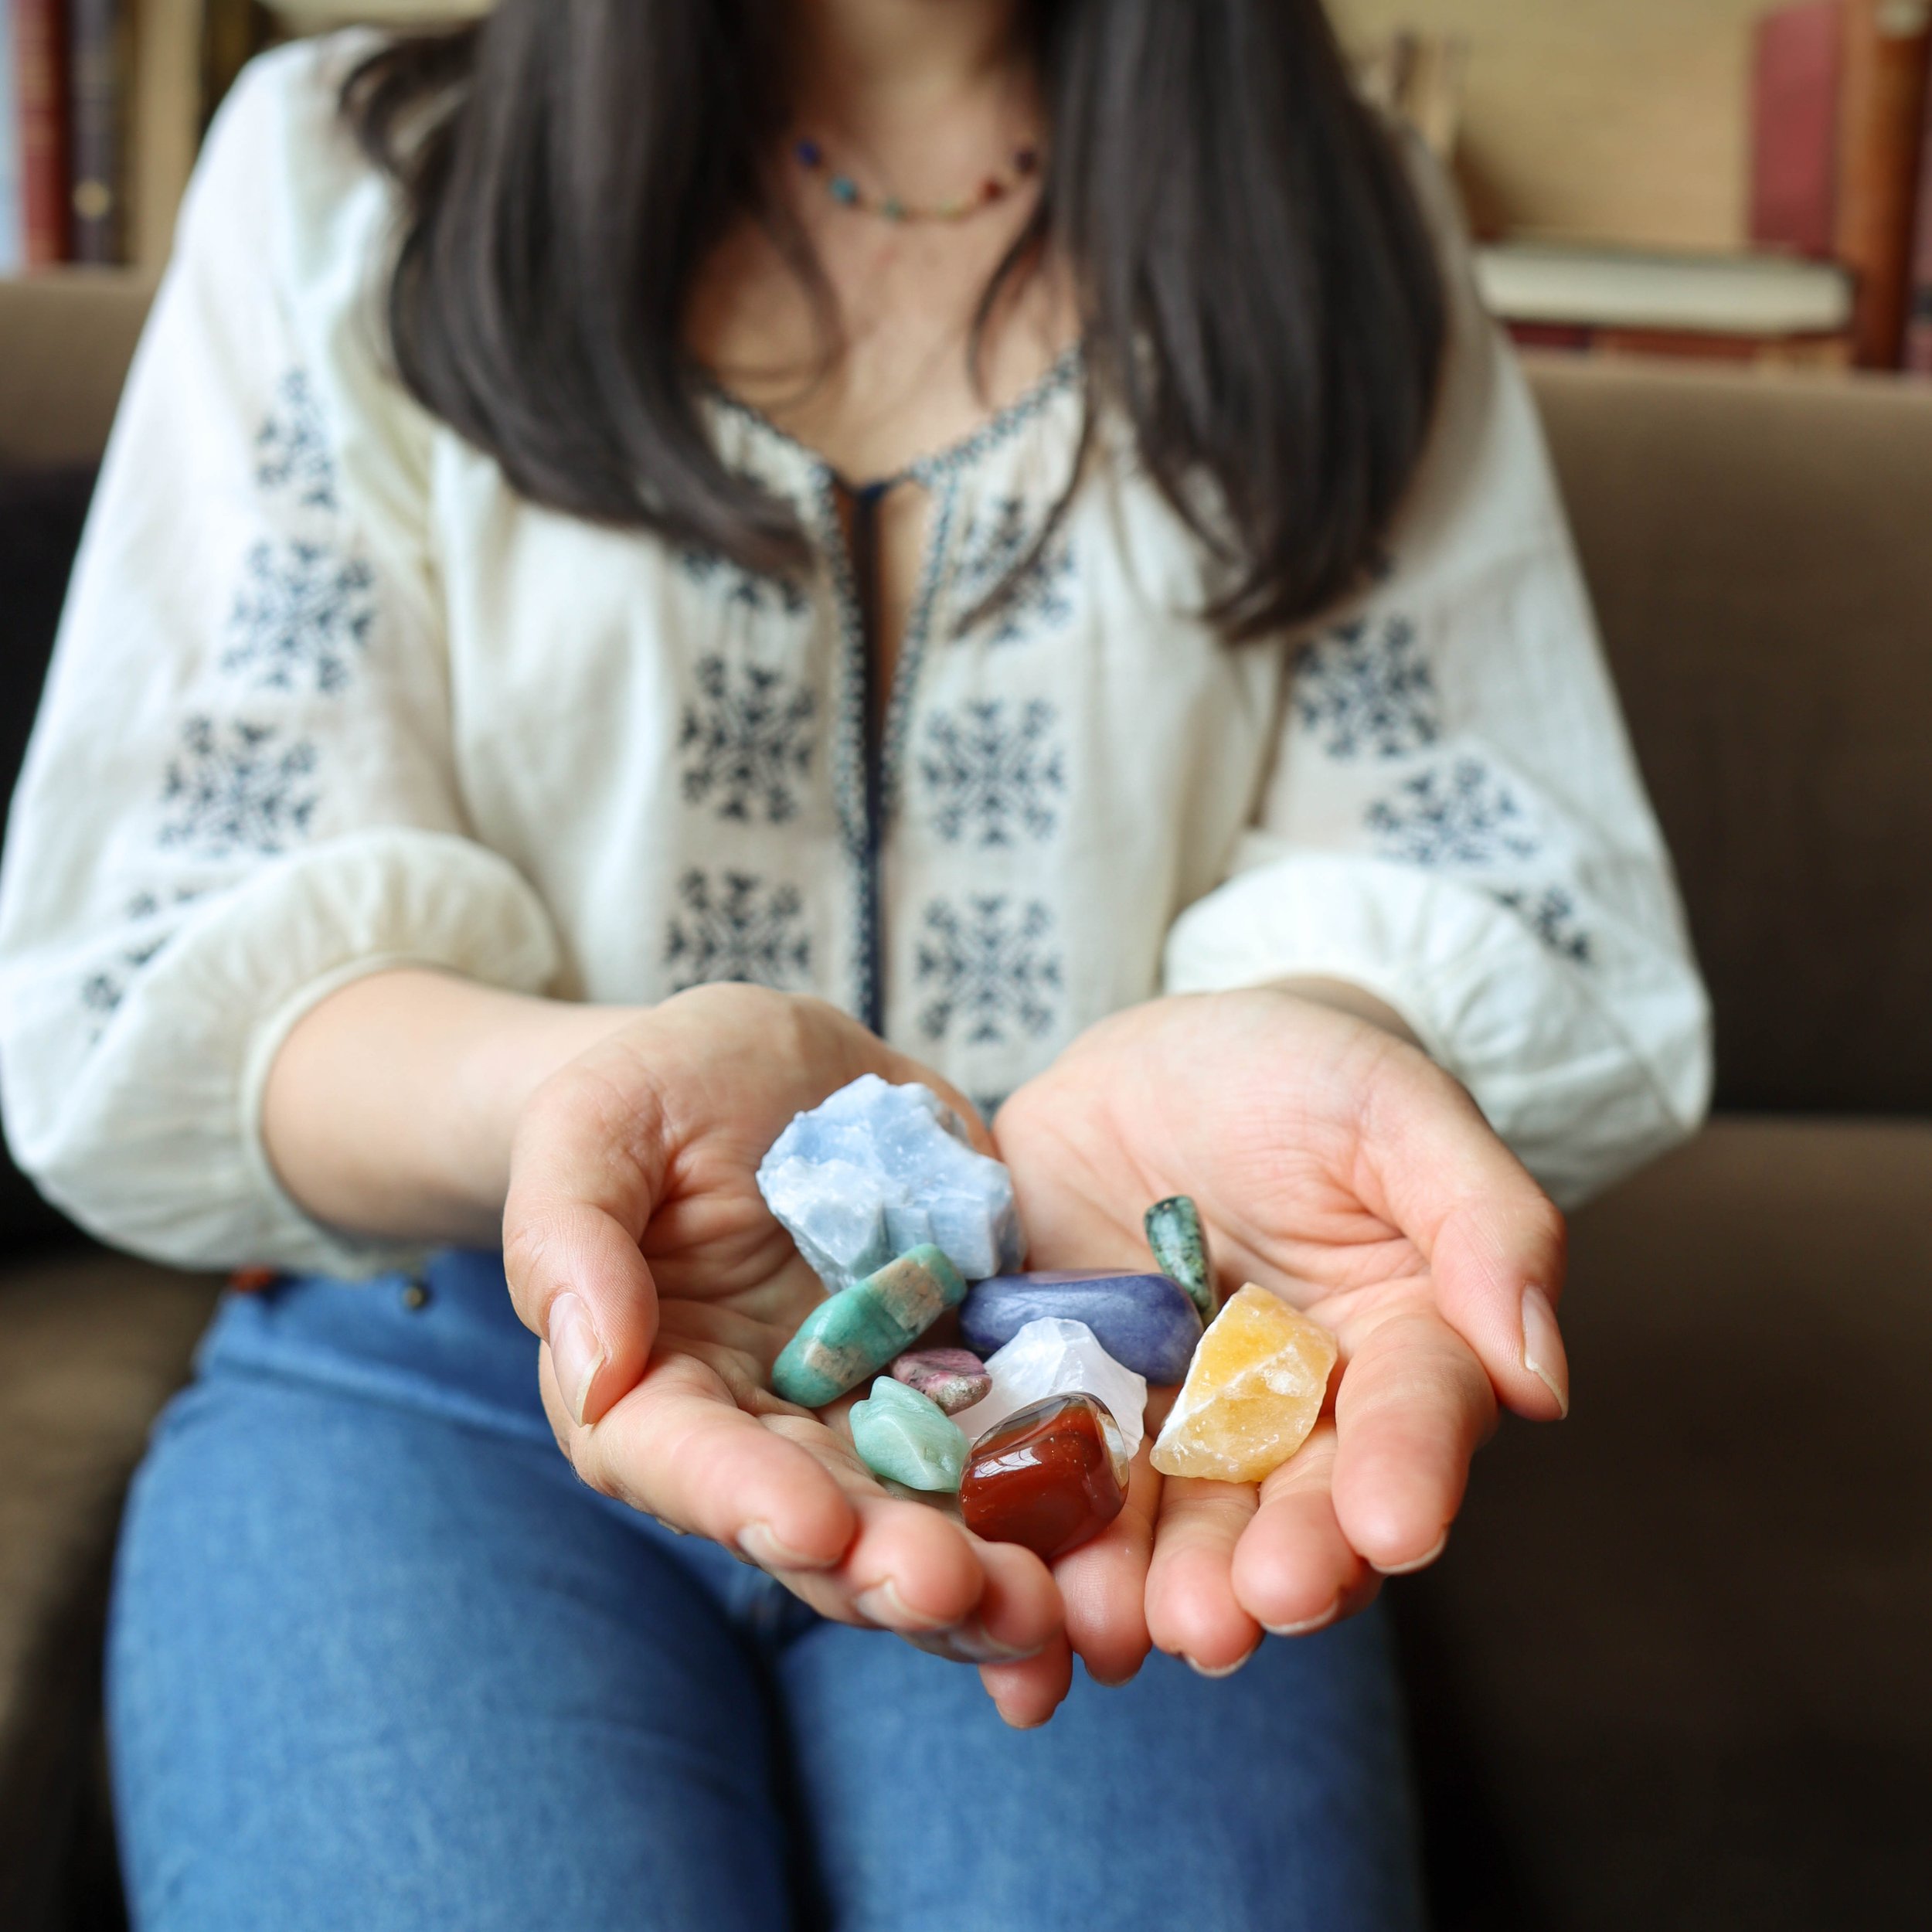
Begin by selecting a tumbled stone that resonates with you. If you want to make a piece that has healing benefits, as well as beauty, make sure to get genuine, natural gems from a trusted source. For help selecting crystals for their healing benefits, check out our Crystal Properties Guide.
Then select your wire. As a beginner, it’s best to work with inexpensive materials such as German style plated wire. You won’t get the quality and longevity of Sterling Silver or Gold wire, but you don’t have to worry about making mistakes and wasting lots of money as you learn.
Use a medium-thin gauge wire (around 20 or 22) and let your creativity flow. Gently cradle the stone with the wire, allowing your hand to determine its natural orientation. As you manipulate the wire, you'll find it gradually takes on a unique form, revealing the stone's inherent beauty. The result is a pendant that captures the stone's essence, its shape harmoniously merging with the wire wrap.
Effortless Elegance with Pre-Drilled Crystals
For those seeking a simpler wire wrapping technique, working with pre-drilled crystals is an ideal choice. These crystals come with a hole already drilled at the top or through the middle of the stone, eliminating the need to wrestle with tricky wire placement. Instead, your focus can solely be on creating an exquisite wire wrap that enhances the crystal's allure.
Select a crystal that speaks to you and aligns with your intention. Make sure that the wire you’re using fits easily, and snugly through the drilled hole, to create a secure anchor for your wire wrapping. Begin by threading the wire through the drilled hole and start wrapping around the crystal's top. This technique allows you to leave most of the crystal exposed so that the focus is on the beauty of the crystal, rather than the wire wrapping.
Traditional Wire Wrapping: A Time-Honored Approach

The traditional wire wrapping method is a classic technique that involves creating a cage-like structure to cradle and secure a crystal, usually a cabochon. This method is perfect for those who wish to showcase as much of the crystal's surface as possible while ensuring its stability.
Choose a cabochon that resonates with your intentions, and to keep the traditional look, use 22 gauge copper wire for the frame and thinner 28 or 30 gauge copper wire for weaving. Begin by shaping the thicker wire into a basic frame that encapsulates the cabochon. Once the frame is secure, weave the thinner wire around the frame, guiding it to create an intricate design that adds a touch of enchantment to your pendant. This technique results in a harmonious blend of metal and gemstone, each enhancing the other's natural beauty.
This technique can be time-consuming at first, but it allows you to learn the wire wrapping skill based on methods and instructions that have been developed over time and documented for sharing with each new generation of crystal lovers. Check out our video below for inspiration on wrapping your first cabochon.

Wire wrapping crystal pendants is an art that allows you to infuse your creations with personal intention and style. Whether you choose to work with tumbled stones, pre-drilled crystals, or embrace the traditional cabochon method, each technique offers a unique way to showcase the splendor of gemstones. As you master these wire wrapping approaches, your creations will become not only adornments but also expressions of your creativity and connection to the natural world.
Remember, each pendant you create has the potential to hold powerful energies and intentions. After completing your masterpiece, consider taking the extra step to cleanse it with sage and infuse it with Reiki energy, amplifying its healing properties and making it a truly holistic and transformative piece of art. Learn all about that in our blog post “Reiki Infusing Crystals | What, How and Why it Boosts Healing Benefits.”
Basic Supplies for Wire Wrapping Crystal Pendants:
Inexpensive wire, such as German Style plated wire or Copper wire. You may see an option of dead soft, half hard or hard wire. Dead soft is the easiest to bend, making it a great starting point for learning the art of wire wrapping.
Set of Pliers for bending the wire, including at least flat nose, round nose, and wire cutters.
Jewelry mat or other non-slip surface to keep supplies and stones from rolling away or dropping and breaking/scratching on a hard surface as you create your piece.
Microfiber jewelry cloth to polish your finished piece and keep it shiny over time.
BONUS: Drilling Your Own Holes into Gemstones
For those who relish a hands-on approach and wish to exercise their creativity to the fullest, drilling your own holes into gemstones opens up a world of design possibilities. This technique allows you to transform a raw gemstone into a personalized work of wearable art. However, it's important to note that drilling gemstones requires precision, patience, and the right tools.
To begin, you'll need a few essential tools: a high-quality rotary tool (such as a Dremel), diamond-tipped drill bits of varying sizes, a clamp or vise to secure the stone in place, safety goggles to protect your eyes from debris, and a water container for lubrication and cooling during the drilling process. A simple and cost-effective option is to use a shallow plastic container or bucket filled with water. Place the container directly underneath the drilling area, and position the stone so that it's partially submerged in the water while you drill. This method is easy to set up and works well for smaller drilling projects.

Start by selecting the gemstone you wish to drill and determining the desired location for the hole. Secure the stone in the clamp or vise, ensuring it's stable and won't shift during drilling. Begin drilling at a slow speed while applying gentle pressure. The diamond-tipped drill bit will gradually create a hole in the stone. Be patient and maintain a steady pace, allowing the bit to do the work without excessive force.
Keep in mind that different gemstones have varying hardness levels, so you'll need to adjust your technique and drilling speed accordingly. Softer stones will require less pressure and a slower drilling speed, while harder stones may need a bit more force. Regularly dipping the drill bit into the water helps prevent overheating and ensures a smoother drilling process.
Once the hole is complete, carefully remove the stone from the clamp or vise and inspect your work. If necessary, use a small file or the polishing attachment on your Dremel to smooth the edges of the hole. Now, your gemstone is ready to be wire wrapped using the pre-drilled crystal technique mentioned earlier.
Once you piece is complete, you’ll want to take good care of the crystal and the metal wire, so you can enjoy its shine and beauty for years to come. For all our best tips, check out our Ultimate Guide to Caring for your Crystal Jewelry.
Keep Learning