Easter is the ideal time to break out your DIY supplies and make a spring craft. Short on Easter baskets this year? Not a problem. Here's how to make the perfect DIY paper basket that will fit a chocolate bunny, jelly beans, and maybe even a decorated egg or two. Note: Following this tutorial will make a 4”x4”x4” paper basket, if you want a larger or smaller basket, adjust the measurements to reflect the size you want.
HOW TO PREPARE YOUR SUPPLIES:
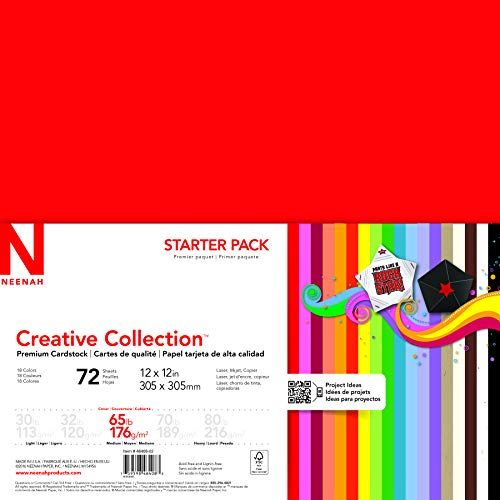
- Cut 1” wide strips of paper.
- Cut 4 18” pieces of one color and 1 for the handle.
- Set aside the 1 for the handle.
- Cut 4 14” long pieces of your first color.
- Cut 4 14” long pieces of your second color. (If you don’t have paper that is long enough you can tape two pieces together.)
INSTRUCTIONS:
- Arrange the 14” pieces 4 across, being sure to alternat colors.
- Weave 4 more 14” pieces in the other direction of the 4 you already have placed down, alternating colors again. Adjust the inner square (where the paper is overlapping) to make a 4” x 4” square.
- Glue down each corner that is overlapping to secure.
- Fold each piece inwards towards the center to start building the side walls.
- With the 18” pieces, measure and mark every 4” and then fold on each mark. Glue the ends together.
- Weave each of these pieces to form the basket by following the under/over weaving pattern.
- After you weave the 4 18” pieces onto the walls, fold over any excess paper and glue to the inside (or trim and glue to the inside).
- Glue each side of the handle to the inside of the basket and you are done!
