K, so even though blowing out your natural hair might seem like a self-explanatory process, there's actually a lot you need to keep in mind if you're trying to avoid heat damage or breakage. "One of the biggest misconceptions about natural hair is that it's stronger than other hair textures—but it's actually really delicate and needs to be treated as such," says Ashanti Lation, celebrity stylist and founder of VIP Luxury Hair Care. That means you need to (A) prep it with the right products before you get started, and (B) take your time and be super gentle while you work.
So to make the process as easy as possible, we chatted with Lation and Jazzee Santiago, hairstylist and natural hair expert, to get all their pro advice on natural hair blowouts. Keep reading for everything you need to know, from the prep work (like, starting-in-the-shower-prep work) to the maintenance that'll keep all your work in place.
How do you blow out natural hair?
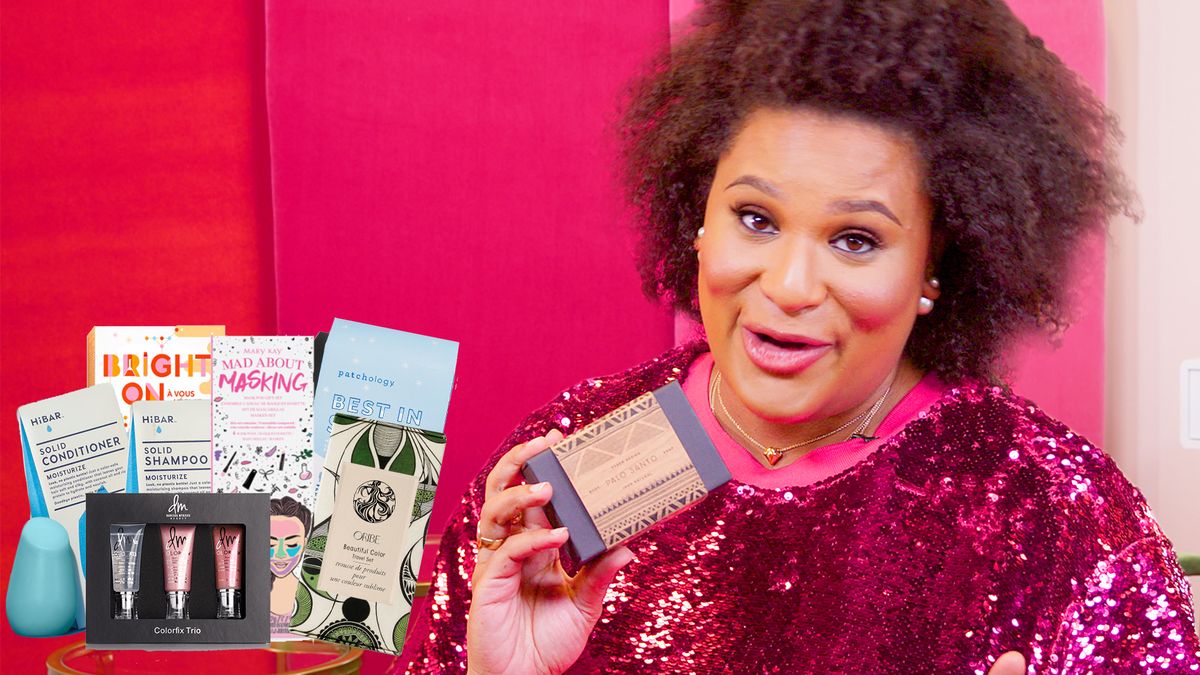
According to Santiago, there's a couple ways you can do a natural-hair blowout (like in the tutorial above), but the main goal here is to stretch your hair, not necessarily straighten it. "You can then wear your blowout as is, or you can run a flat iron or curling wand through it at the end to smooth and style the stretched-out hair," she says.
Blowouts are also a crucial step if you're planning to silk-press your hair (aka when you flat-iron your hair after the blow dry so it's bone-straight and shiny, says Santiago). Regardless of how you choose to style your blowout, though, Lation says there are a few things you'll need to have on hand before you get started:
Your blowout tools:
- Detangling brush or wide-tooth comb
- Lightweight leave-in conditioner
- Heat-protecting serum
- Separating clips
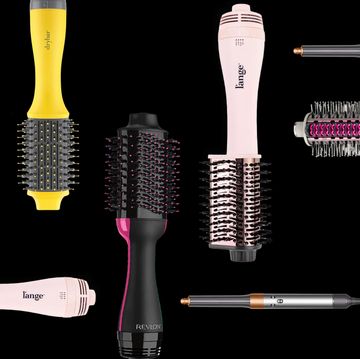
- Blow dryer with comb attachment or paddle hair brush
Got your supplies all laid out and ready? Cool, now keep reading for a simple step-by-step tutorial (and, psst, if you're more of a visual learner, you can scroll back up to see how YouTuber Nickybnatural does it).
Step 1. Cleanse and condition
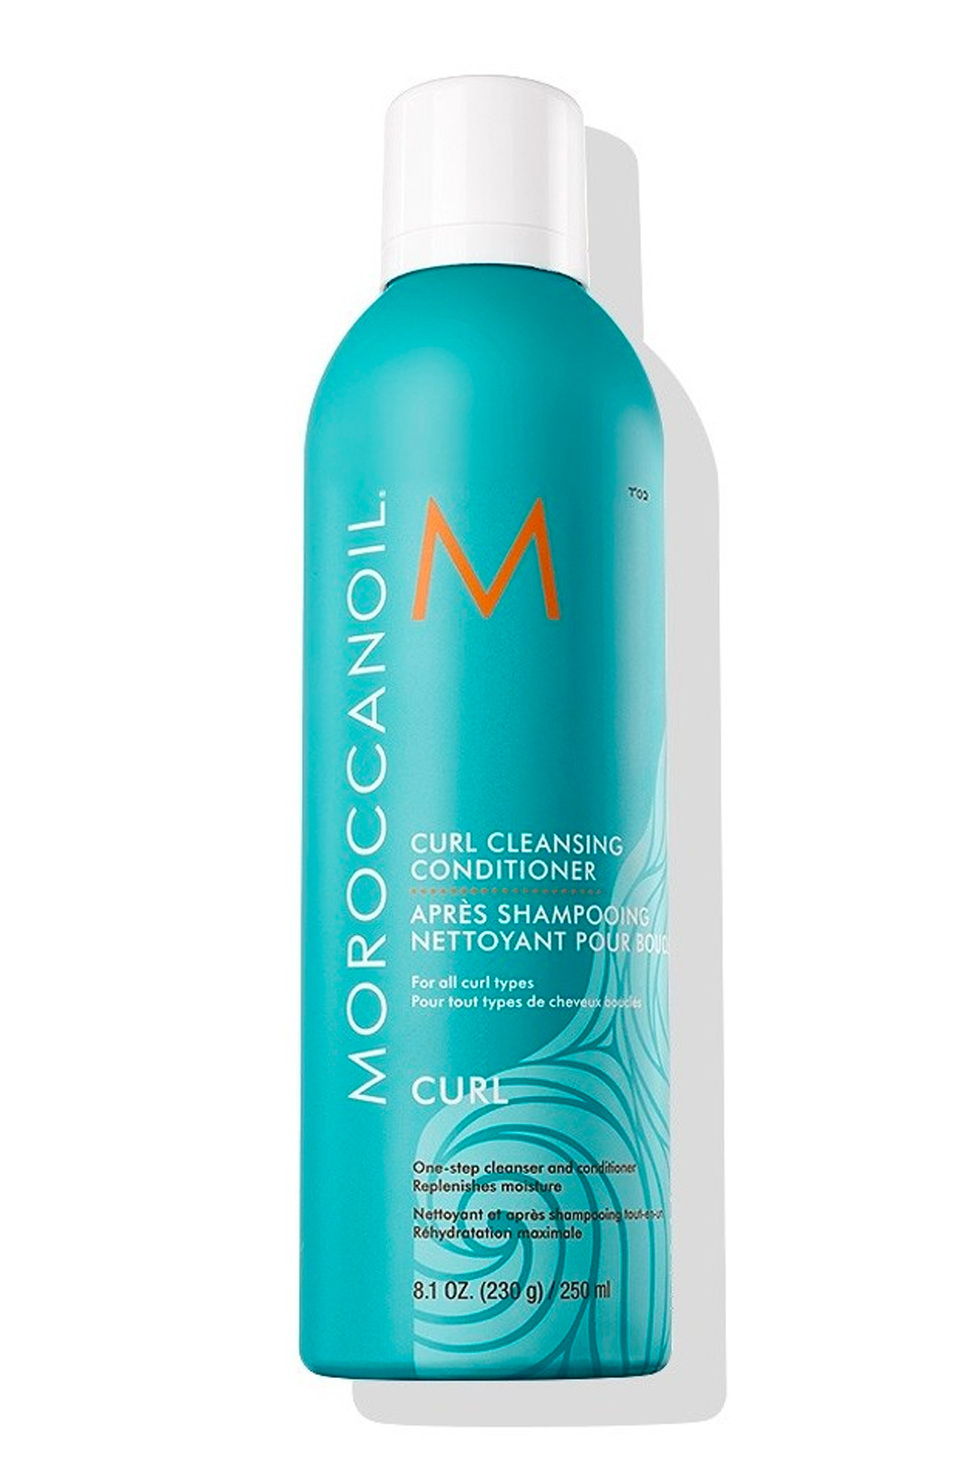
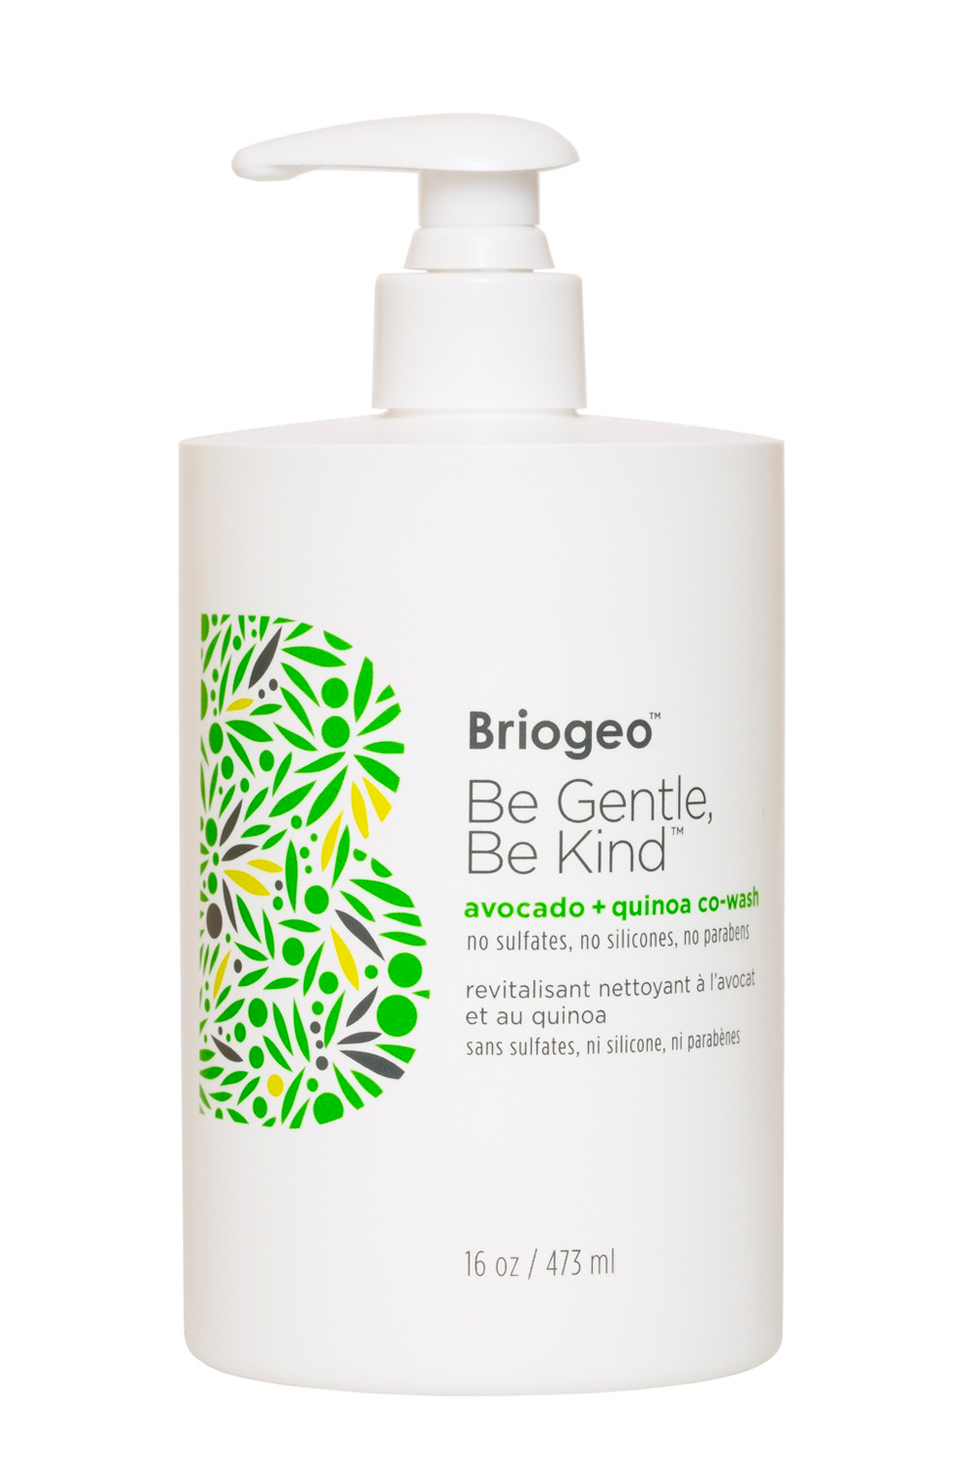
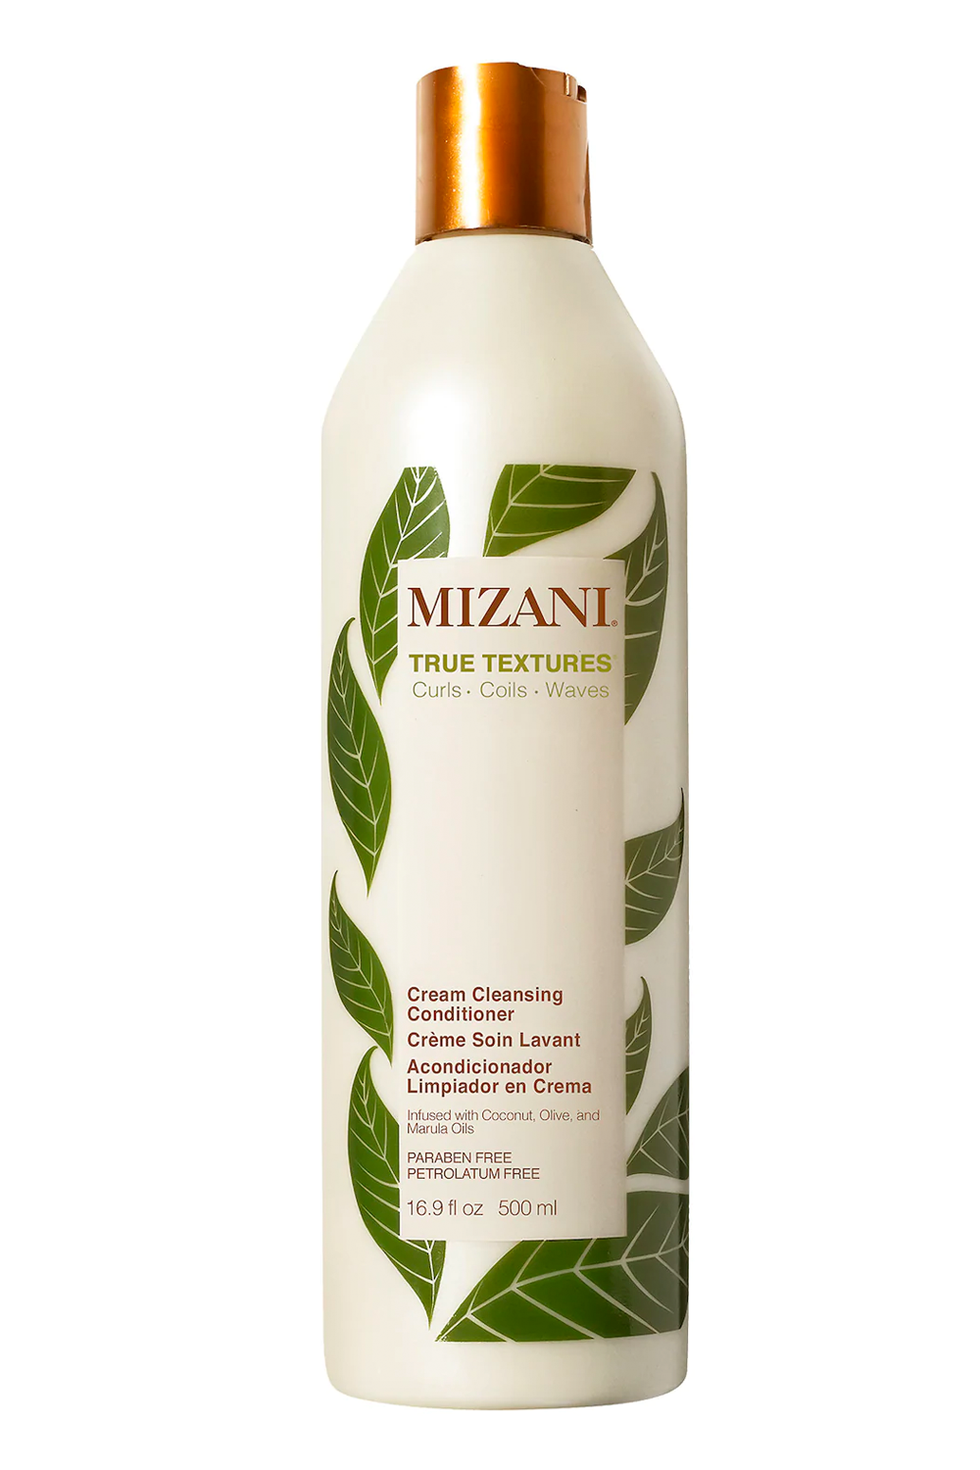
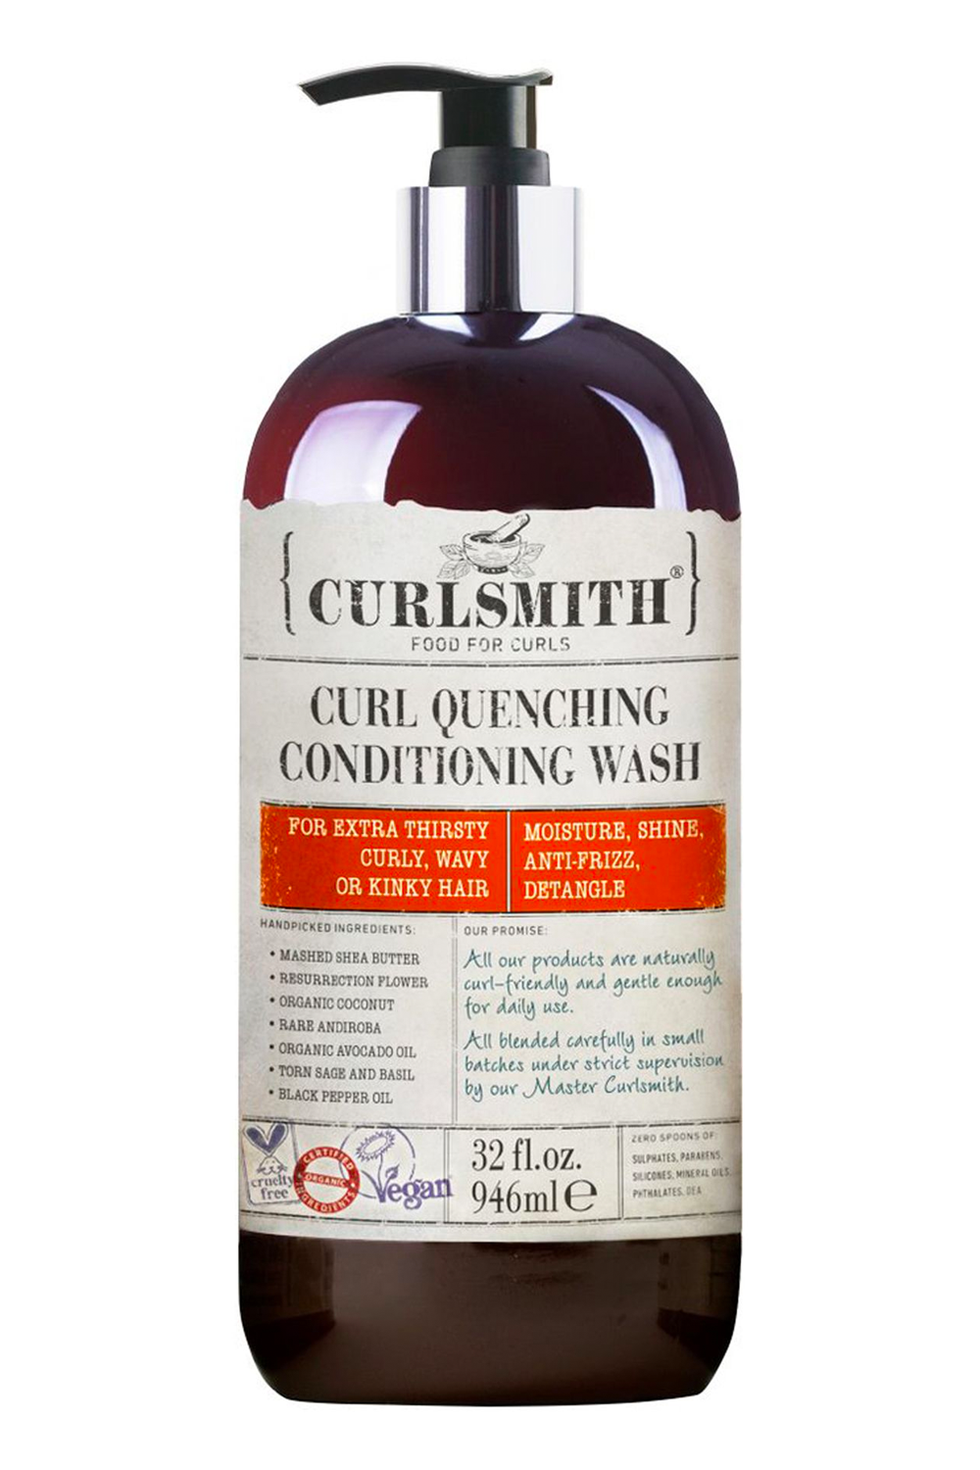
First things first: You want to start off with freshly cleansed and conditioned hair. "If you blow-dry your hair with any product buildup or oil, you're going to risk it not being as smooth or as soft," says Lation. Product choice is really personal preference here, but it's not a bad idea to use a super-hydrating co-wash (remember, you'll lose some moisture when you heat style). While you're working your conditioner through your hair, go ahead and detangle your hair with a wide-tooth comb or a gentle brush.
Step 2. Leave-in and heat protection
After you've rinsed, grab your leave-in conditioner and work it through your hair while it's still wet. "You want a leave-in conditioner that's super lightweight—anything too rich or heavy will weigh down your blowout," says Lation. Next comes the most important step: locking in all that moisture with a heat-protecting serum or oil.
"Depending on how much hair you have, take a dime- or quarter-sized dollop of serum, rub it between your palms, and then run your hands through your hair until it's evenly distributed," she says. The key here is to make sure that every strand is coated.
Step 3. Separate and stretch
Lation typically likes to separate her clients' hair into four sections (a few alligator clips or hair ties will come in handy here). "Before you even grab your blow dryer, gently pull each section of hair as tight as you can from the root all the way down to the tip," she says. "This pre-stretching means you won't have to put as much heat or tension on your hair when you're ready for the dryer."
You can do through this step with zero heat like Lation suggests, but if you need some extra stretching help, you can also turn your dryer on the lowest, coolest setting and run it along each section as you stretch.
Step 4. Blow-dry
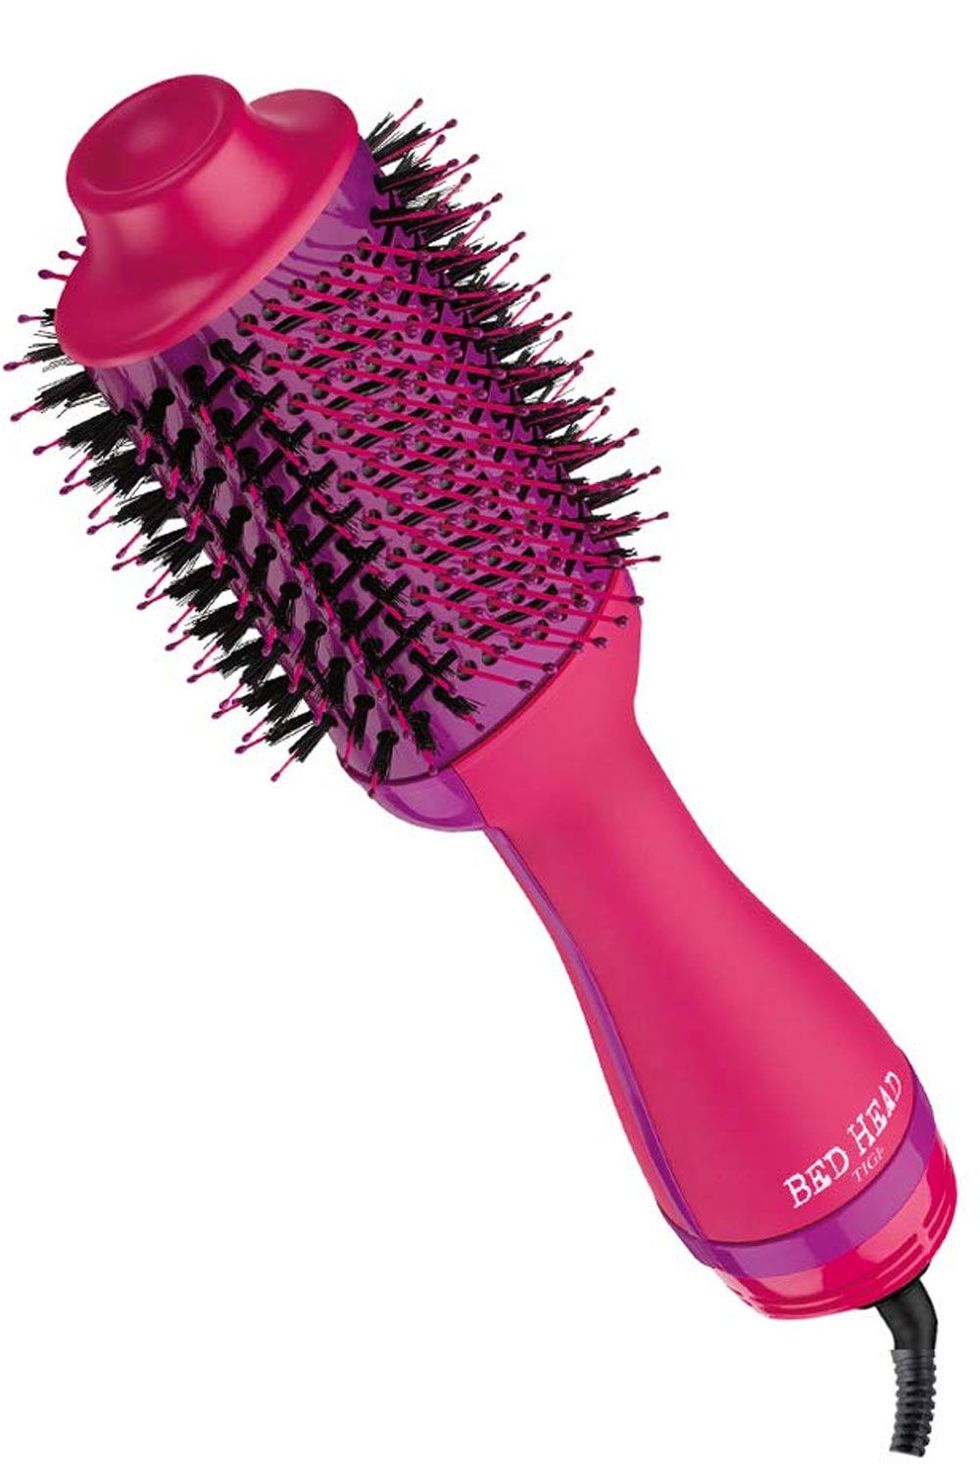
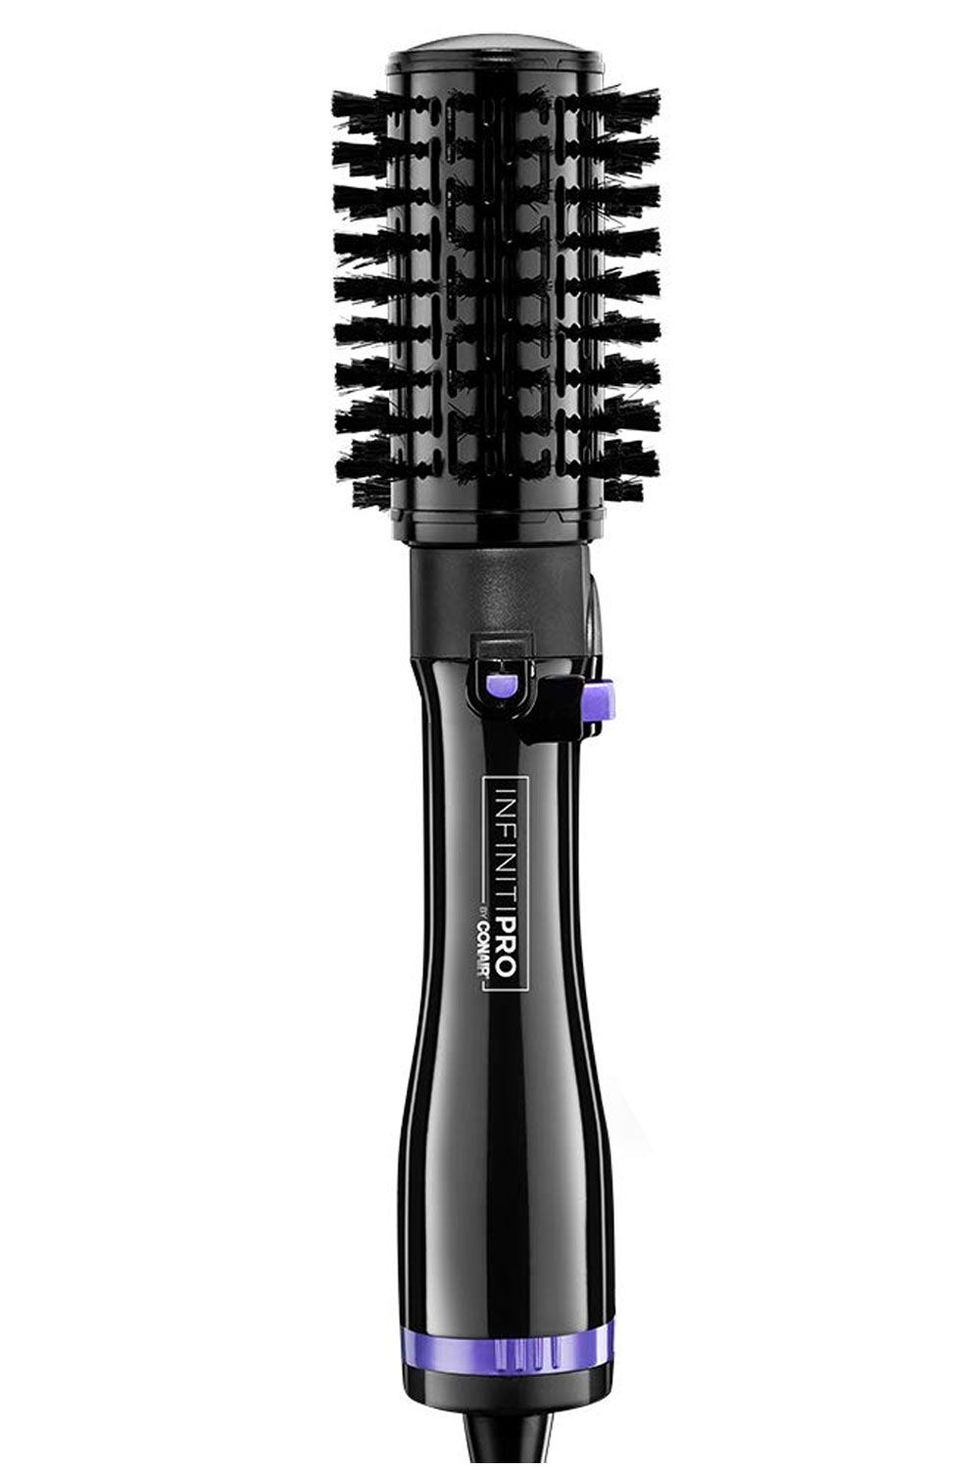
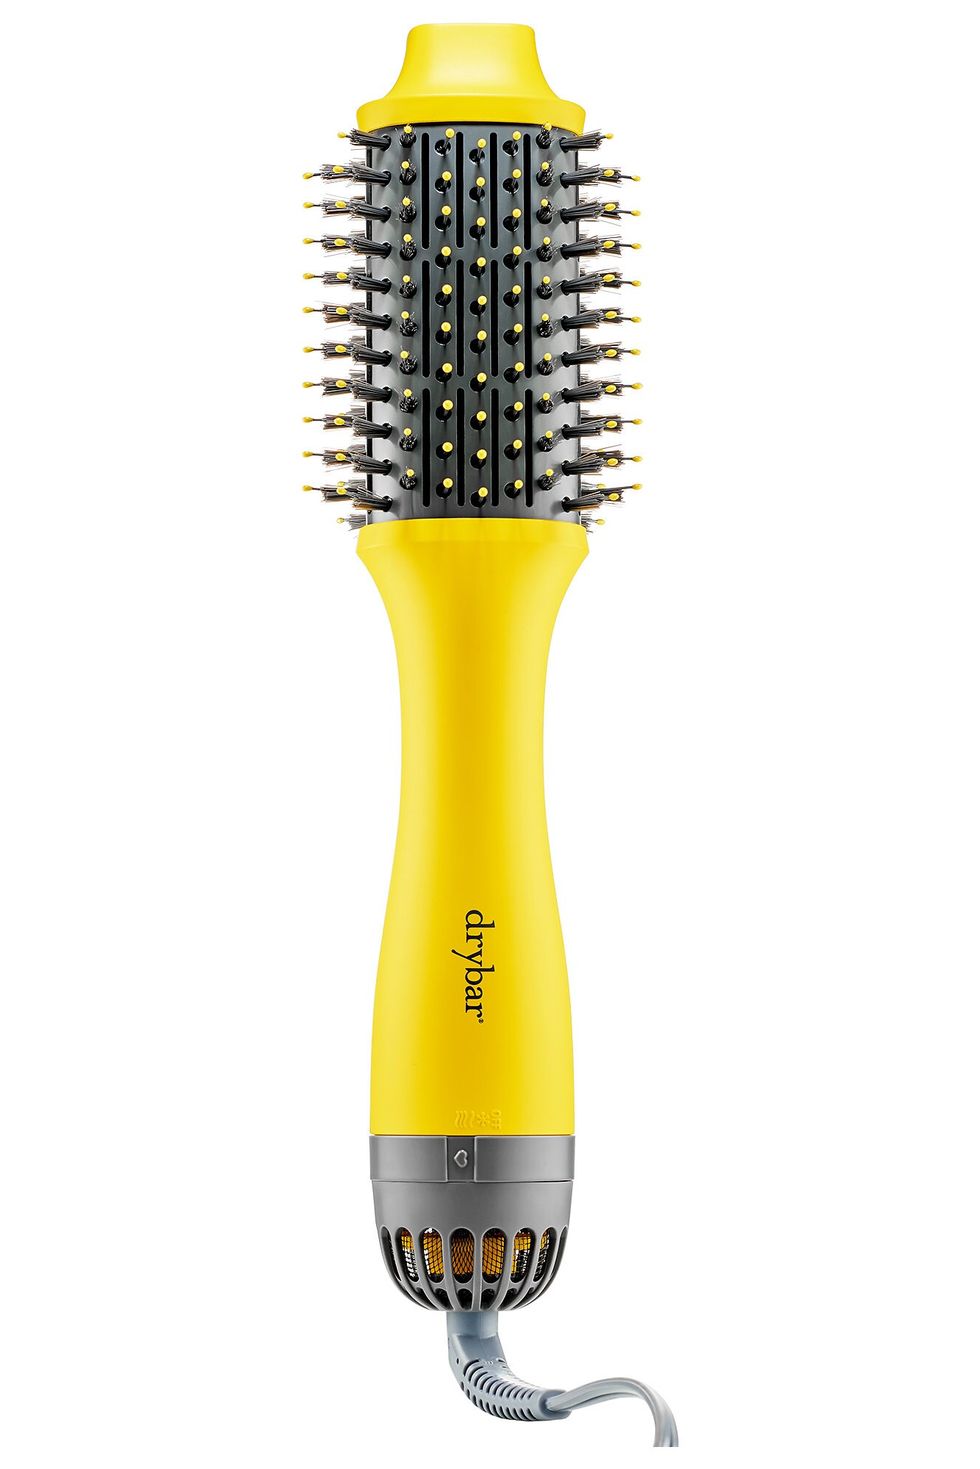
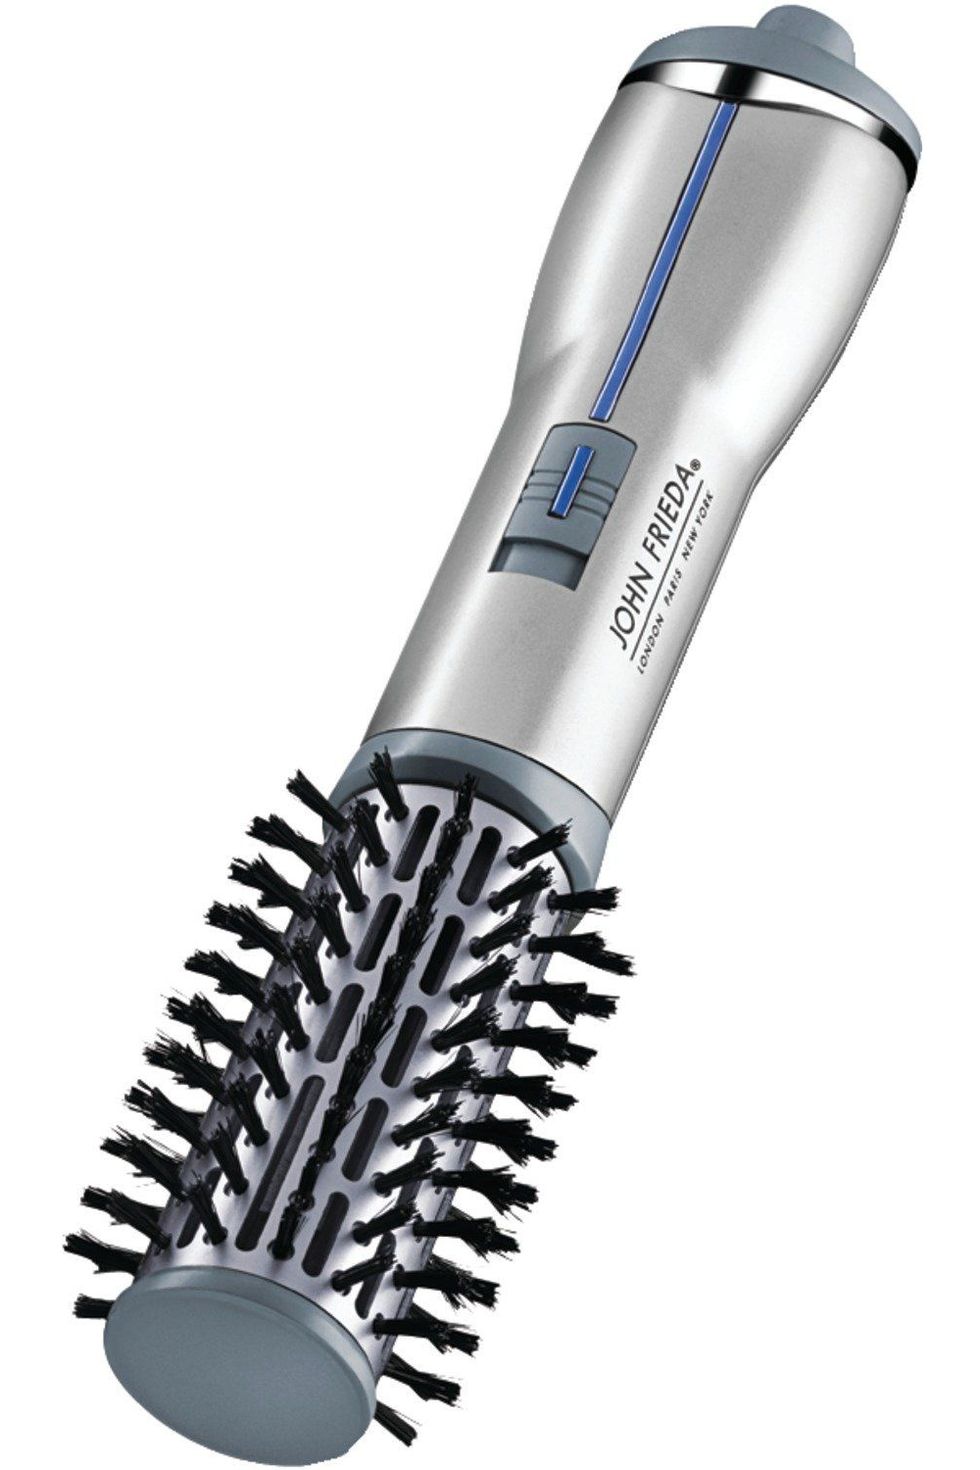
You've got a few options when you're ready to blow-dry. Both Santiago and Lation agree that blow-drying with a comb attachment is the easiest technique for beginners (it allows you to have a bit more control), but if you're already extra comfortable with heat tools, you can also blow-dry with a paddle brush. Peek through any of the natural hair blowout tutorials on YouTube and you'll see a third option: blow-dry brushes (like the cult-favorite Revlon One-Step Hair Dryer), which are loved for their ability to create quick and easy blowout styles (though should only be used on detangled hair, FYI).
"Set your dryer on medium heat to get started, and never go up to the highest heat—especially if it's your first time," says Lation. Why? Because overheating your hair is a recipe for damage. You'll want to angle your comb attachment (or paddle brush) and gently run through each section with medium tension, starting at the bottom and finishing with your ends. "Make sure you blow-dry each section gently and really take your time with it. If you get frustrated, stop, take a breather, and start again," she says.
Pro tip: If you're after a fuller, more voluminous look, Lation says you can flip your head over when it's just about dry and quickly hit your roots with the dryer. Either way, once your hair is totally dry, switch off the heat and go over your hair one last time with cool-shot setting on your dryer to help set your look.
Step 5. Style
When it comes to styling your blowout, Lation says it's totally personal preference. You can wear your blowout exactly as is, do a twist-out, run a curling iron through it, or grab your flat iron and try a silk press (P.S. Check out our silk press guide before starting). Basically, don't be afraid to play around with your look until you figure out what you like best for your hair.
How long do blowouts last on natural hair?
That depends on how long you want to wait until wash day, but Lation says 1-2 weeks is the standard. There's really only one golden rule: Lation says you should never touch up your blowout with heat after you've styled it. "If you keep putting heat on your blowout during the week, you're going to get damage," she says. So just leave it alone until you're ready to wash, then deep condition and prep it again, k?
As far as maintenance goes, Lation says those who go the straighter, sleeker route should use a silk or satin wrap at night to prevent any frizz or friction while you sleep (silk pillowcases are also a great idea). If you like to wear your blowout as is, she suggests doing two big braids before you jump in bed, and then taking them down and fluffing your hair in the morning for volume. Or, if you want to maintain the sleekest of sleek looks, try Doobie-wrapping your hair before bed.
The final word
Like Lation says, the major key to blowing out natural hair is all in the prep work. Just remember to be as gentle as possible while you're blowing out your hair to prevent any unnecessary damage or breakage. And, hey—at-home blowouts are very much a skill, so don't be too hard on yourself if it takes a few tries to really nail down your routine.
Ruby was the beauty editor at Cosmopolitan, where she covered beauty across print and digital. Her work has appeared on The Zoe Report, Fashionista, and StyleCaster. Follow her on Instagram.
