What’s the Best Home Lyra Setup for You?
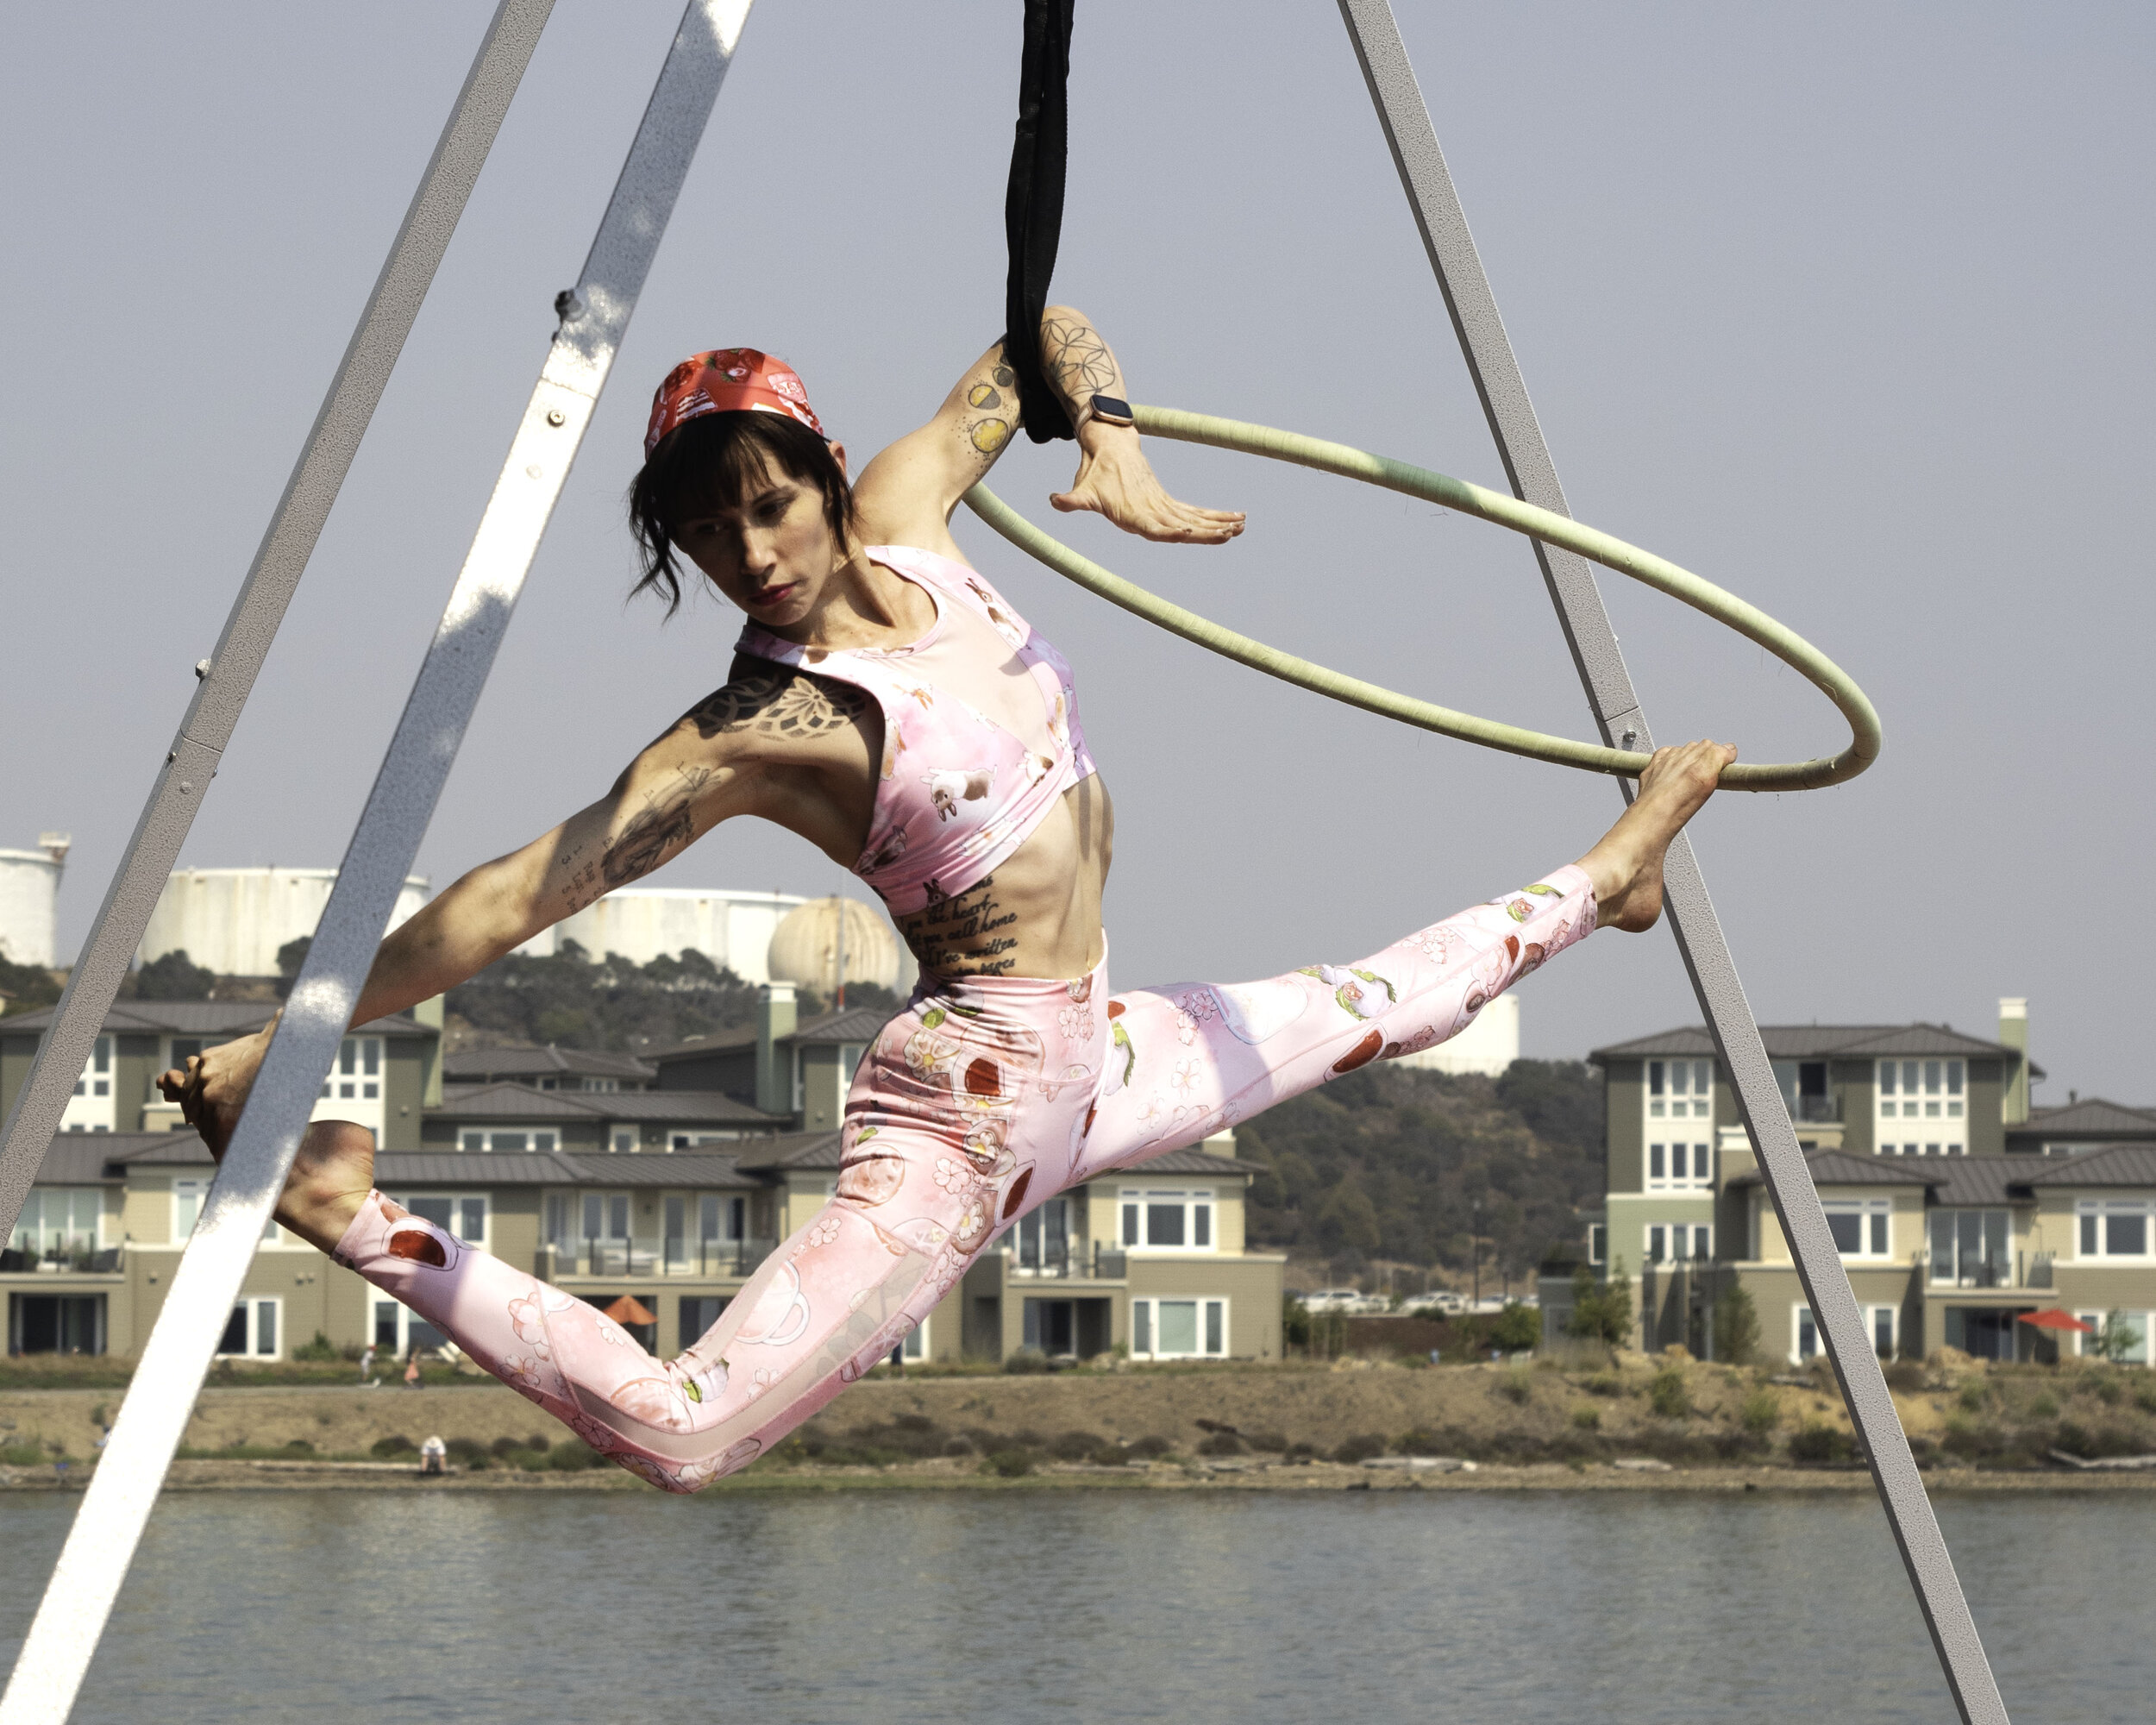
Flying in the park with my portable Ludwig rig!
After almost six months of COVID-19-related closures, almost every recreational aerialist I know has found themself wondering, “what are my options for a home rig?” Lyra’s an especially popular choice because it inherently requires less vertical height. It follows that, as a Lyra teacher and enthusiast, I’ve lately had a lot of students and friends reach out and ask about my setup and thoughts on different home configurations. So, without further ado, here’s my little personal primer on the pros and cons of different configurations, hoop sizes and equipment I’ve explored…
BUT FIRST, SOME SAFETY!
Before you go on and start reading through my recommendations, take a moment to check in with yourself and make sure you’re approaching whatever plan you make with safety and responsibility in mind. I strongly recommend AGAINST teaching yourself any aerial discipline, whether during quarantine or not, without working regularly with a coach of some kind who can give you knowledgeable feedback, and this goes doubly if you have less than a year of experience on any apparatus. Whether you are learning in-person or virtually, it takes time and discipline to build the strength, flexibility and coordination necessary to avoid serious injury. Most advanced aerialists I know still work with coaches or fellow advanced aerialists regularly to improve their form and safety. Additionally, it may make sense to get some one-on-one time with an experienced, professional aerialist who has knowledge of rigs and set ups if this is your first time rigging.
At some point, I may write my own long-winded rant about rigging safety, but for now I really implore you to head over to this blog post at Momentum Aerial and read up before you continue. In addition to having many great general recommendations, they also have a number of excellent photos of unsafe rigging configurations that may surprise you. To quote them and echo the sentiments of most professional aerialists, “you should feel comfortable (hypothetically) hanging a car from your aerial point.” I DO NOT COVER rigging to trees, off buildings you don’t live in, rent or work in, bridges, etc. at all here because it’s almost impossible to know if the things you are hanging from can handle additional force you are generating on it. I also refuse to talk about building your own rig except to say that most people DON’T have the knowledge necessary to do this safely. Remember that it only takes one accident to get seriously injured and permanently end your time as an aerialist, or even your life. This post is specifically focused on considerations for home lyra setups from a practical standpoint.
Now that that’s out of the way…
HOW MUCH IS A HOME SET UP GOING TO COST?
That’s a great question, and one I wanted to address first before you get bogged down in logistics. Unless you’re one of the lucky with preexisting structural beams that can definitely and safely withstand the thousands of pounds of force an aerialist can generate, it’s probably going to set you back about a grand for the smallest, cheapest setup including gear. Here’s an at-a-glance breakdown of some of the costs you may or may not have anticipated:
Rig: $600-2500+
Lyra: $150+
Safety mat: $100-1000+
Accessories (tape, chalk, etc.): $20
Carabiners and a swivel: $75+
ETA: In his guidebook “Intro to Rigging: Aerialists Essentials,” Steven Santos estimates that most 2’x4’ homes require about $15,000 in structural renovation to support a point.
I’M READY TO RIG A LYRA AT HOME. WHAT ARE MY OPTIONS?
OPTION 1: Adding a point or rigging off of an approved beam in your home. Again, the above post via Momentum Aerial covers this option very well, but let’s talk about some of the personal pros/cons I’ve observed in my practice.
Some attractive selling points about hanging directly from your ceiling:
You have control over your environment, so things like weather (hello, California fire season, followed by winter rains!) or time of day/light won’t affect your ability to train.
You can practice in the privacy of your own home, which is especially alluring if you’re going to be practicing something like, say, a burlesque number.
Bolts directly into a beam are much less “bouncy” than portable rigs.
I will say that I opted not to add a home point for several reasons that you may wish to consider for yourself:
My house would require expensive retrofitting to safely support me in the air in addition to hiring a professional (additionally, we’d have to remove a chandelier that I kind of like)
I have a relatively small house, meaning that I am constrained by space. The amount of space I need while spinning or extending my legs out is basically a small room.
I wanted the versatility of rigging a vertical apparatus like silks or rope, which means I want more height than the 10-12’ I currently have,
My partner and I aren’t exactly excited by the visual of a big metal thing (probably accompanied by new wood) sticking out of our old Victorian ceilings
I wanted increased mobility.
OPTION 2: Portable Rigs. There are many many different portable rig options currently available at different sizes, materials, shapes, price points and wait times. Let’s talk about some popular options and explore my current setup. Please note that during the COVID-19 pandemic, many rigs are becoming backordered or require longer manufacturing times because of the increased demand.
The pros of having a portable rig include:
Being able to put your rig just about anywhere with enough clearance and a sufficient footprint. I have used my adjustable-height rig in my backyard, in parks, and in my living room on the lower height configuration (though only as a last resort— I’ll get into why in a minute.)
Portable rigs open up performance opportunities. For more advanced aerialists they can (at least) pay for themselves, though this is not a sure thing and particularly not during quarantine.
No permanent modifications to your home or yard.
Can be resold if you decide aerials is not for you.
The cons of having a portable rig include:
Needing a sufficient amount of ground or floor to accommodate the large footprint of the base— even the smaller rigs I’ve tried still require 50 sq. ft. on their lower settings (roughly 8’ of height) and almost 100 sq. ft. of space for their higher (11’) settings. Please take note that these heights are to the top of the rig, and are even less working space when you account for your eyebolt, swivel, carabiner(s), and safety mat.
Most portable rigs tend to come in either an A-frame or a tripod form— both of these shapes taper, meaning that you have very limited space at the top range of your rig. When training at 11’ in my living room, I cannot do any splits or big spins or flares without mashing my toes into the beams.
The load limits of most rigs discourage from big drops (though this is not a big deal unless you like lyra drops)
Portable rigs tend to feel bouncier than fixed points.
Most rigs discourage swinging.
OPTION 2.5: The Lollipop Lyra. This is one of the more interesting and unusual apparatuses I practice on and also one that I’ve been asked about most frequently during quarantine. Lollipop lyras consist of a stage pole base (most commonly X-Stage by X-Pole) and an additional lollipop lyra that replaces the top half of the dance pole. I’d like to preface any discussion of the pros and cons of lollipop lyra by stating that LOLLIPOP LYRAS ARE A TRUE HYBRID BETWEEN A POLE AND A LYRA AND FEEL AND BEHAVE DIFFERENTLY THAN A TRADITIONAL AERIAL HOOP. When I initially purchased mine, I used it a couple times and then avoided it until I had conditioned and practiced enough pole to feel comfortable on it. However, I’m glad I did because I really enjoy it now, especially during my regular home aerial practice.
Lollipop lyras are great if:
You are also already a pole dancer looking for a new apparatus, especially if you like innovating with new moves and variations
You’re looking for something with a small footprint (somewhere between a 7’ and a 10’ diameter)
You are also looking to buy a pole; the X-Stage includes a totally usable dance pole
You already own an X-Stage
You’ve tried it before and know what you’re in for
Some drawbacks to consider:
The price; a basic X-Stage setup plus the lyra attachment can be upwards of $1200 new (notably more expensive than a small rig and a basic traditional hoop)
Lollipop lyras are most commonly used in true pole dance fashion with naked legs and utilize a lot of skin grip, which can be shockingly painful if you are not used to it and take time to condition separately from the traditional pressure of normal aerial hoops
X-Stages wobble. Even a good, healthy, safe X-Stage will wobble a lot. Like, a lot a lot. It’s even more magnified with the lollipop because it is more top-heavy than the pole and can be really scary until you get used to it.
Many traditional lyra moves do not work in the lollipop (you have no span and a pole in your way beneath the hoop; forget ever traditionally straddling under the bar.)
Stock sizing from X-Pole starts at 37 (I’m a 5’5” aerialist and default to a 36, so if you are smaller than me it may feel kind of unwieldy)
Stage poles have proprietary round safety mats. To be perfectly honest, the pole community is fairly blasé about using mats in general so many people just skip using mats, which I recommend against unless you know you don’t need it.
There aren’t a lot of lollipop lyra classes or move resources (Online Pole Studio has some basic tutorials with their paid membership, and I sometimes take a class with a great British instructor via ZOOM, which typically means I have to get up with the sun because the UK is 8 hours ahead.)
I’VE DECIDED I WANT A PORTABLE RIG. WHICH ONE IS RIGHT FOR ME?
If you’ve found yourself interested in a portable rig before and done any amount of looking, your next question was probably “which one do I even choose?” While I can’t tell you what rig will be objectively right for you, I can tell you how and why I chose the rig I did.
I’ll be totally honest: I’m fairly convinced my rig found me. I was getting pretty antsy after several months of quarantine extremely limited access to an aerial point— I’d initially thought quarantine wouldn’t last as long as it did, and had held out on ordering anything but eventually caved and decided it was probably a good investment. My partner and I began the task of researching available rigs and had settled on the idea of a taller rig (we liked both Ludwig rigs and Gold Coast rigs as options) but were then blown away by how backordered everything was— upwards of 6 weeks before fabrication even began at the time. Ludwig at some point halted production of presales due to high demand. I’d finally made a connection with a local fabricator to have something custom built when a friend of mine happened to mention that she’d bought a Ludwig but no longer had a backyard of space for it and had been holding off on selling it because she wanted to make sure it went to a good home. This coincided with my partner and I recently acquiring a free Dodge Caravan perfect for moving a giant rig, and the rest was history.
Obviously, I got incredibly lucky in that I got my dream set up with almost no lead time, so let’s talk about some of the things to consider that may help guide you to your own rig choices.
Space. How much do you have? Where are you putting your rig? What’s the largest footprint you can accommodate? Tall rigs are great, but completely unnecessary if you never get to utilize their full height because you can’t fit a 12’ x 12’ footprint anywhere.
Assembly. People often have this idea of putting up and taking down a portable rig in their living room and practicing all the time. This is very unrealistic for almost anyone who actually wants to use their living room and also practice more than once or twice a week. Rigs can take upwards of 20 minutes to put up and take down and many of the heavier duty ones require multiple people. The pieces are often very heavy and cumbersome. I have basically sacrificed my living room to accommodate my low rig during the current fire crisis; otherwise it lives out in my backyard.
Cost. Lightweight, small (8’-12’) rigs, such as the A-frame ones from X-Pole and Aerial Essentials, tend to hover somewhere between the $600 and $900 price point. Larger rigs, such as the two mentioned above will most likely set you back at least $2000+ after shipping. Please note that this price range does not include your actual lyra, hardware, spans, or crash mats, which can add up.
Lead time. As mentioned earlier, make sure you check and make peace with the amount of time you may have to wait for your rig to be manufactured and shipped, particularly during a global pandemic. Several people I know have opted for smaller rigs because they were available at the time.
Skill Level and Application. If you’re a casual aerialist just looking to practice basic inverts and poses or stay in shape at home, a small rig may be the perfect choice for you. Conversely, if you’re a serious aerialist looking to practice flares, big splits, spanset moves, etc., you’re going to get pretty bored on a tiny rig pretty fast.
I DECIDED HOW I’M GOING TO RIG MY HOOP AT HOME! WHAT ELSE DO I NEED?
Congratulations! To set up a hoop like mine from any point, I recommend the following at minimum:
A lyra (duh). Lyra choice is pretty personal and is a pretty nuanced conversation, but to summarize, you at least need to know your size and many tabs you want or need. A good rule of thumb for the size of your first or primary lyra is your seated height + roughly 2”— if you sit up tall in the hoop, you should have about a 2” of clearance between your head and the hoop.
A note about tabs: I hate them. Seriously, they hurt if they stick you in the leg. But you’re going to want them if you want or prefer training on a double point lyra. Alternatively, if you are rigging directly to an eyebolt because you want to maximize limited working space, a single tab may come in handy because you can omit a spanset entirely.
Carabiners and a swivel. You’ll need at least 2 carabiners for a tabless or single tab hoop, and a swivel to go between them. I prefer steel ones and bought mine from REI in the climbing section, but aluminum can be ok as long as they’re appropriately rated. DO NOT USE THE CHEAP CARABINERS YOU CAN BUY AT HOME DEPOT TO CLIP ONTO YOUR KEYS. They’re definitely not rated to hold the working weight of an aerialist and will probably fail and hurt you. Look for mountaineering, climbing, or aerial hardware that is rated for at least 20kN. Ratings and safety factors are their own complicated discussion; I know enough to keep myself safe but am not an expert. If these numbers don’t make sense to you CONTACT A PROFESSIONAL OR TAKE A CLASS. This is literally your life on the line.
Tape. Everyone’s got their own opinions on tape. I may get some flack for this, but I actually really love the Aerial Essentials house brand tape. It’s soft, thin, non-sticky and comes in bright colors which is great for a little magpie like me. Some people love Newbaum Bicycle Handlebar tape but I find that it is too abrasive on my hands— I didn’t even enjoy it when I was a professional cyclist on my handlebars. I’ve used hockey grip tape with success (I really liked Renfrew) but found that the level of adhesive residue was somewhat of a wildcard; I used white and had a fantastic experience, and then used yellow from the same brand and it almost ripped my pants off.
Mats. Use a mat. Just do it. A good crash mat can start at $100 and can cost upwards of $1000 depending on dimensions. When doing train in my living room, I’ve been defaulting to a 2” professional gymnastics mat but am never more than 5-6 feet off the floor; if I climb any higher than that, especially outside, I use an 8” crash mat, which I strongly recommend most people default to.
Chalk. Most people want chalk— it’s cheap and makes the whole experience more pleasant. You can order blocks or socks basically anywhere that sells climbing or mountaineering equipment, such as REI or Amazon.
You may also find you need or want at least one spanset. These are fairly easy to find and come in many sizes to help customize your hoop height and the available space to play around above your hoop; I currently keep a couple 1’ slings, a 2’, several 4’s and an 6’ in my arsenal.
SOME FINAL NOTES
Aerials is dangerous. You probably already know this but I’m telling you again because a lot of people underestimate how dangerous it is. One of my worst falls and injuries happened when I least expected it— in a class with an experienced teacher, doing something pretty basic and overestimating myself. I let my guard down in a knee hang and fell headfirst onto a mat; I probably would have broken my neck but even with an 8” mat I ended up with a minor concussion and vertigo for several hours, plus a large chiropractor’s bill.
The recommendations above are a very non-exhaustive summary of my experiences with training aerials at home during quarantine. They are not a comprehensive guide, nor are they intended to be a one-size-fits-all model. I assume no liability for any risk you incur; my experiences and skill level are my own.