
Fujifilm Film Simulation Samples
Fujifilm Film Simulations, Acros, Pro Neg. HI, Velvia, and Classic Neg.
A Quick Guide to Fujifilm Film Simulations
Introduction to Fujifilm Film Simulations
Updated 2023
Other than early phone apps, such as Hipstamatic, I first became aware of film simulation from VSCO back in 2013. It was a true eye-opener and I became almost addicted to VSCO and purchased several of their packages and used them with my Fujifilm X-Pro1 and Canon digital SLRs.
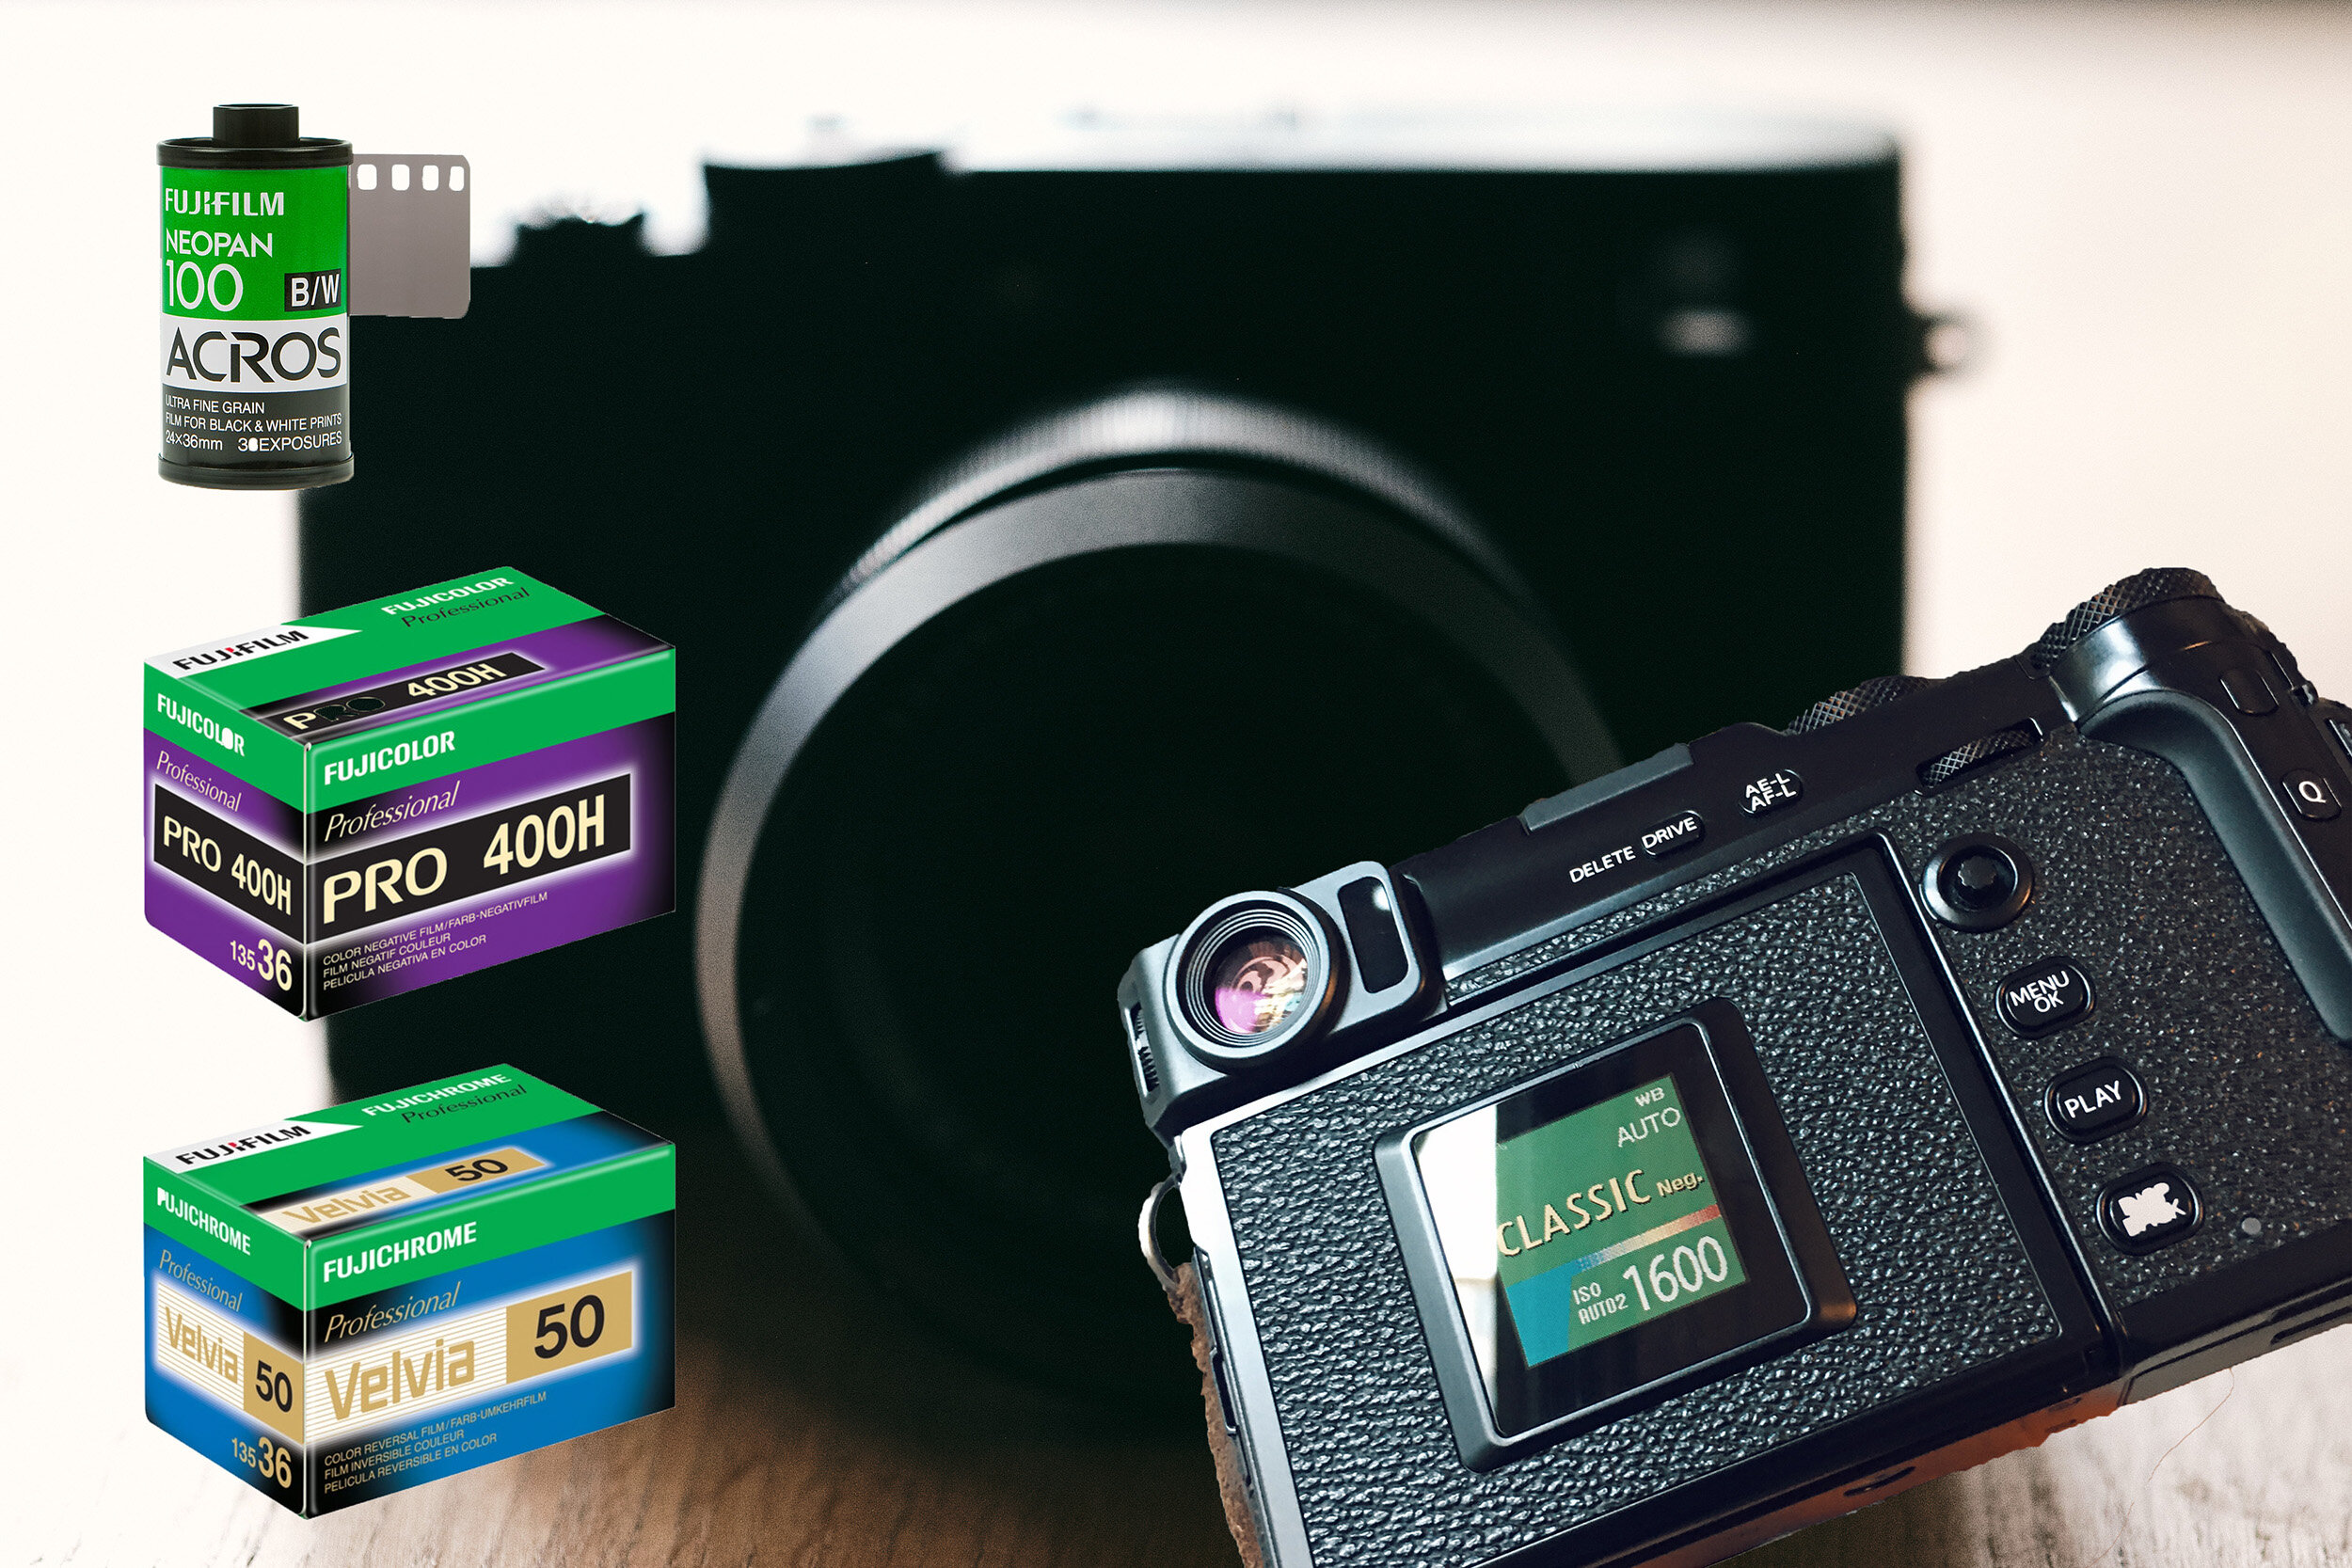
Some of the film simulations I gravitated towards were based on Fujifilm stock such as the ASTIA, Pro 400H, or Velvia. I would use the film simulations as a starting point, then make adjustments and save my own presets in Lightroom.
VSCO no longer makes or supports their film simulation for desktop editing but I still use their mobile app from time to time.
In 2012 I jumped on the Fujifilm bandwagon when I purchased an X-Pro1. Back then we were limited to PROVIA, ASTIA, Velvia, Pro Neg., Pro Neg. Std, and Monochrome film simulations.
But Fujifilm has steadily released more film simulations over the years and in early 2021 yet another one was announced, the Nostalgic Negative, initially only available for the Fujifilm GFX 100S and later the Fujifilm GFX 50S II.
In May 2022 Nostalgic Neg. was also made available for APS-C sensors with the announcement of the Fujifilm X-H2S and later that year for the X-H2.
How to Use Fujifilm Film Simulations
You basically have four ways of utilizing the film simulation with your Fujifilm X Series or GFX camera.
1. Shoot JPEG, select your film simulation, and fire away. You can customize your JPEGs in-camera and save your custom settings. You have control over adjustments such as noise reduction, highlight tone, shadow tone, color, and sharpness, and depending on which camera you have, you may be able to make grain and curve adjustments, all in-camera.
2. Shoot RAW and you can access the film simulations in your favorite editing software by simply picking the option which matches your taste. I have been using Lightroom or Capture One Express and both work well for me. You can also check out Fujifilm’s X-RAW studio.
3. Shoot RAW and edit your images in-camera. You have several ways to adjust your image in-camera such as exposure adjustment, grain effect, white balance, highlight tone, color, sharpness, and noise reduction. This is super handy and I have used this option while traveling. You save your photos in-camera as JPEGs and can then transfer them to your mobile phone using Fuji’s Cam Remote app.
4. Shoot RAW and JPEG and you have the best of both worlds.
Classic Neg. - Fujifilm X100V @ f/2.5 - Vancouver Canada
A Show of All Fujifilm Film Simulations
Below is a show of film simulations from Fujifilm. The image is captured with a Fujifilm X-T4 and the XF 35mm f/1.4 R at f/7.1, ISO 160. I have adjusted levels and white balance prior to applying the film simulations. Images were processed from RAW in Capture One Express.


My Favorite Fujifilm Film Simulations
Below I will feature my favorite Fujifilm film simulations and a couple of sample images from each. These film simulations have become an integral part of my post-processing workflow and you will see countless sample photos across this site in either my Camera Reviews or the Travel Section.
With that said I do not always apply film simulations to my photos. It comes down to an individual choice for each image and I often just edit the file that comes straight from the camera. Especially after I started using Capture One Express.
I Shoot RAW
I should mention that I almost always shoot RAW (only) and prefer to edit in either Lightroom or mostly Capture One Express.
Acros
Acros is my go-to black-and-white film simulation. After the Acros film simulation was released in 2016 along with the Fujifilm X-Pro2, I found the Monochrome simulations to be somewhat redundant.
The Acros film simulation comes in four variations:
Standard Acros. If in doubt, Fujifilm states right on the camera; “Shoot in black and white in rich detail with sharpness”
Ye, for a yellow filter, which slightly enhances contrast and darkens skies
R, for a red filter, which enhances contrast and darkens skies considerably
G, for a green filter, produces pleasing skin tones in portraits
For more examples of the Acros film simulation check this link to a travel post from Paris with black and white images only.
I have another article about the Acros film simulation where I compare it to the Fujifilm Neopan Acros 100 II black and white negative film stock. Here is a link if you are interested:
Acros, Fujifilm X-Pro2, XF 35mm f/2 R WR @ f/2.8 - Paris, France
Acros, Fujifilm X-Pro2, XF 35mm f/1.4 R @ f/1.4 - Guilin, China
Velvia
Velvia (VIVID) as Fujifilm names it on the camera equals vibrant reproduction, ideal for landscape and nature. I would agree with this statement but all film simulations can of course be used for a range of topics depending on your style and taste.
I shot many rolls of Fujichrome Velvia 50 back in the nineties, namely during a five-month period in Australia where we had lots of sunny days and spent time near the water.
The slow ISO 50 film speed yielded sharp and larger-than-life saturated colors which were highly desirable. For my current travel photography, I use the Velvia film simulation all the time but will often lower the color saturation slightly.
The Fujichrome Velvia 50 film stock is still in high demand and quite expensive at $33.99 per roll, 36 frames.
Velvia, Fujifilm X-Pro2, XF 35mm f/1.4 R @ f/1.4 - Valletta, Malta
Velvia, Fujifilm X-Pro2, XF 35mm f/1.4 R @ f/1.4 - Paphos, Cyprus
Classic Chrome
Classic Chrome produces softer colors and enhanced shadow contrast for a calm look according to Fujifilm’s description. The Classic Chrome is not based on any existing film stock but has been compared to the iconic Kodachrome 64.
I primarily use this film simulation for street photography or when I am going for a desaturated color look while still maintaining a bit of punch in the tonality of the image.
Classic Chrome, Fujifilm X-Pro2, XF 23mm f/1.4 R @ f/2 - Budapest, Hungary
Classic Chrome, Fujifilm X-Pro2, XF 23mm f/1.4 R @ f/1.4 - Sofia, Bulgaria
Pro Neg. Hi
The Pro Neg. film simulations are based on the Fujifilm NS160 film stock and are said to be good for portrait photography. I have used the Pro Neg. Std for portraits quite often as it lowers tonality and saturation ever so slightly for pleasant skin tones and rendering.
With that said, I more often use the Pro Neg. Hi, but not in the way the doctor prescribed it. While Pro Neg. Hi is also slightly desaturated it retains more tonality and I have found this quite pleasing for foliage, trees, landscape, and nature photography where Velvia sometimes can be a bit over the top for color saturation.
Pro Neg. Hi, Fujifilm X-Pro2, XF 23mm f/1.4 R @ f/10 - Ireland
Pro Neg. Hi, Fujifilm X-Pro2, XF 23mm f/1.4 R @ f/3.6 - Williams Lake, Canada
Classic Neg.
Last but not least in this list of favorite film simulations for the X Series is the Classic Neg. which is based on the Fujicolor Superia 100. I would put Classic Neg. in the same family as the Classic Chrome but Classic Neg. has more saturated colors while maintaining a natural but “classic” look to your photos.
This film simulation could easily become a favorite of mine as I can see it come into play in so many situations. One caveat is the fact that Classic Neg. is only available for the latest X-Trans IV sensor-based cameras in the X Series. For my X-Pro2 I have been using an excellent Classic Neg. recipe from Thomas Fitzgerald.
Classic Neg., Fujifilm X-Pro3, XF 23mm f/1.4 R @ f/1.4 - Vancouver, Canada
Classic Neg., Fujifilm X100V @ f/5.6 - Vancouver, Canada
Update
Nostalgic Negative
The Nostalgic Negative film simulation was initially introduced for the Fujifilm GFX 100S in January 2021 and Fujifilm GFX 50S II when it was introduced in September 2021.
In the spring of 2022, the Fujifilm X-H2S was the first X Series camera to see the Nostalgic Neg. film simulation and it was followed by the X-H2 and X-T5 in the fall of the same year.
I first tried the Nostalgic Negative film simulation when I reviewed the GFX 100S and GFX 50S II and instantly liked it. It creates a pleasant warm tone to your files and Fujifilm states it is based on America New Color Photography of the 70s and the implementation of the APS-C sensor is also quite good.
Nostalgic Negative, Fujifilm GFX 100S, GF 50mm f/3.5 R LM WR @ f/5.6
Nostalgic Negative, Fujifilm GFX 50S II, GF 35-70mm f/4.5-5.6 WR
Fujifilm Film Simulation Summary
The files coming from most digital cameras are becoming better and better but they often look too correct or flat. Throughout the history of photography, we have become accustomed to a certain look associated with film stocks from different eras.
Mainstream digital photography has only been around for less than twenty years and it is only natural that we want to emulate earlier periods through the use of film simulations. Fujifilm has a long history of manufacturing film and it has been a goal for them to match the film look and make it available in our digital cameras.
The advantages of having these film simulations at your fingertips are numerous. It gives you a creative set of paintbrushes, speeds up your editing workflow, and gives you several ways of utilizing them. It is indeed one of the strong arguments for selecting a Fujifilm X Series or GFX Series camera.
My reviews at a glance: Camera Reviews - Archives