How to Make a Facing Pattern
What is a facing?
A facing is a piece of fabric that’s used to cleanly finish and support a garment’s edge. You might find facings around armholes, necklines, waists of skirts and trousers, edges of pockets, edges of sleeves and front and back openings. It’s cut the same shape as the edge it faces, and sits on the inside, unseen. Facings have interfacing in them to give stability. The seam allowances and grainline on a facing are the same as the garments.
How wide should a facing be?
A facing can be very narrow, for example, 2.5cm (1in), or up to 10cm (4in) wide or even wider. Most are around 4-5cm (1½- 2in) wide. Facings are usually cut the same width all the way around, but sometimes a back neck facing is cut deeper at the centre back.
Extended facings
The very simplest facings are found on straight edges – where the facing is just extra fabric folded back. This is called an extended facing, self-facing or cut-on facing. The facing isn’t a separate pattern piece – it’s just an extension of the pattern. This type of facing is still interfaced like a regular facing.
- On the pattern – add extra paper to the edge.
- Draw in the width of the facing and cut off the excess paper.
- Fold the facing into position and trim the paper level at the top and bottom, so it’s the same shape as the garment.
- Add a notch at the top and bottom so you know where to fold it.

Separate facings
- These are the most usual type of facing.Trace around the edge of the pattern onto the paper.
- Draw in the width of the facing.
- Cut out the shape, add a grainline and label the piece. If you think you might get confused as to which way around the facing goes after it’s cut out – add some notches to help. I like to put double notches on the centre back seam.

Pro-tip: If the garment has a centre that’s cut on the fold – make complete pattern pieces for the facings. That is, don’t make the facing ‘cut 1 on fold’. This will give you a more accurate shape when cutting out because there isn’t such a small edge to place on the fold (which could possibly be placed at the wrong angle).

What if the edge to be faced has a dart?
You might encounter this if you’re making a waist-facing. Facings don’t have darts in them; they’re smooth and dart-less. Fold out the dart when you make the pattern.
- Trace around the edge to be faced (including the dart).
- Draw in the width of the facing.
- Roughly cut the pattern paper around the facing.
- Fold out the dart in the facing and secure it with sticky tape.
- If the folded-out-dart has created angular lines, smooth them off before cutting out the facing.
- Cut out the shape, add a grainline and label the piece.

What if the edge has a seam running through it?
If the garment is princess line or has other design lines, these seams can be removed when you make the facing pattern.
- Join the pattern pieces together accurately along the stitching line (pin or tape them together), then trace around the whole edge. If the seam is curved, just join the part you need for the facing.
- Go ahead and make the facing as described above.

Here’s a small gallery of facings
 |
 |
 |
 |
This denim bib overalls has an extended facing at the top. It’s a very easy facing to sew as it’s just folded into position, and as there are no seams – it’s less bulky than a separate facing.
This pink jacket has a separate facing at the front for the buttons and buttonholes.
A black dress with faced armholes and neck. Notice the facing is cut in one piece, giving a very neat finish.
The waist of this skirt has a facing. The facing has a lining attached.
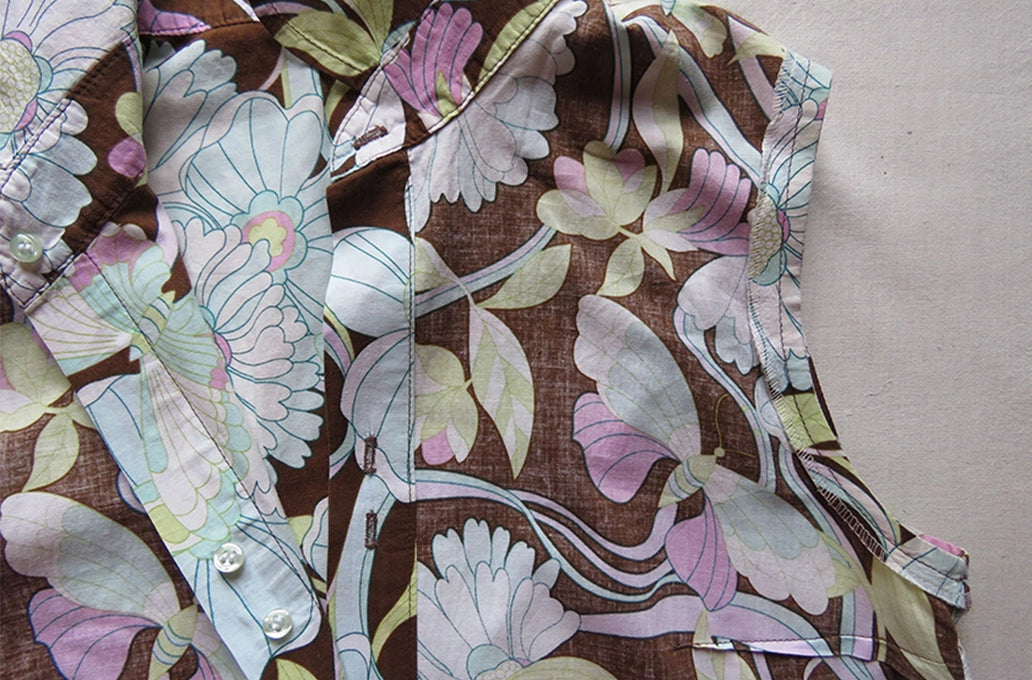
Two types of facings are on the top of this sleeveless shirtdress. The front opening has an extended facing for the buttons and buttonholes. The armholes are finished with very narrow facings. If I made this dress again I would topstitch the armhole facings closer to the overlocking to stop them from flipping up in the wash.
Author: Liz Haywood
IG: @lizhaywood3754