Hello! I’m back with an update on our board and batten wall, and I’m excited to report that it is about 75% done!

I thought it might be helpful to share some details on how we did our install since our space was a little trickier than other spaces I’ve seen get this wall treatment. One thing that was also different about our project than most of the other tutorials I read online is that we don’t own a circular saw, jigsaw, or nail gun. Not that I wouldn’t love to have these things, but we just haven’t invested in them yet. So this project was all done the old-fashioned way with a hand saw, a drill, and a hammer and nails. So if you’re thinking that you can’t do this project because you don’t have a lot of power tools, think again! You totally can!
Once we finished our planning and had a basic tape outline that seemed to make sense, we pre-painted the wall that would have the boards on it with semi-gloss white paint so we didn’t have to do that later (a tip mentioned in several of the tutorials I read). Doing this while the tape was still up on the wall meant that once the tape came down, we had a nice outline in the original wall color to help us when it came time to actually install all the boards! We still measured everything twice and used a level, but it was still helpful to do this step first.
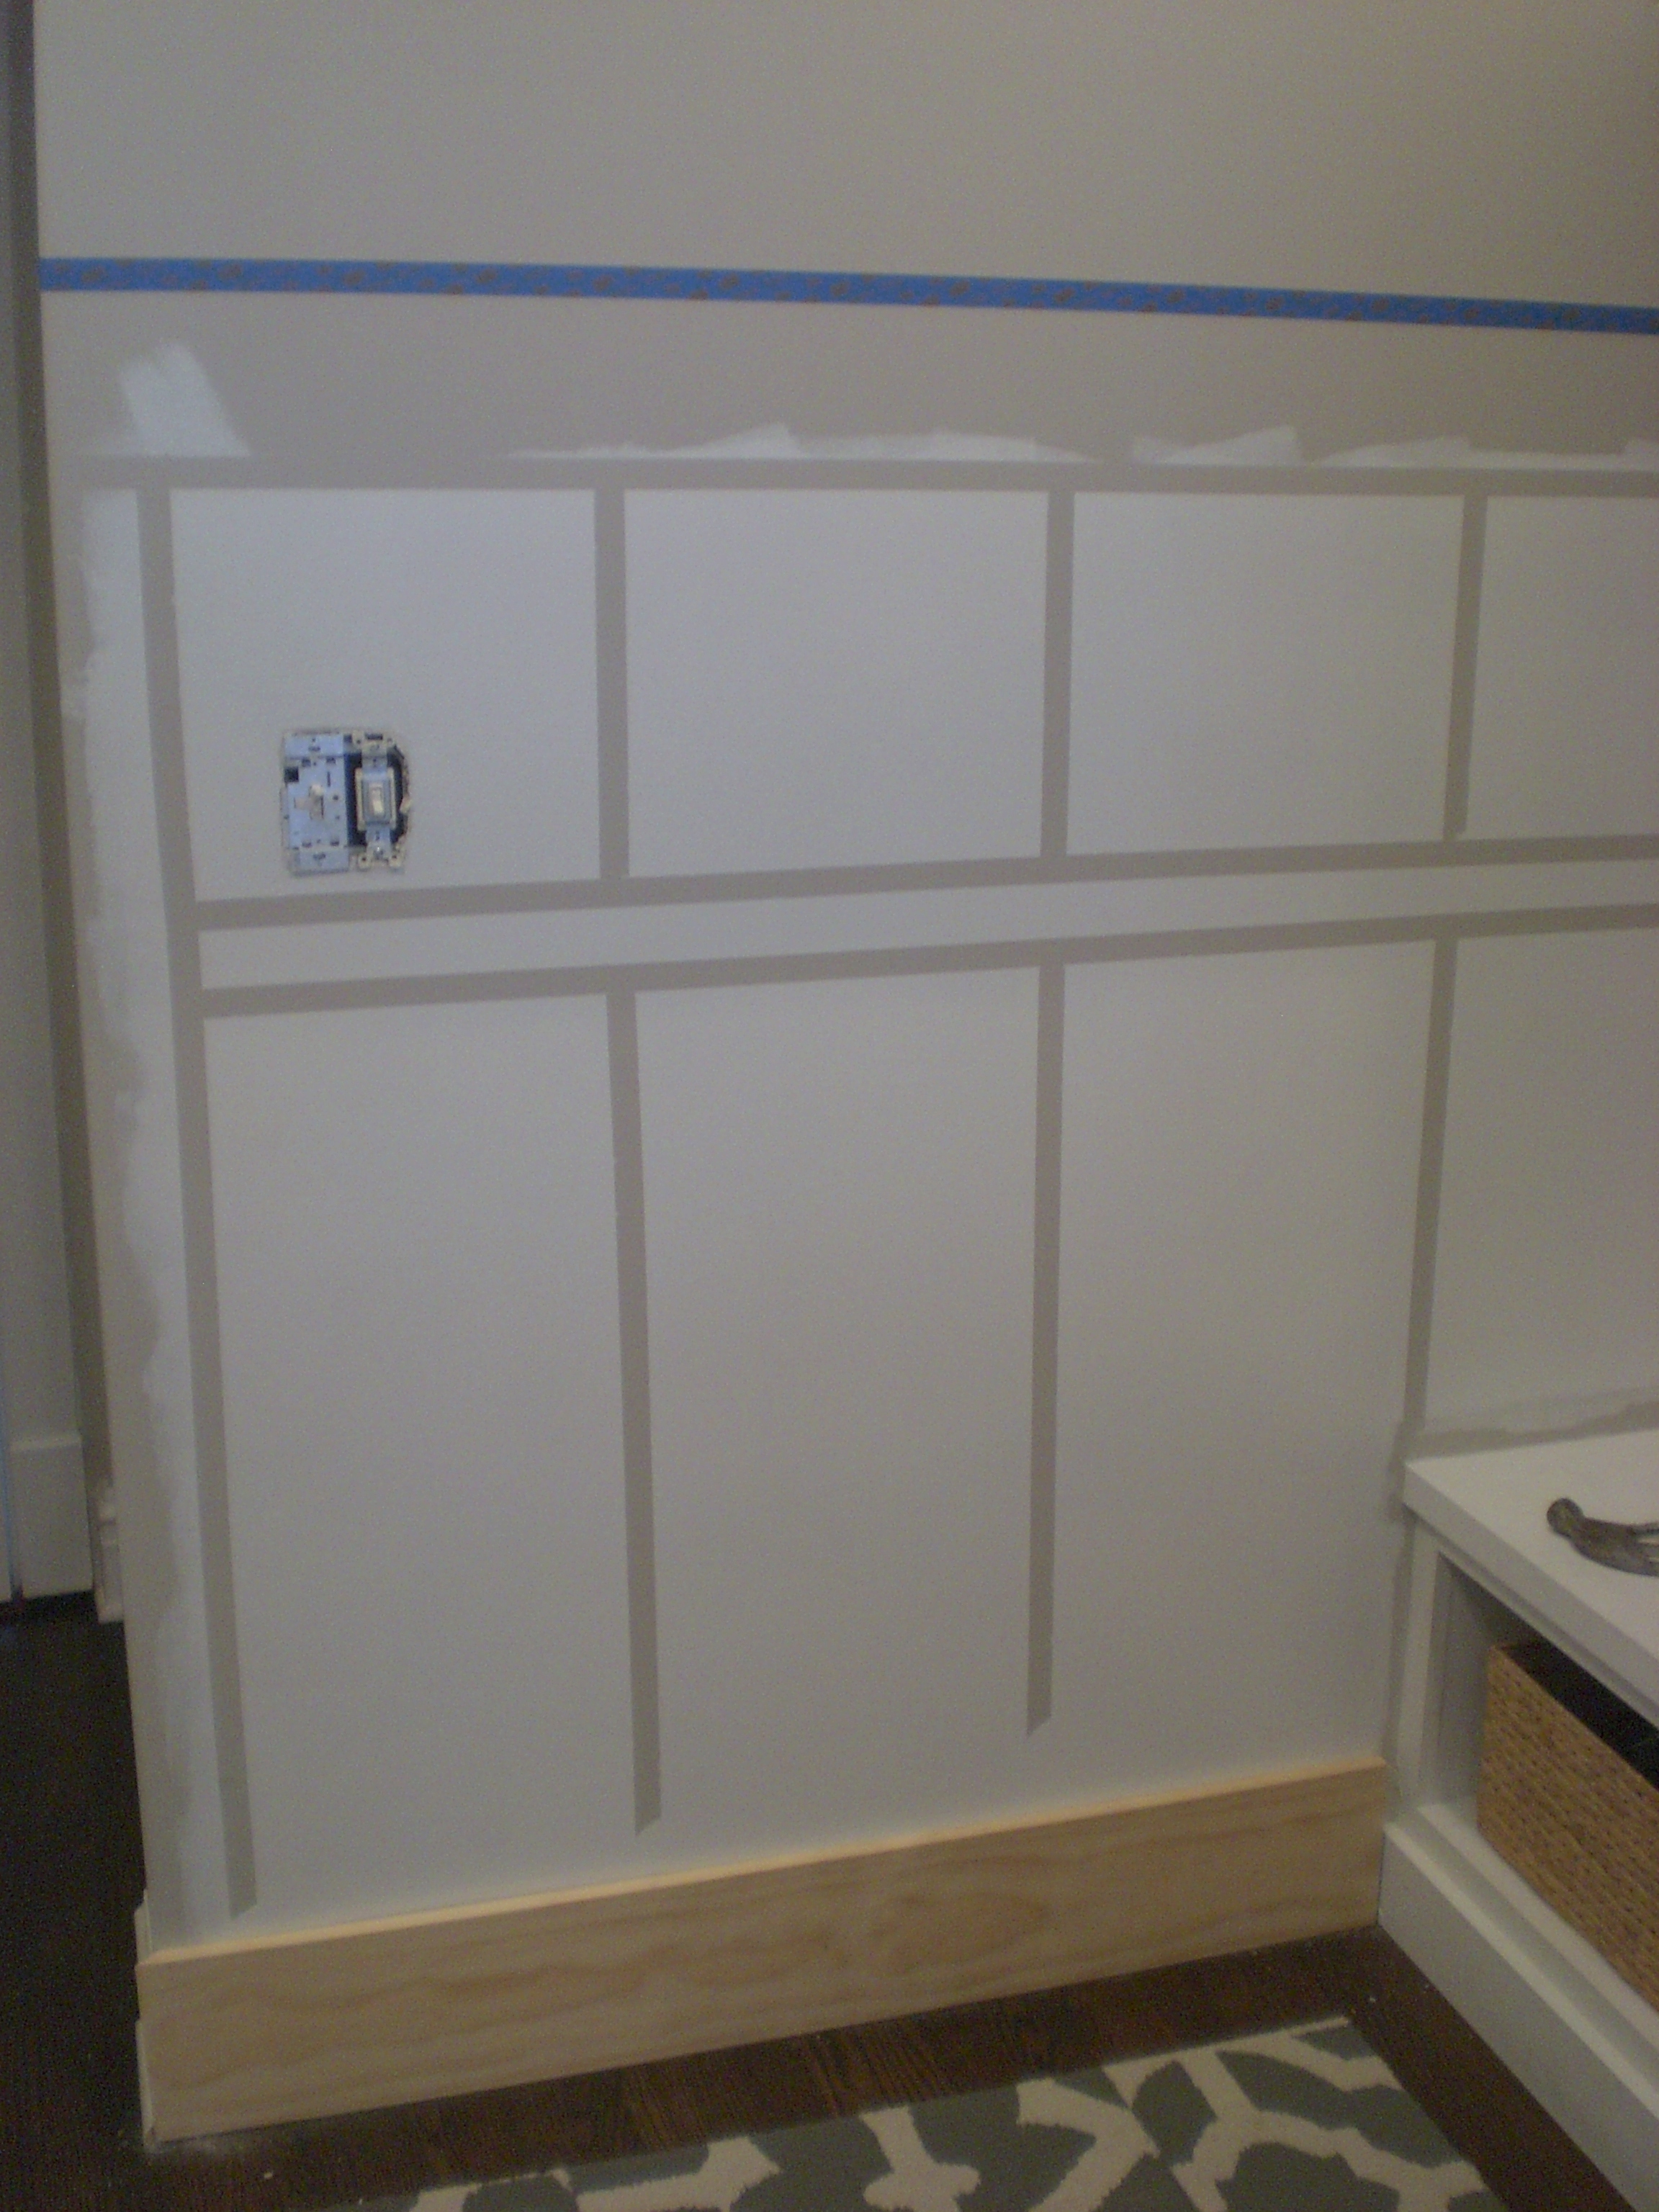
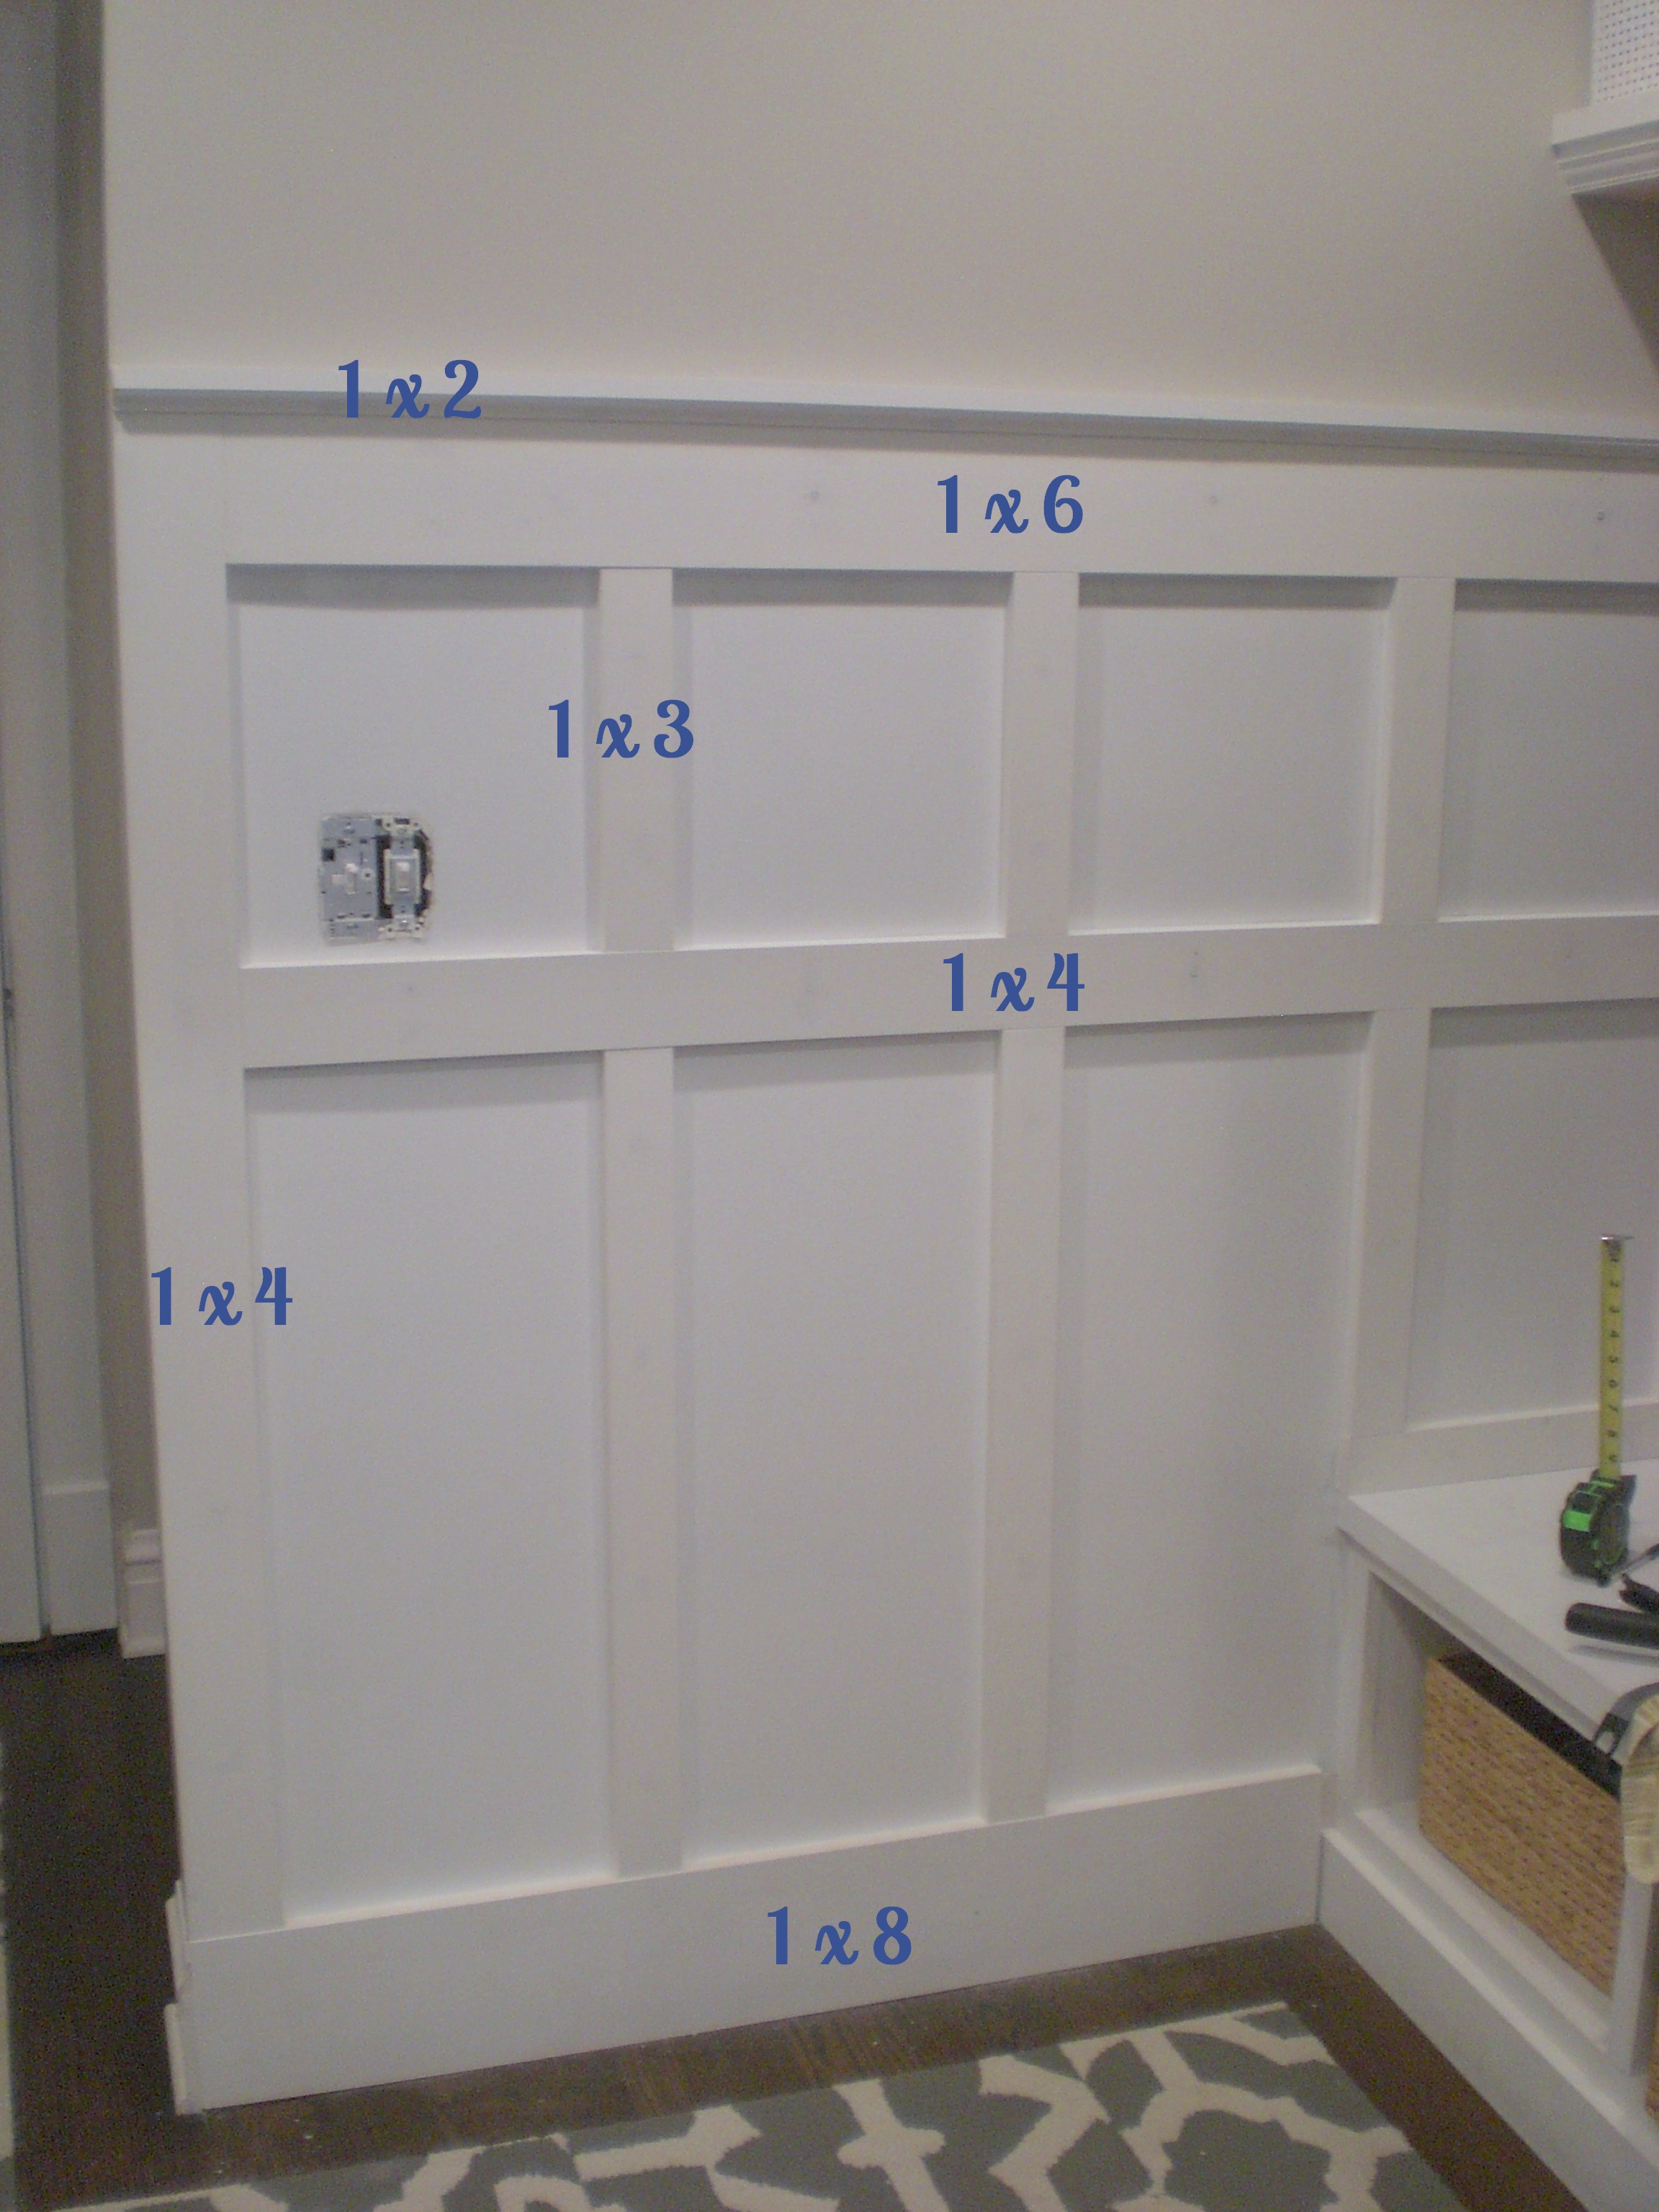
Once DH and I had double checked all our measurements we figured out how many of each of the board sizes we’d need so we were sure we’d have enough of each size to cut all our boards at home. For our wall this worked out to 2 1x3s, 2 1x4s, 1 2×6, and 1 1×8. We got primed pine for everything we could, but Home Depot didn’t seem to carry a primed 1×8 board so we just purchased an unprimed board (you can see that in the pic above). Many tutorials suggested you take your measurements with you Home Depot or Lowes and have your boards cut to size for you there, but I can NEVER find anyone in the lumber department to help me when I go to the ones near our house, and since we had to work around the mudroom bench we wanted to be able to cut as we went and double check all our measurements at at home before making the cuts.
Here’s how this went down:
- After getting all our lumber home we started with the bottom board. We used a 1×8 since our baseboard trim throughout the house is pretty high. We simply marked the studs and nailed the board into the studs in a few places. For all of the nails we did we pre-nailed them into the boards before starting to nail them into the walls/studs.
- Next we installed the vertical end battens (1x4s). Since these weren’t going to have any hooks installed on them we just nailed them into the wall. We made good use of the level to make sure things were perfectly vertical.
- Then we put in the top board (a 1×6) and the middle board (1×4 again). We made sure everything was level before we started installing everything. Since these were the boards that would hold all the hooks, we wanted them to be secured into the studs. We marked the studs and secured them to the wall with nails first. Then we went back and secured them to the studs using wood screws. The first one we did didn’t counter-sink at all, so for the remaining ones I pre-drilled the pilot hole, and then went back and drilled a much larger hole about a quarter of an inch into the board so that the screws would be flush with the board once installed. This definitely looked much better! We used 4 screws and 8 nails for each board.
- The final step was to install all the vertical “batten” boards ( we used 1x3s). It was a lot of cuts but this went pretty quickly. We again just nailed the battens directly to the wall with a few nails which worked just fine.
- The final step was to install the top. We didn’t want top “shelf” to stick out very far so we used a 1×2 piece with some cove molding beneath it. We glued the 1×2 (this time the 1″ end was on the wall and the 2″ end sat on the top 1×6 board) and then used nails to secure the cove molding to the 1×6 board. This also helped support the 1×2 piece at the top.
In case that was bit difficult to follow, here’s a pic with the types of boards we used to construct our board and batten!
Our next step was to make sure to counter-sink all the nail holes. Then we went back and spackled all the nail holes and screws, and finally did a very thorough job caulking all the seams. Once everything was dry we sanded everything and wiped it down so it was ready for paint. This part was definitely tedious but was well worth it in the end. Stay tuned for the final reveal soon!
Cheers,
G
Psst! Make sure to check out the final reveal here!


Pingback: Board and Batten wall reveal | the2bedroomblues
Pingback: March 2015 Review | the2bedroomblues
Pingback: Easy DIY bathroom board and batten |
I was wondering what your measurements were when putting the tape up. Like how far in between each board etc.
They are not all consistent but probably about 14 inches or so apart (more like 16″ from the center of each board). I’ve seen this done with smaller distances and it still looks fine. I think anything from 12″-18″ works well. Hope that helps!
We have 9 ft. Ceilings and a long hall. How tall do you think we should do ours?
I think that is similar to our ceiling height. I would put some tape up around 5′ and see how it looks/feels and adjust from there. It depends somewhat on if you’re going to add hooks or if it is just decorative, and if you plan to hang art above it like we did. I think there’s a range that looks good but putting some tape up can really help you visualize it!
Hi..I see that you had different trim and connected the two…can you take a picture of that corner so I can see how u solved that problem. Thank you. Nice work!
Hi Kendra! Which section are you wondering about specifically? We did use a solid board rather than trim for the bottom. We just ran the regular floor trim and quarter-round flush with the edge of the board.
Very helpful.
Pingback: DIY Board and Batten for textured walls.