Need for Speed: SHIFT

Need for Speed: SHIFT

119 ratings
The Art of Tuning (lrn2tune Tuning for Dummies!)
By Drrt4 and 2 collaborators
Here I'm going to take you into an overall in-depth guide of the tuning aspect of NFS:SHIFT in order to give your car the edge it needs to beat the A.I. or your buddy online.

I'm going to be going over ALL the advanced tuning sections: tires, alignment, suspension, drive-train, and down-force.
2
   
Award
Favorite
Favorited
Unfavorite
What's Tuning? (where to find it and what car I'm using)
Tuning is the area where you can fine-set your car to preform at its best or to set the car to your personal preference.

Where do I find the tuning section?

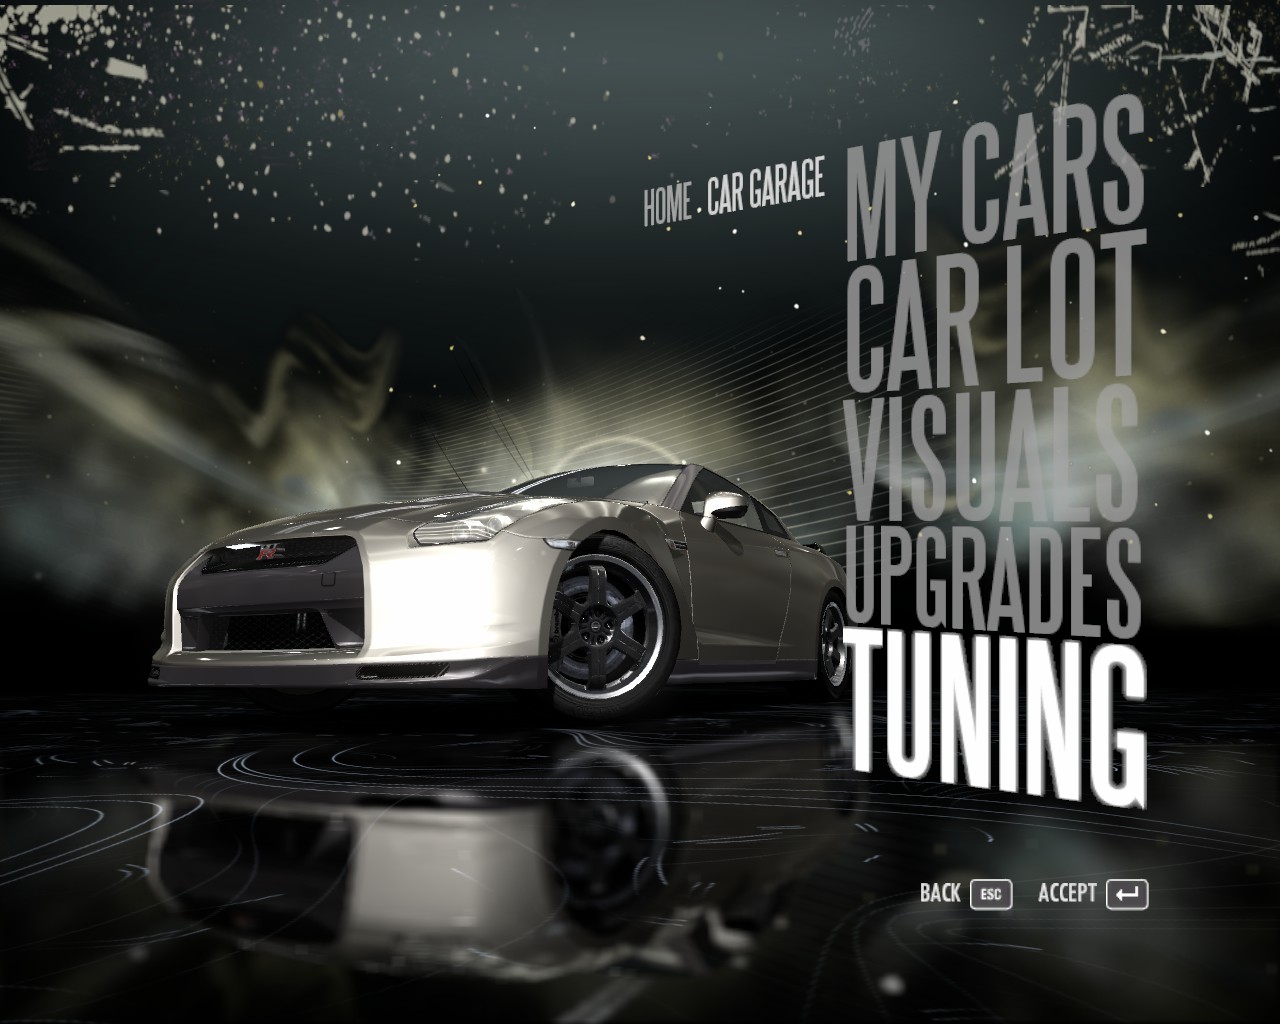
In NFS:SHIFT, it's under Home>Car Garage>Tuning (Or at the career menu 1>Tuning). You can't miss it.


As you can see, today I'm going to tune the Nissan GTR V-Spec from the ground up.
(After buying all the possible upgrades for it)

All suggestions about certain stats may not work for you, Go ahead and fiddle around with the settings and see what works for you.

So lets get started with the tires and break balance.
Tires and Break Balance
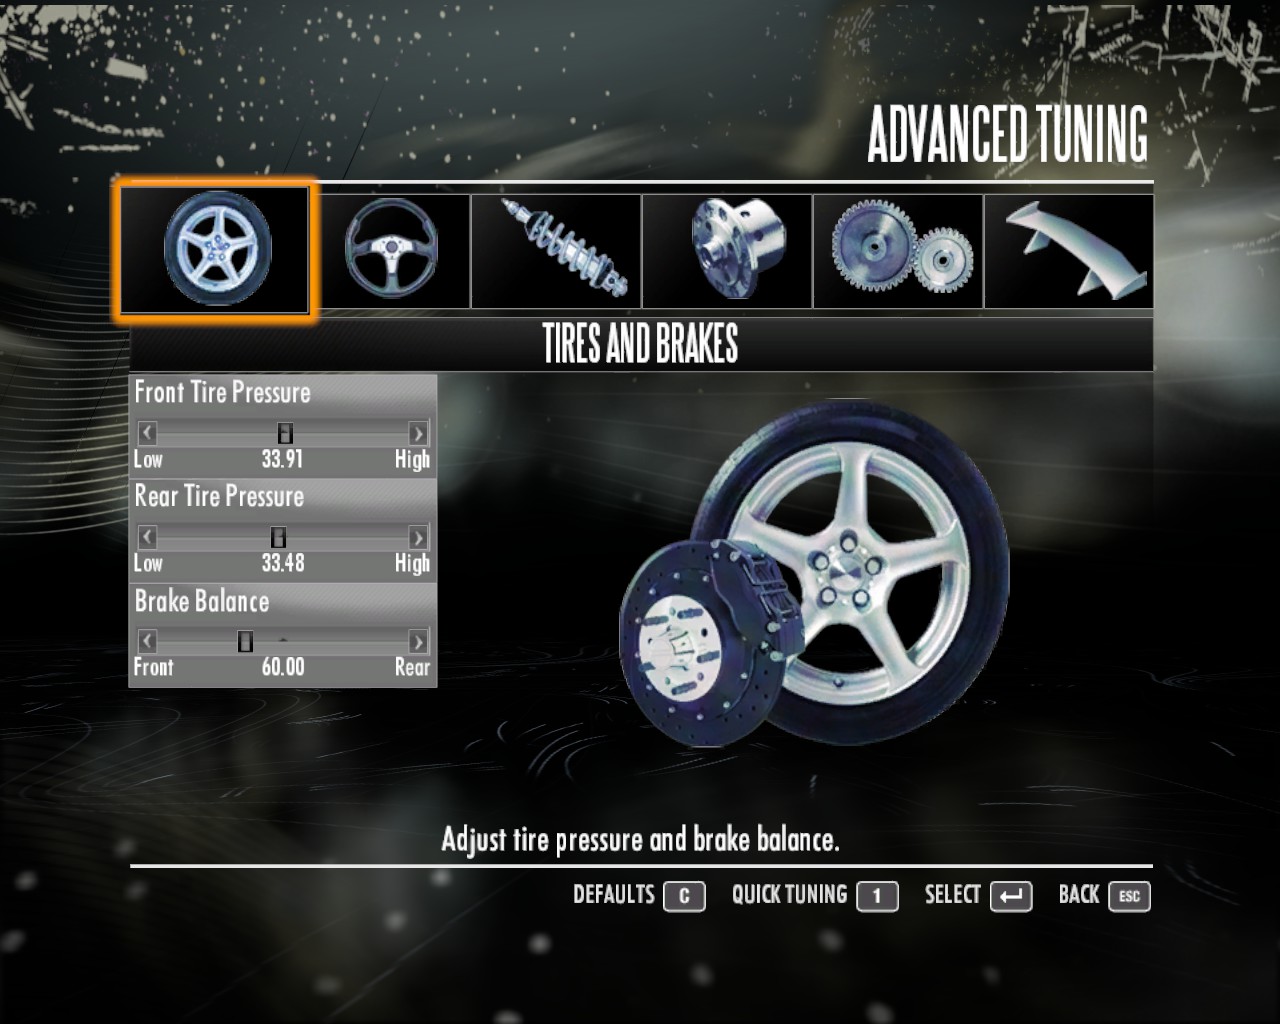
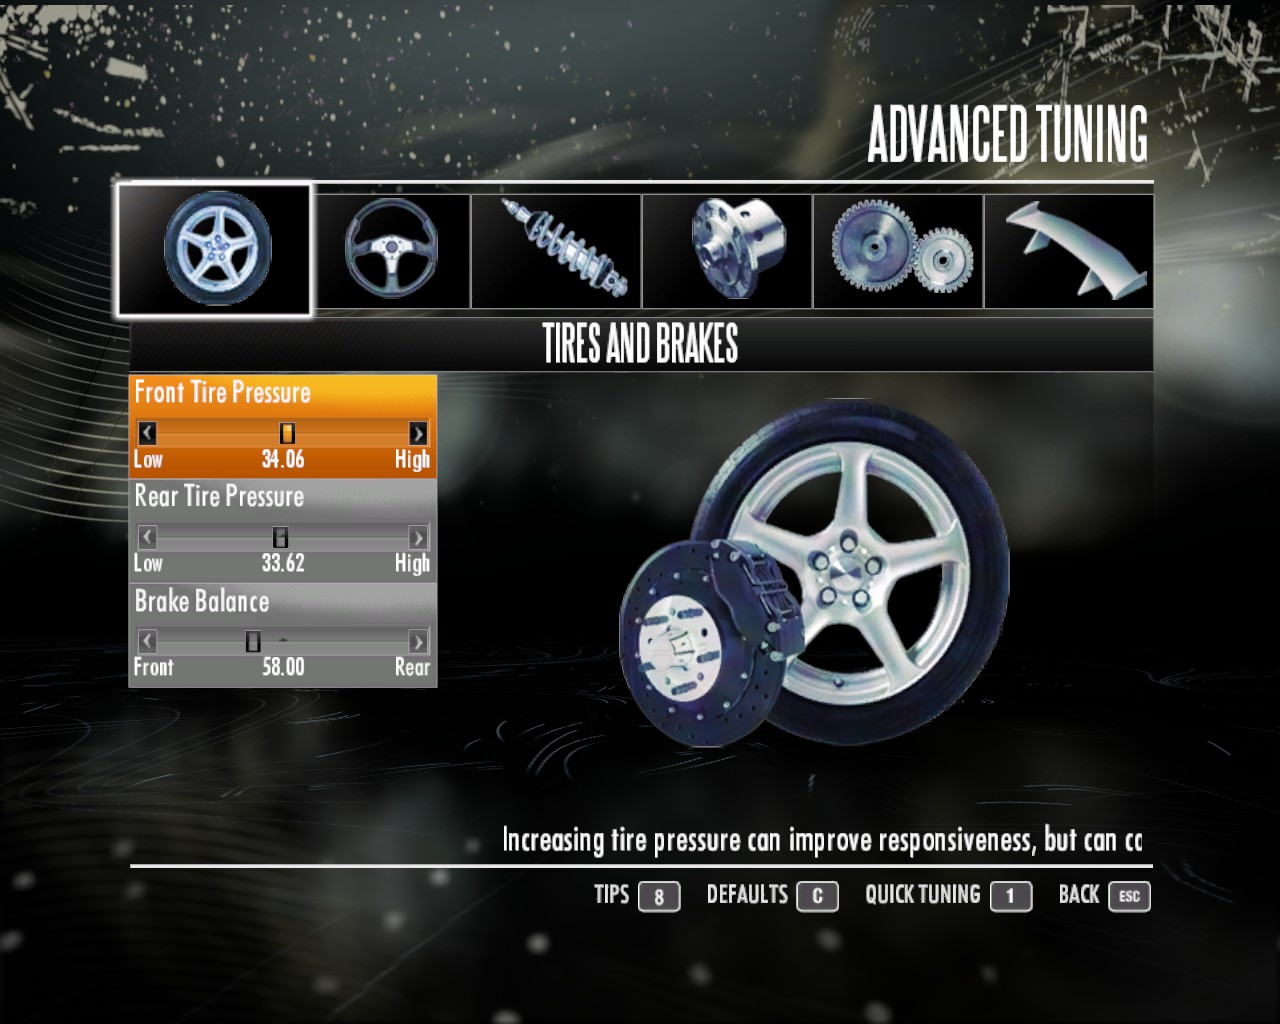
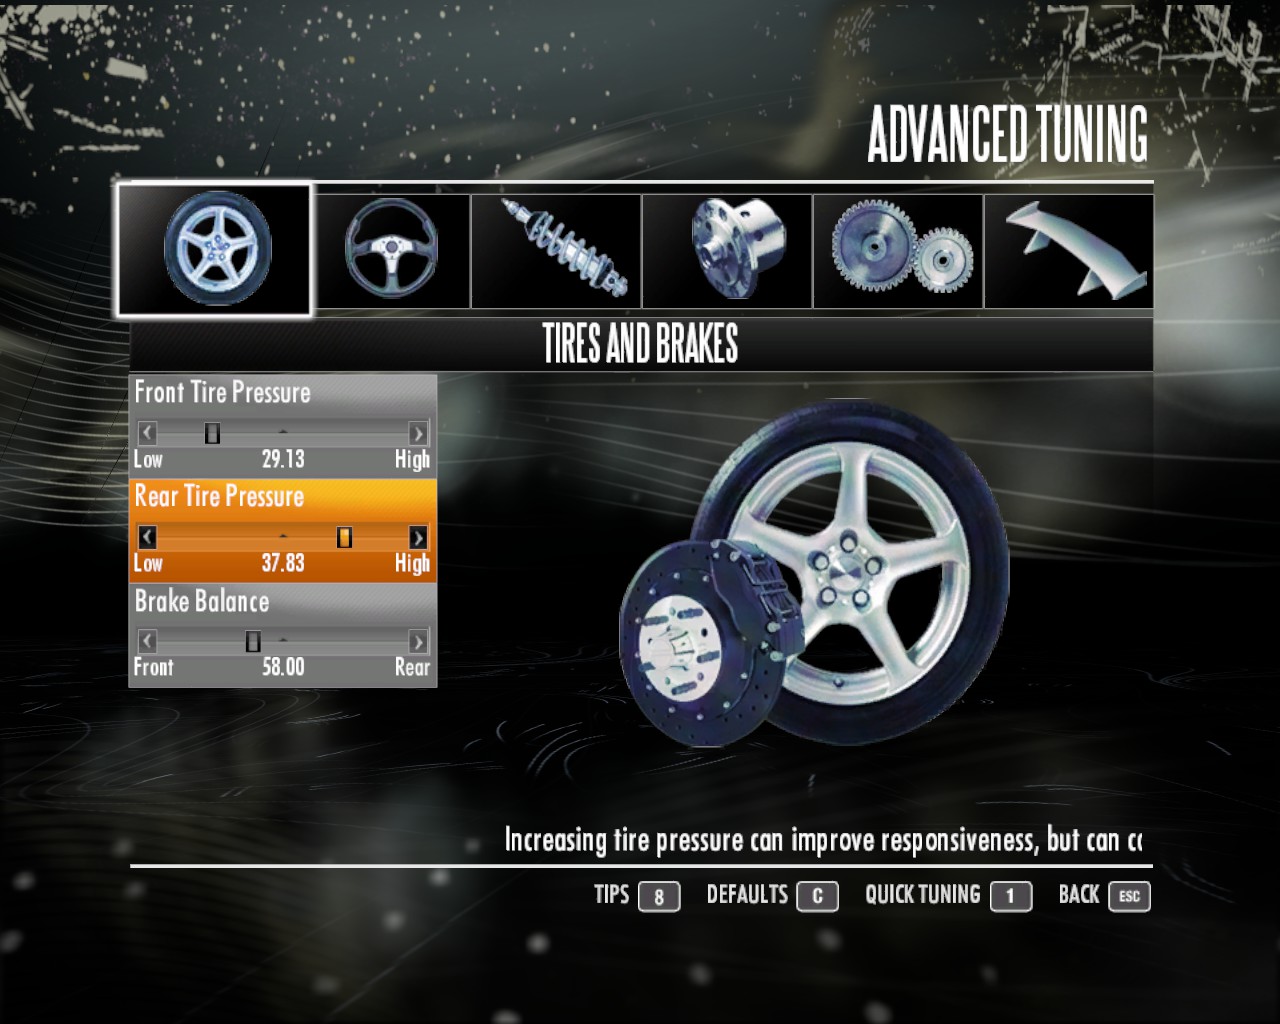
In the first tab of the tuning section of Shift, you'll find the tires and break balance.


So first there is the front tire pressure


Lower tire pressure increases over-steer. (This is where the rear wheels want to slide to the outside of a turn or "drift" in a turn)

Making the front tire pressure higher adds under-steer. (This is when the front of the car wants to run wide in a turn or not turn enough) This is good for high-speed tracks where little steering input is needed.

Then there is the rear tire pressure


The rear tire pressure has the opposite effect of the front.

Lower=under-steer
Higher=over-steer

So if you're like me, most of the cars ether drift too much or don't turn. So what I do is I set both tires to be almost direct opposites of each other depending on if the car is over-steering or under-steering.

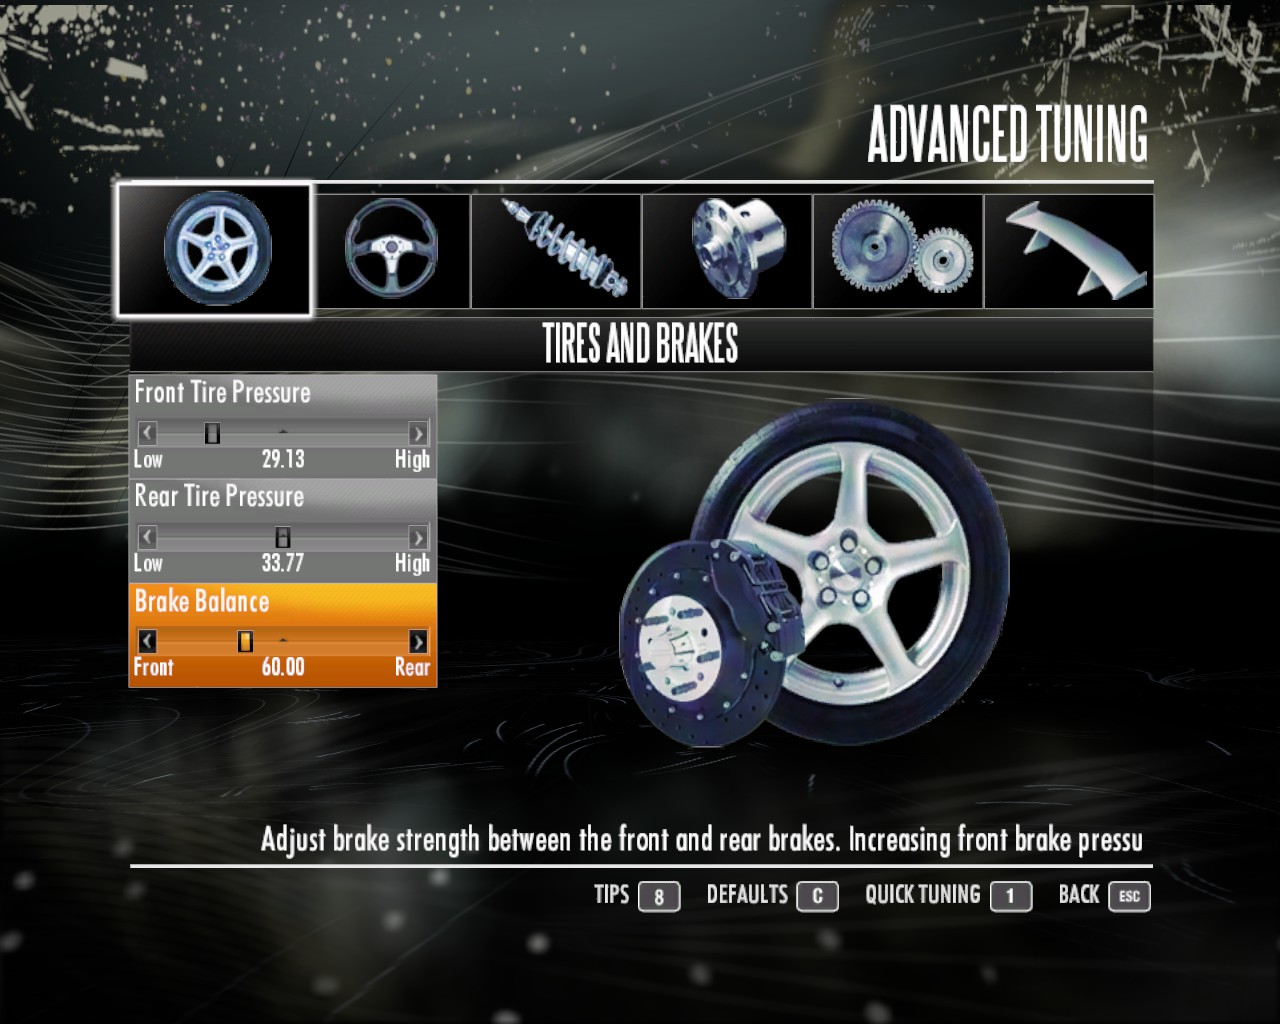
Now for break balance.


This is the only setting in the whole guide that has anything to do with break performance. (Well, majorly. I'll show the only other break effect later on in the guide.)

For the most part, this is when your breaks lock if ABS is off and where your power is put. (If ABS on then this is for break power distribution only) So for more stopping power, aim for a 70-30 setting (70% of power in the front 30% in the rear) for the drifters if you want more power in the rear wheels. My drift cars have a 40-60. (40% in front 60% in the rear) Not that a lot of people drift in Shift (HUE HUE HUE IT RHYMESS!) (Rita: I'm guess you just wanted to put that so you could rhyme. (Drrt: YESH!))

Now on to alignment.
Alignment
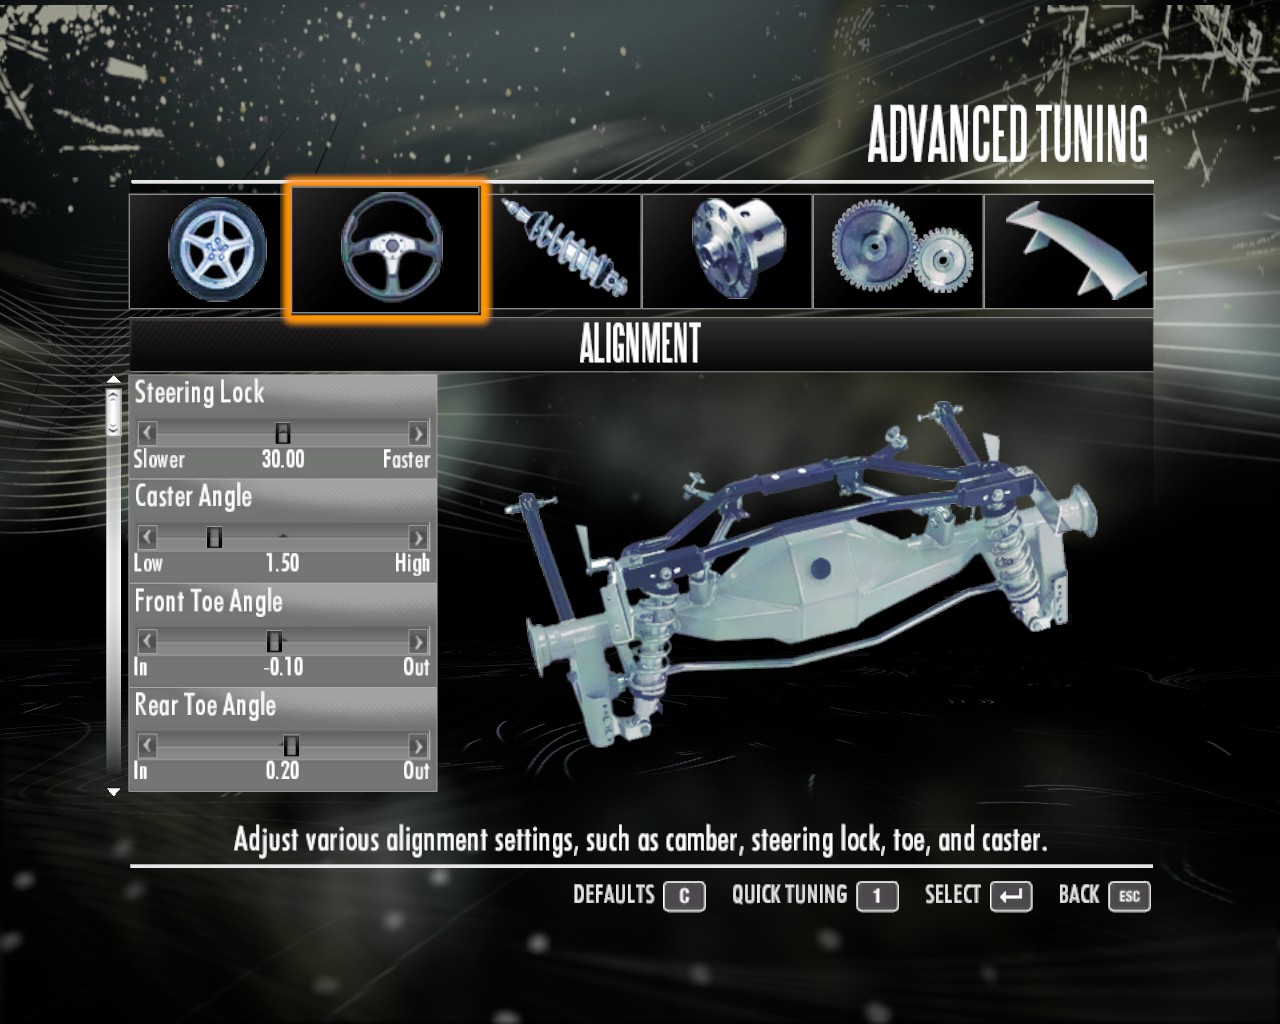
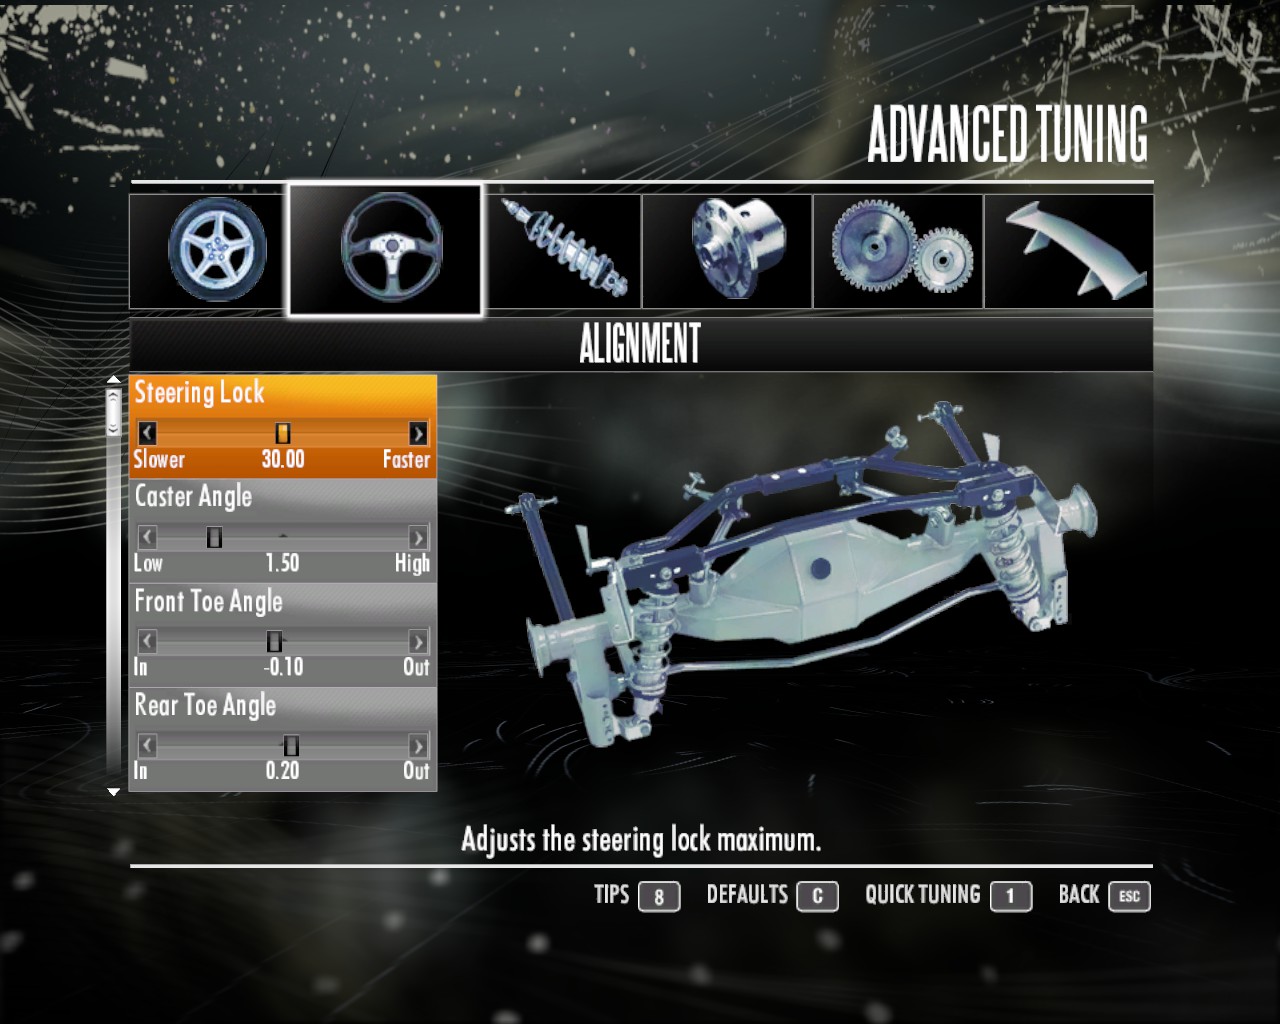
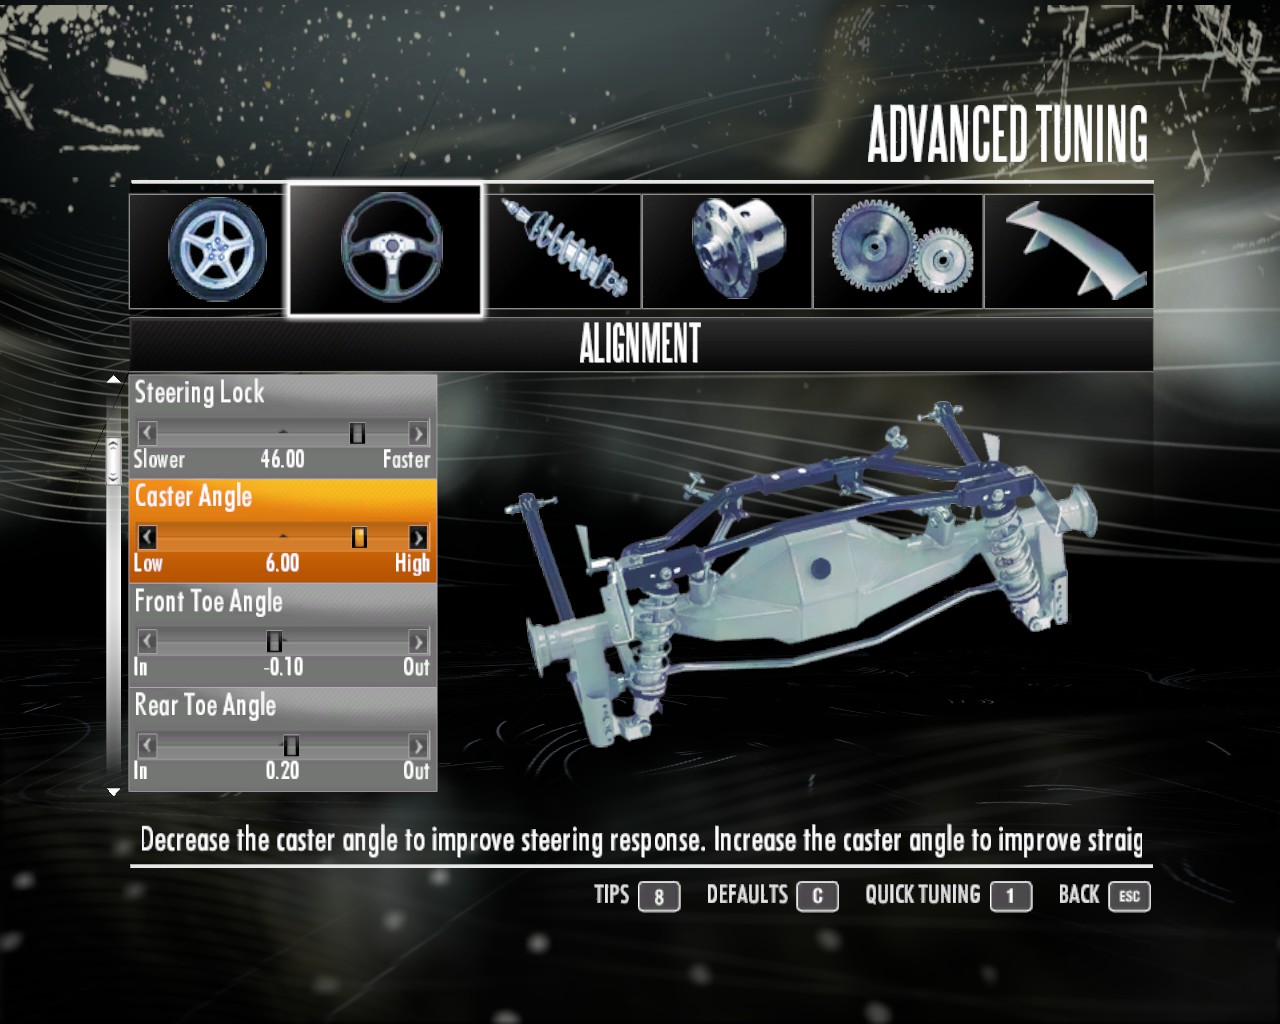
Here is where you want to set how your car reacts when you turn the wheel.


So the first setting is the steering lock.


Basically, this is how fast your response is when you hit the arrow key. (or whatever button you assigned to turning or you own a gaming wheel) For those people not cool enough for a wheel, (like me) just go max or almost max depending on tier and car you've selected.

Next up is the "caster".


This setting sets how well the car feels. Higher settings make the car easier to drive though it will make it less responsive, but that wont matter if the lock is high enough. If you set the lock to high, then just set the caster to near the same setting or higher.

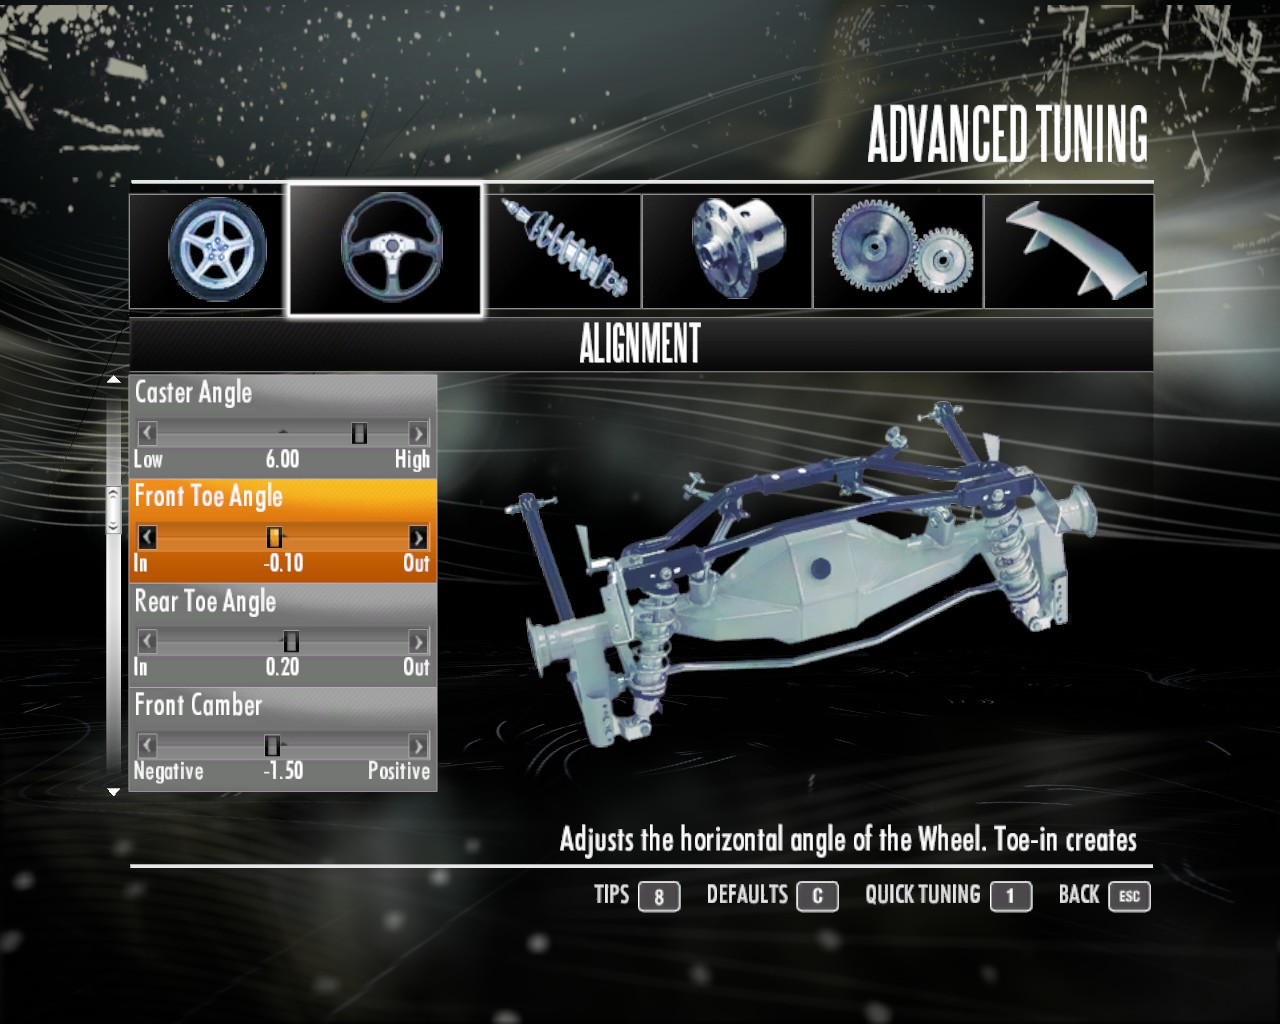
Now for the "toe" angle.


Both rear and front define how the car preforms on straights and turns.

Applying toe-in on the front gives you a better turn-in but will make the can twitchy on straight runs.

Applying toe-in on the rear has the same effects as the front. To have the best of both worlds, go slight toe out in the rear and slight toe-in on the front. (Once again ,if my suggestions don't work, try another way. Screw around with it and see what works for you. Have it catered to your personal playing style.)

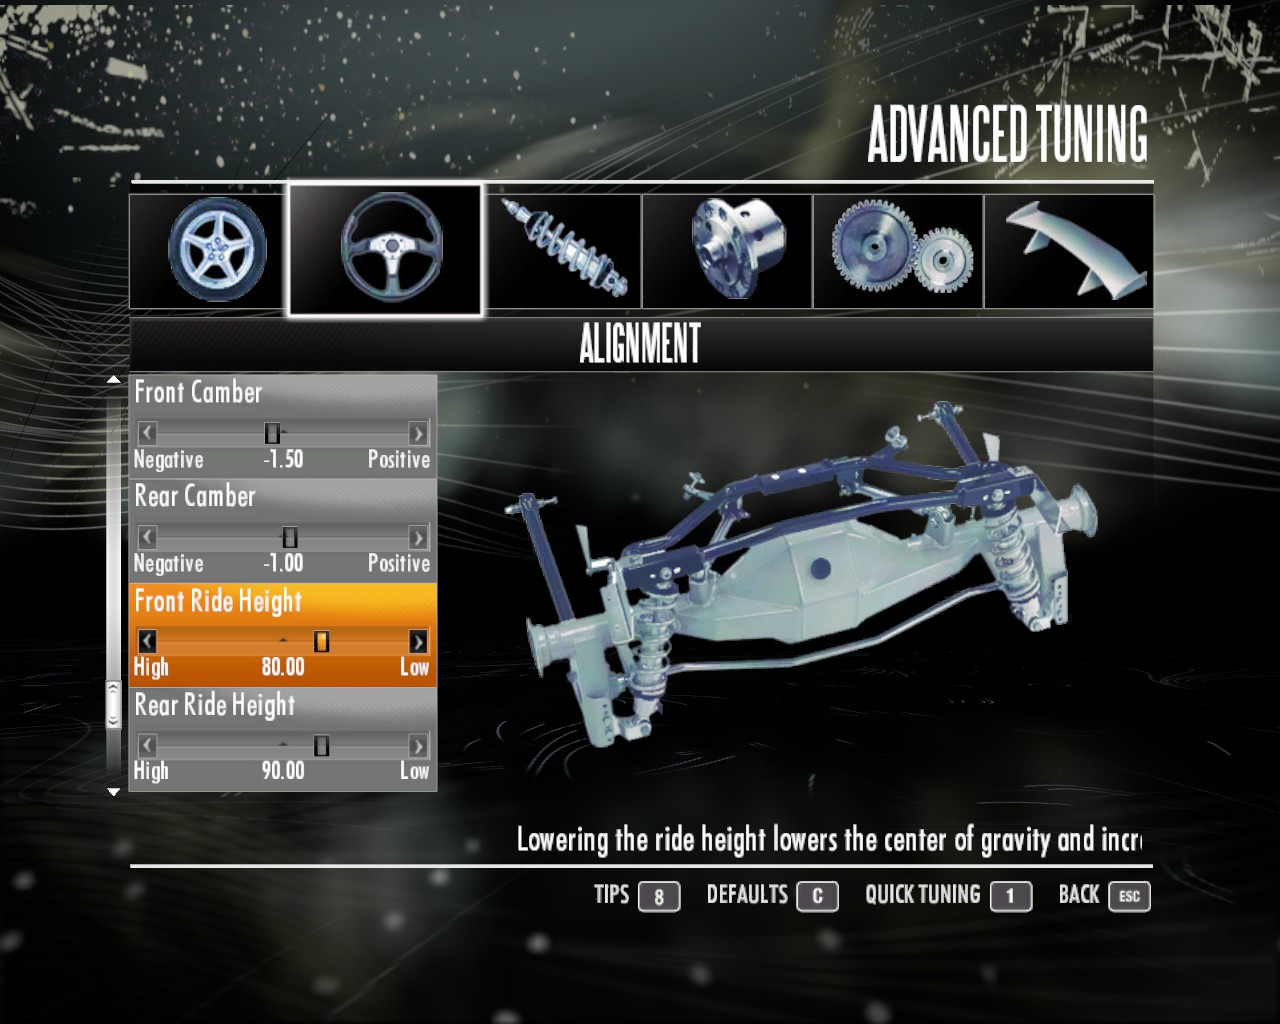
Camber is next.


Here is how the tires seat on the road when you break/accelerate.

This has little effect at first, but when you change it, you'll notice a BIG change.

The front is for the breaking. When you break, your car's weight is shifted to the front. You want to have as much tire grip as possible to make use of the break balance we set up in the first section.

In order to have this happen, you want negative camber in the front so when you break, the wheels slam 100% of its slick on the road. When accelerating, though, remember the front wheels are slightly up so you have about 80% of your slick on the road.

The rear is for acceleration. When you slam on the gas, your car's weight shifts to the rear, so when you start the race, you want a positive camber setting so 100% of the slick is on the ground. If you're simply holding speed, the slick parameter changes from 80% to 90%. Exiting a turn, on the other hand, is another form acceleration which should be 100% slick on the track.

Now on to ride height.


This setting matters a LOT in the next section.

A lower height gives you a lower center of gravity, which in turn, makes your car more "planted" on the ground. Now, the downsides to this is "bottoming out" - a term used in racing for when your suspension can't take the weight of the car anymore, and the car scrapes the ground, and you cause unnecessary drag and damage. Don't lower your height unless you have a spring setting stiff enough to take it. (This will be explained next section.)

Onto suspension and dampeners!
Suspension and Dampeners
So, this section is all about the way the car handles bumps and how it reacts.


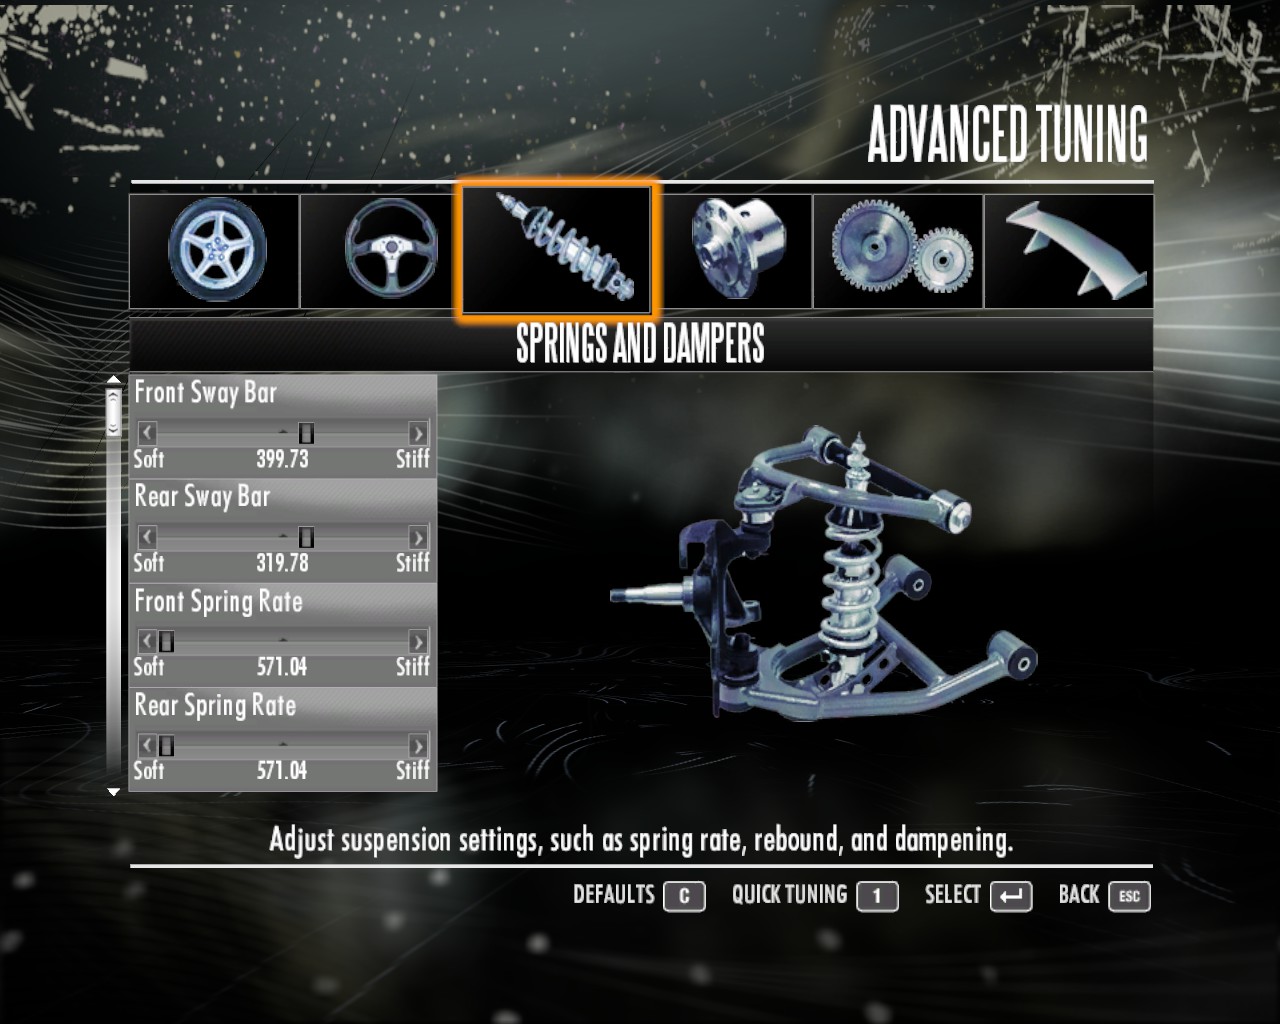
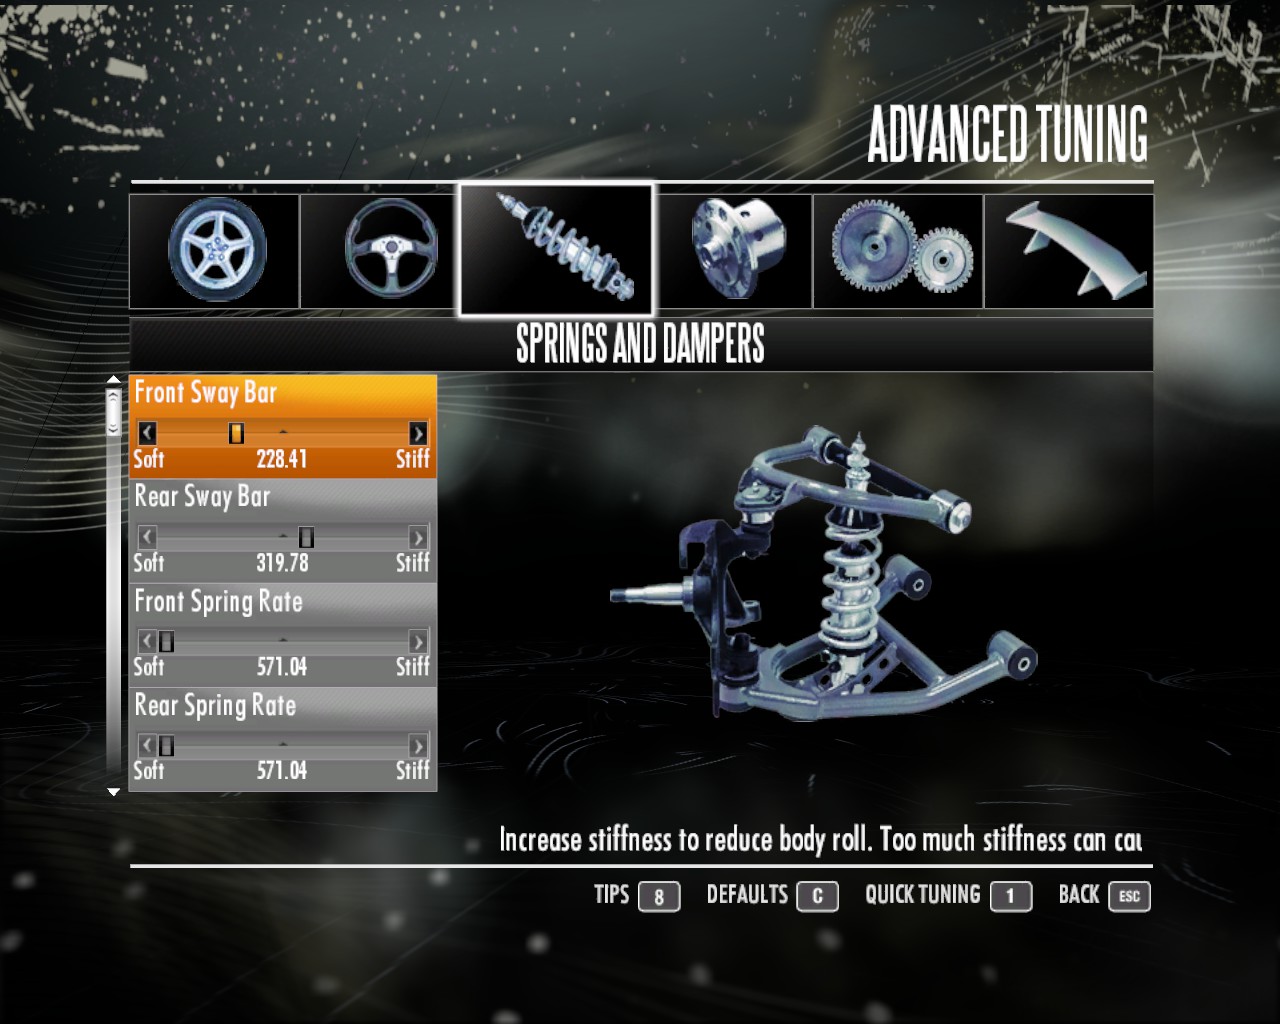
First part is the sway bars.


These set how much body-roll (or the weight transfer from right to left or left to right) the car has. Having both sway-bars stiffer tends to make the car stiffer, but I set it where the car has a lot of oversteer. I set mine to be stiff in the rear and soft in the front.
(Softer in the Front increases oversteer soft in the rear increases understeer)
(Rear settings have a opposite effect than the front.)

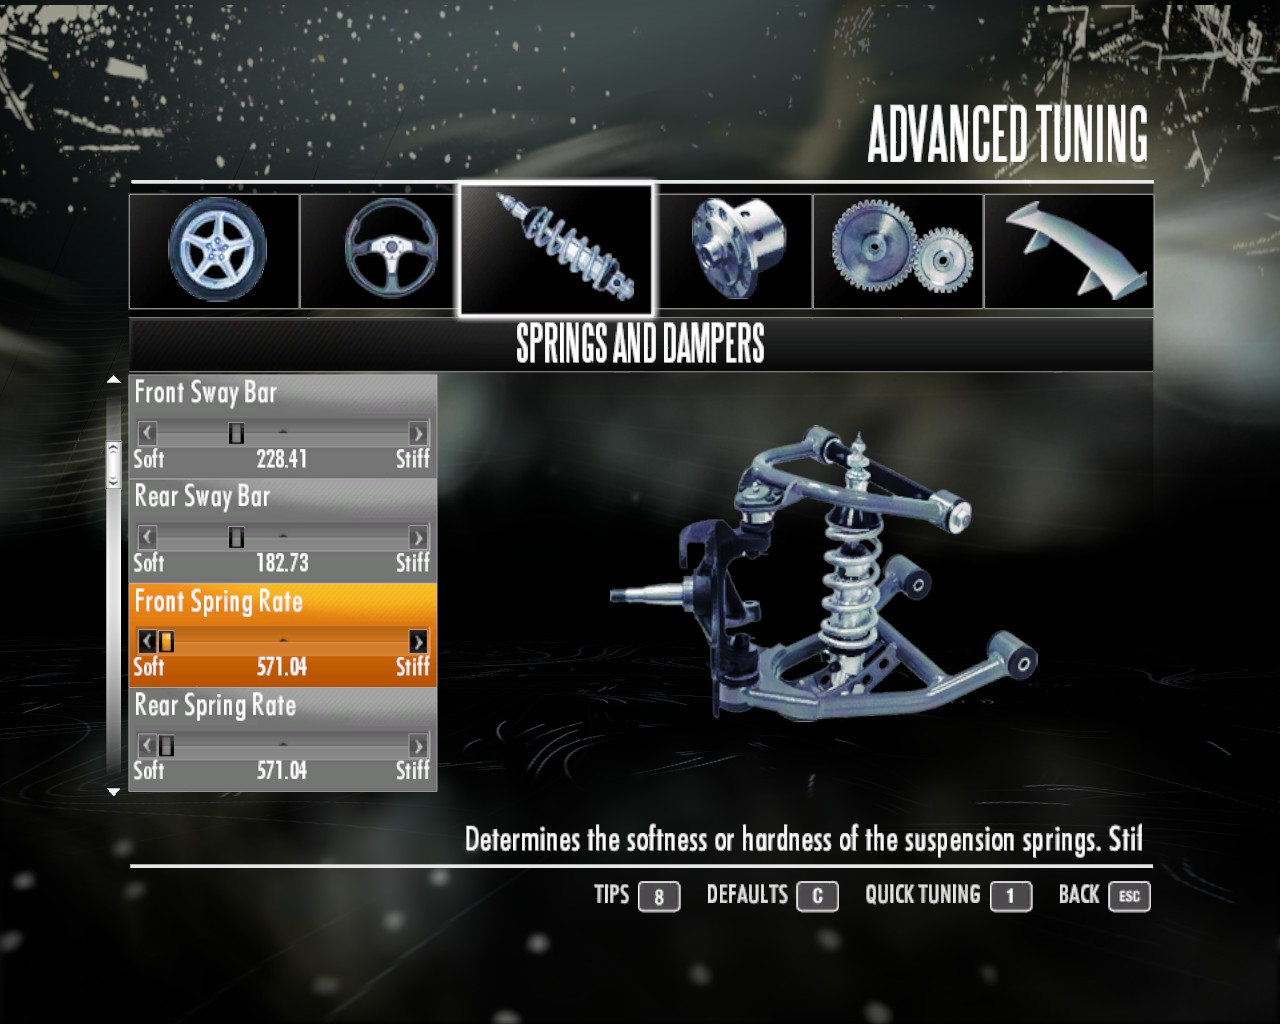
Next part is the Spring Rate


The spring rate is how stiff or soft the car feels. Softer means the car will take bumps without flying all over the track, but you'll need a ride height tall enough to handle it.

Stiffer means the car will handle overall smoother on smooth tracks, but since no track is that smooth, I keep it to the soft side.

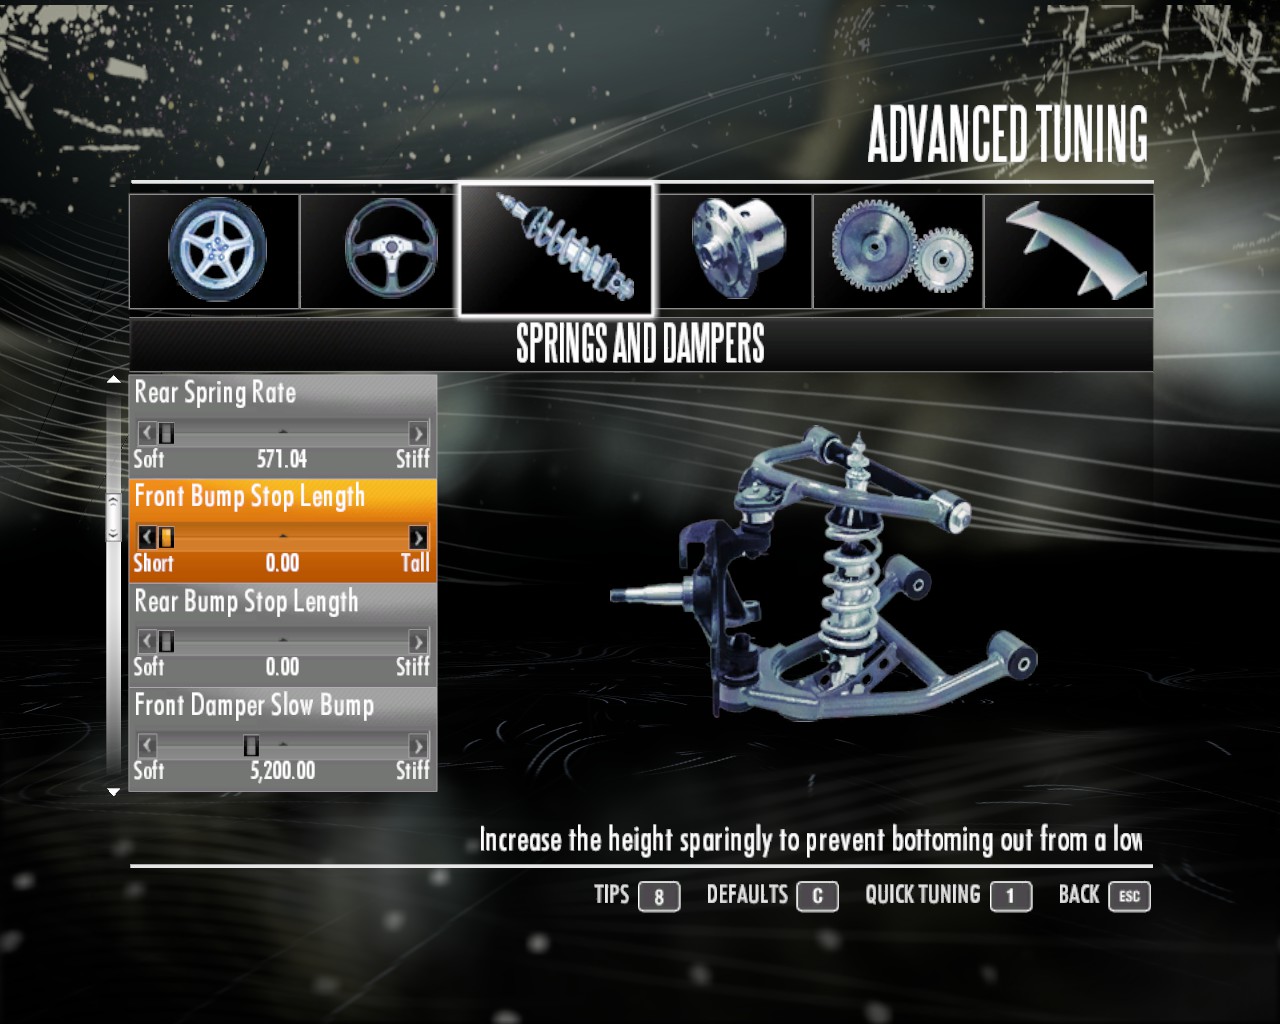
Bump Stop Length


This is a extra setting for keeping your car from bottoming out higher means once again you don't bottom out but makes the car more unstable at high speeds.

Damper Slow Bump


Both front and rear have the same effect

The higher the setting the more responsive the car will be, but makes it a lot more unstable, useable for cars that seem too "tame".
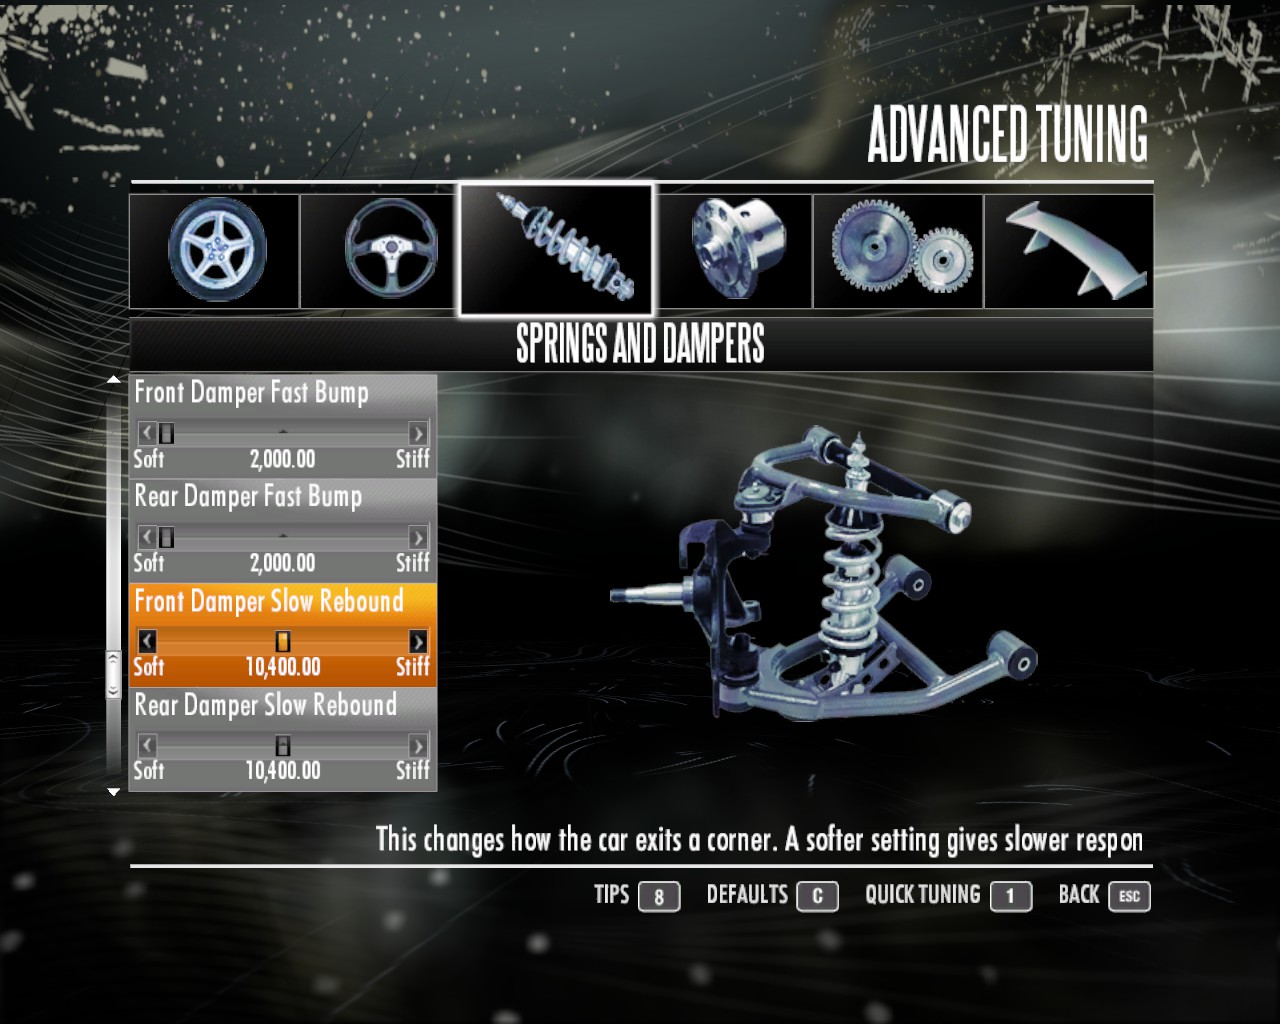
Damper Slow Rebound


this is for more or less grip, For Drift settings really. i set it to lowest for most of my cars. (improvement may be needed)

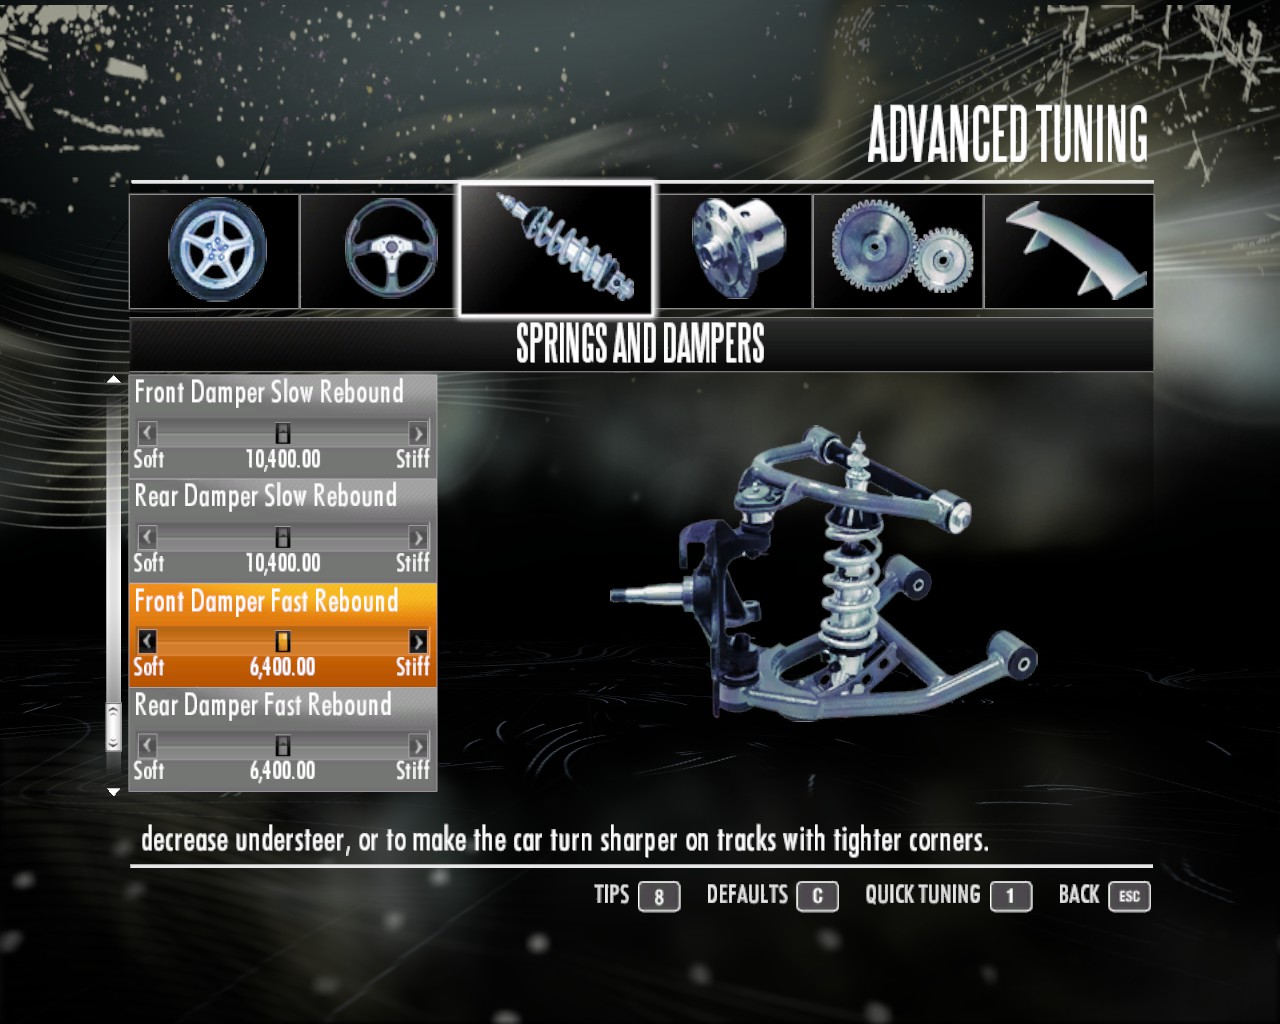
Damper Fast Rebound


Rear settings have the opposite effect than the front
This changes how a car exits a turn, A softer setting in the front makes it less responsive a stiffer gives a quicker response.

A softer setting in the rear gives a slower response while a stiffer gives a faster response.
(all of above may need improvement)

And that ends this section next is the differential settings.
Differential (LSD)
Now let me say that depending on your drive-train (FWD RWD AWD) You MIGHT get only 2 of the 4 settings or 3 of the 4 or all 4.

(Note; I used a couple different cars for this section)

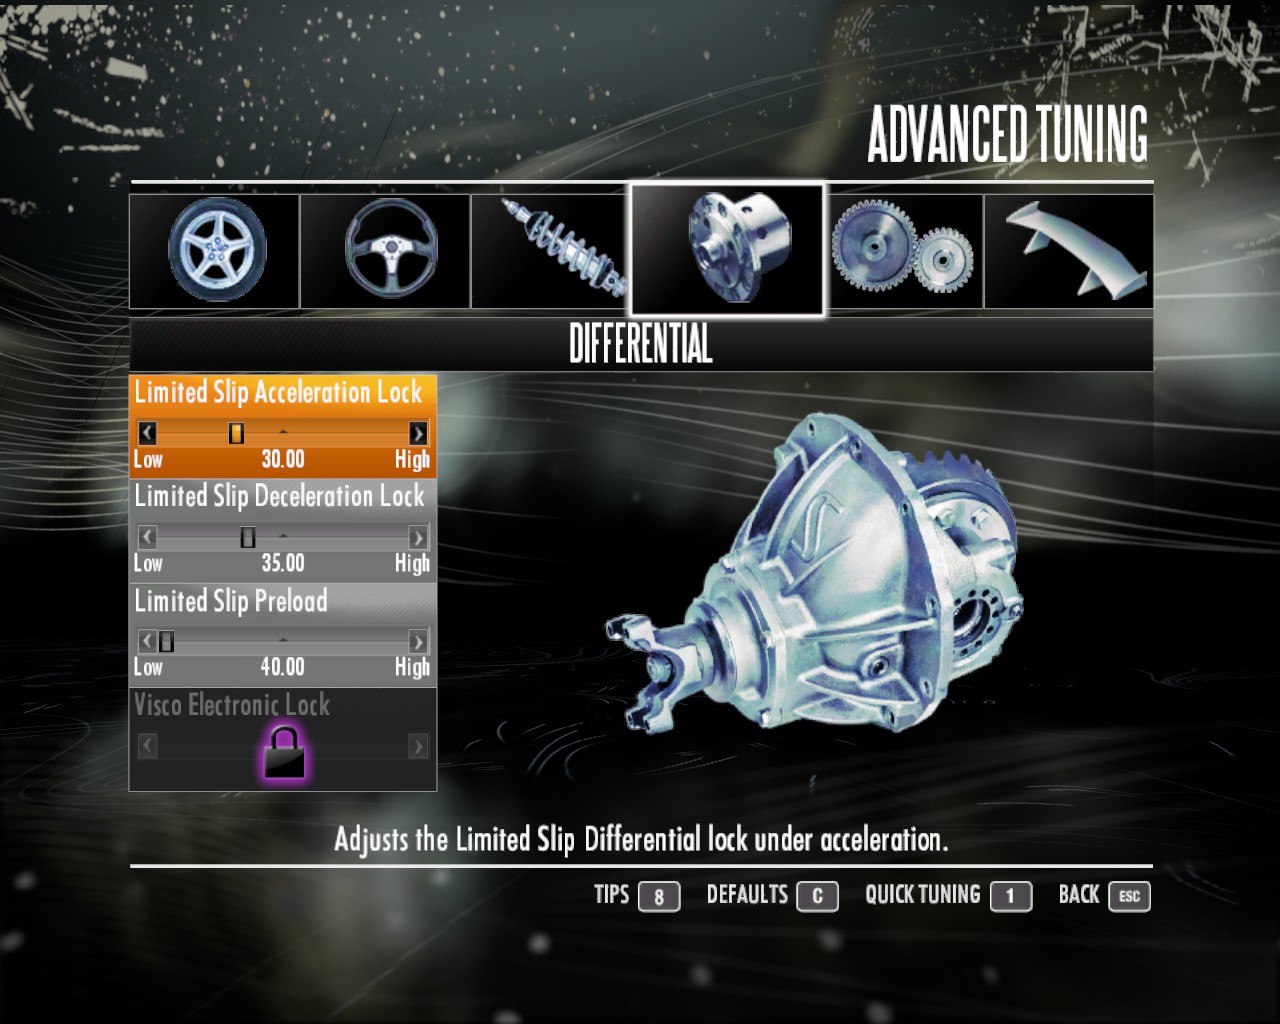
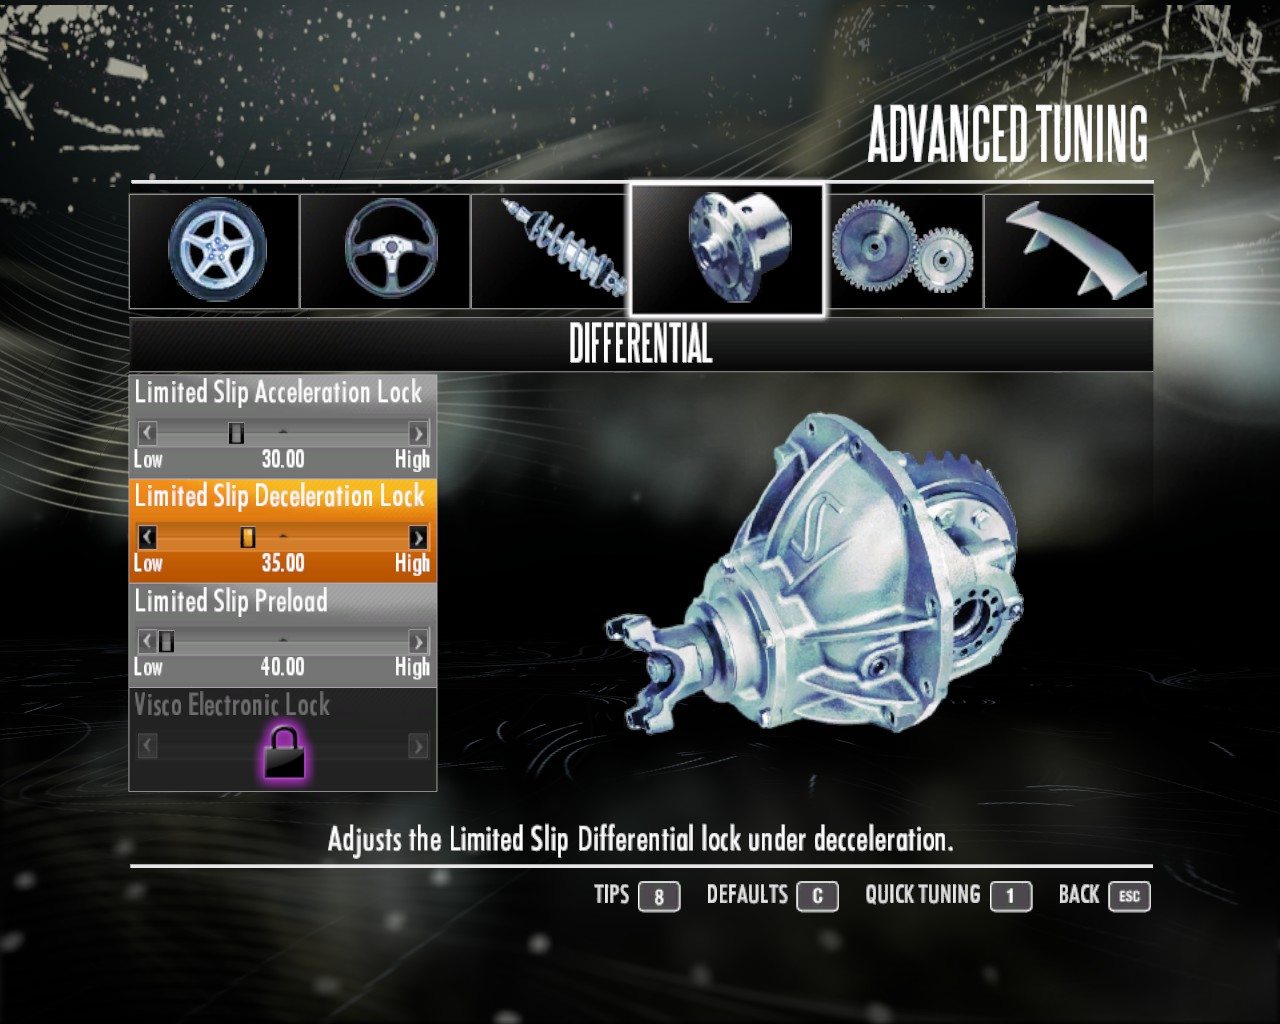
So here is the Limited Slip Differential (LSD) settings.

Limited slip means just that, less slip or tire spin when breaking or accelerating.

Right so the first part is the Limited slip acceleration
this means when you hit the gas you wont chew your tires.


Setting it lower means you have a higher chance of spinning your tires on exiting a turn or off the line. but you gain more maneuverability, (If you play with the throttle enough you can keep a nice drift going) So set this to high on high horsepower cars. (almost off if you want to on your T1 cars.)

Next is the Limited slip deceleration


A higher setting means you keep grip while breaking at the cost of maneuverability; Better for high speed tracks that require you to come back down form a high speed.
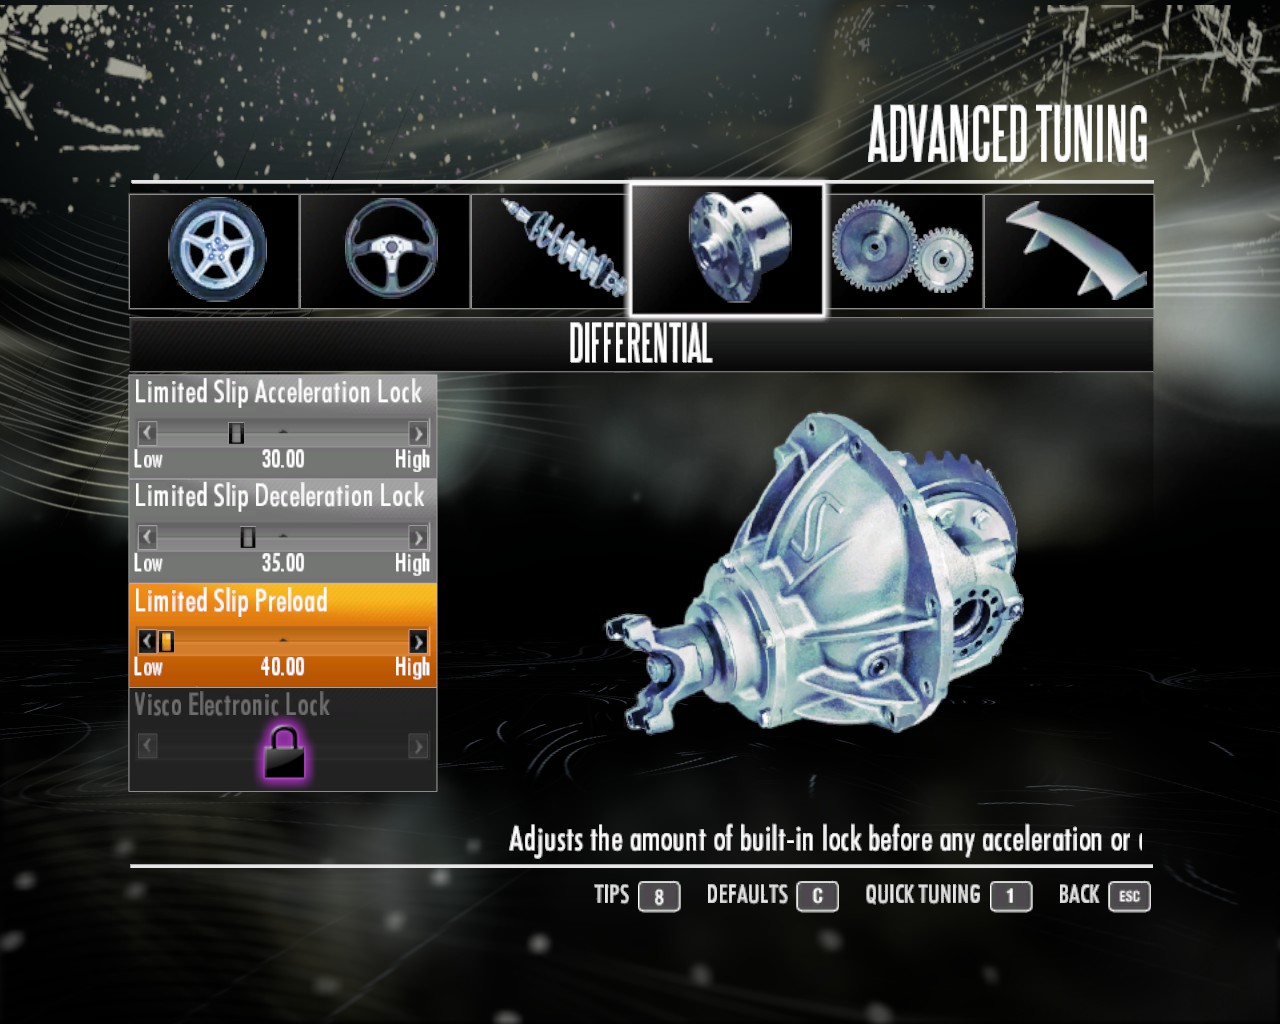
Limited slip "preload"


This adjust the amount of time it takes for any of these effects to take place (may need improvements)

Visco Electronic lock (AWD/newer cars)


This part only comes on newer and AWD cars its basically both deceleration and acceleration lock in one neat adjuster. (may need improvement)

Now on to transmission.
Transmission
This section is all about the Transmission and gearing

"Oh wow, what is this?"
This section is all about how your power gets to the road. How you tune it is all up to the car and its power and the track.

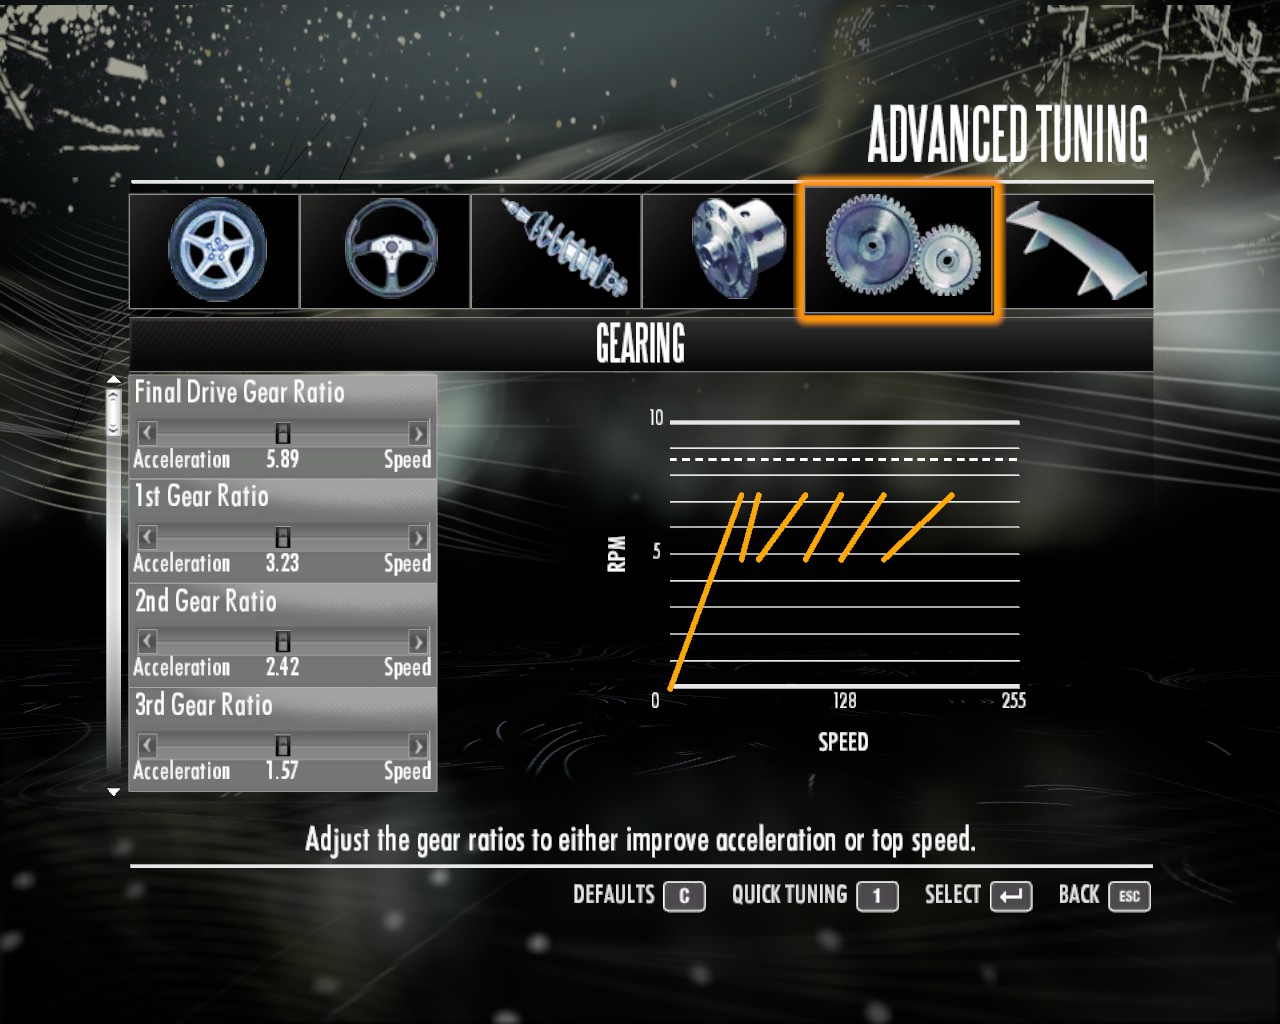
The orange bars you see in the shot below are your RPM to Speed range, the range matters for how responsive you want your engine to be, the longer the gear the longer it takes your the engine to react to push the body of the car to speed.

In layman's terms;
Longer gears = Higher speed
Shorter gears = Higher acceleration.


Now if you look closely at the shot above you'll notice the RPM/speed measurements are all over the place this is not going to be a amazingly responsive engine in all gears.

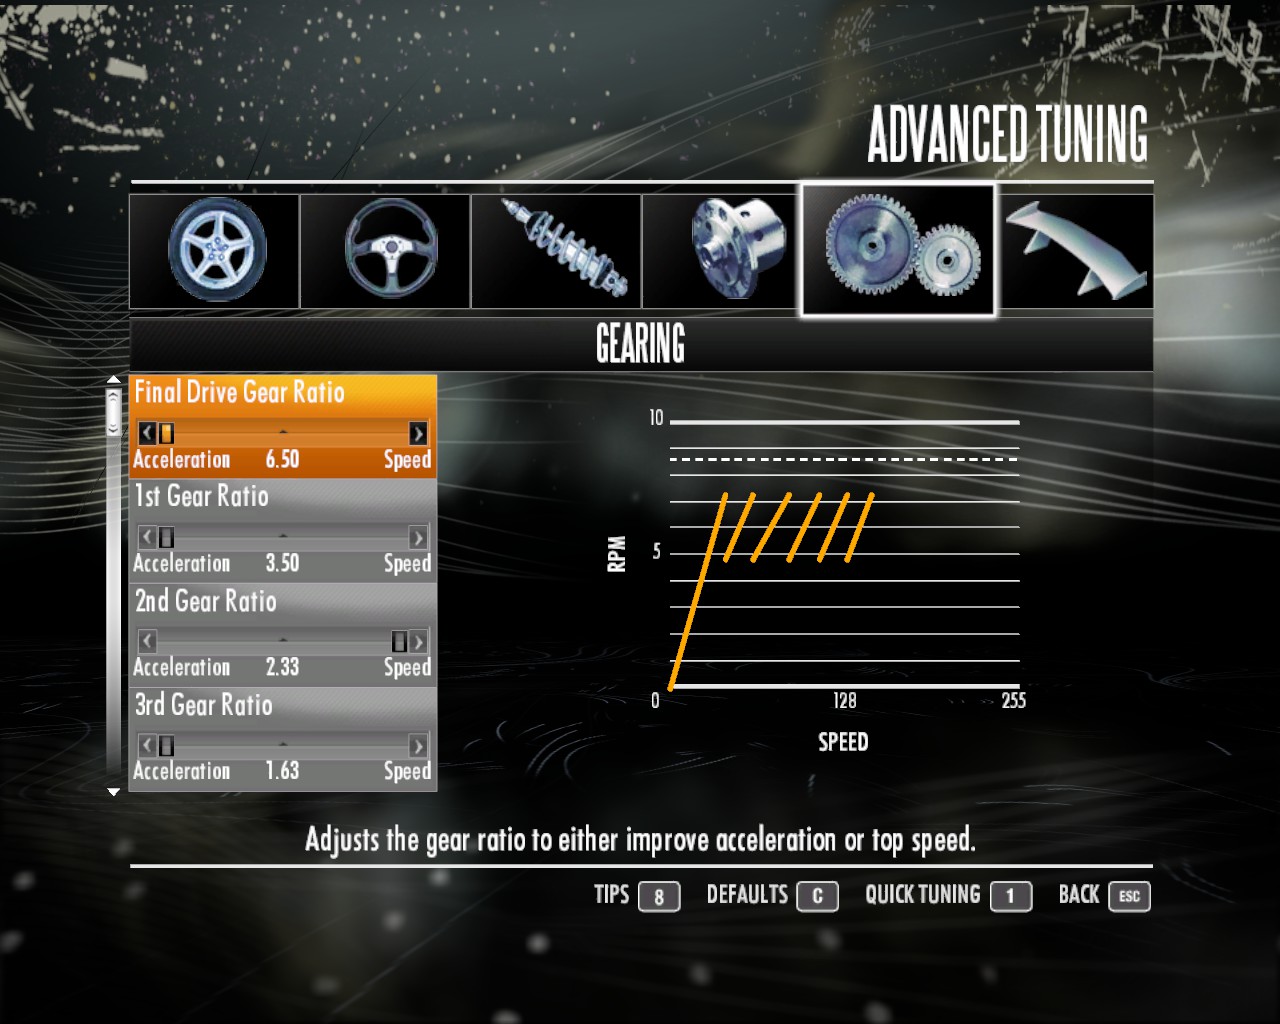
What i do is even the gears out best as i can, this gets the most for your power. Like the shot below.


I set my gears for a max speed of 180mph (or about 280kmh) because what tracks can you go on that let you got to 200mph? (or about 320kmh) Maybe one or two but not enough to justify needing a gear setting that long.

So set this however you like,

Now on to Down-force.
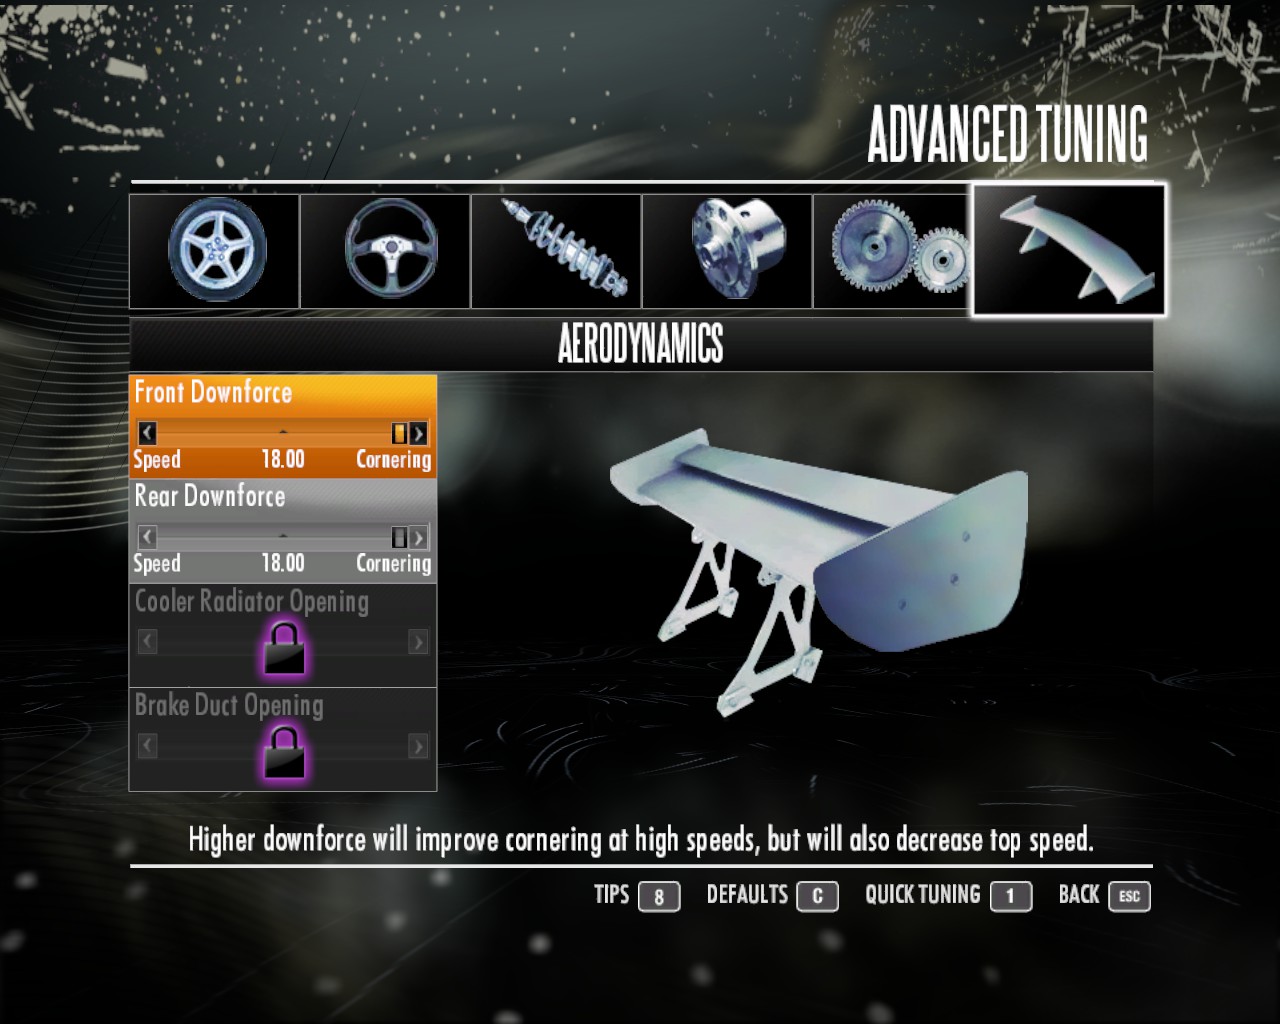
Downforce (Aerodynamics )
This section is really straight forward.

More downforce = better turning!

Generally. save for the last 2 settings only for Works and Race cars.


(both front and rear have the same effect.)
Front/rear downforce is the part of the car that defines weather you want more speed or more grip. Higher settings give better turning and better turn speed. but this creates more drag, witch means you'll have a lower top speed. but if you have a short enough transmission (like me) this wont matter much, so try it at max, then try it at lowest, see what matters most to you.


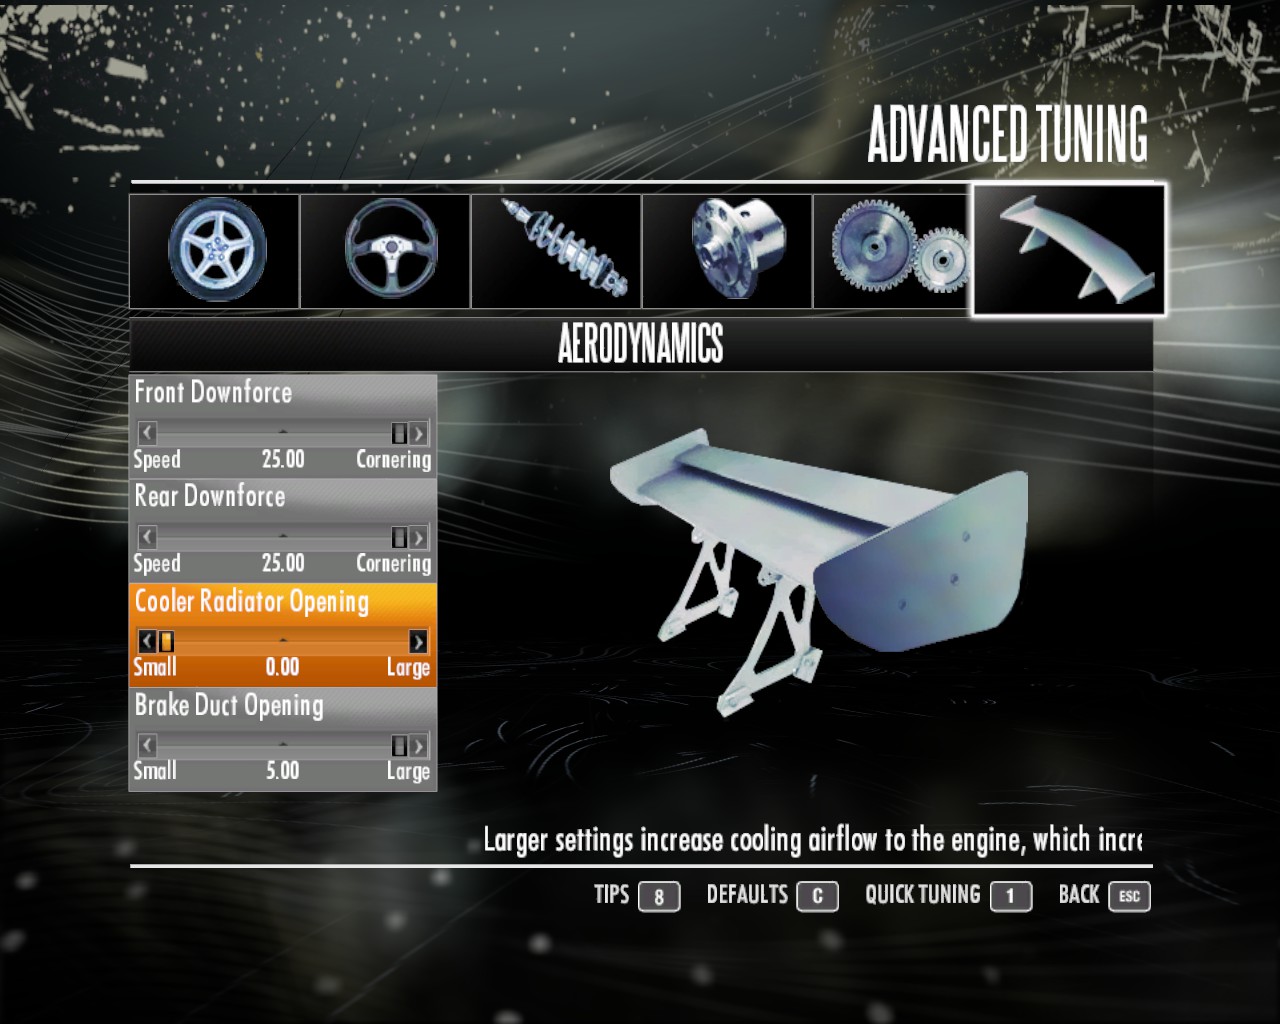
(above) Here is a works converted car with the break cooling and inter-cooler opening settings

Break vents
This setting provides better break cooling for tracks that require heavy breaking. So open it wide if you need to stop again and again. But remember, Larger openings = lower speed (By what 5mph?)

Inter-cooler opening
This setting apparently adjusts acceleration or speed. Lower settings for better acceleration higher setting for higher top speed.


Wellp that's is. Get on the track and tune till you got the best!
Meany thanks! (Credits)
Thanks for reading!

Think i did something wrong? Toss me a add! I will take what you said into consideration And a thank you in the credits.

Excuse my Crappy speeeling/grammar I'm bad with a keyboard. open for fixes!


Credits:
Rita; Helping me with the tuning tests and proofreading my grammar/speeling (eye tank joo so much <3)
Duck; A friend that also helped me with tuning online.
Drrt4; Well what did he do?

You're still reading? Get on the track and fix your car!

16 Comments
PieTimes5 May 4, 2023 @ 10:25am 
BRO, you're an absolute legend, I love the second game and I've never played the first one fully before so I really want to play this, so this is so useful to me!

I'm in the same situation as you, I only play with controller, so steering is absolute crap in this, I've awarded you with every award I can give you since I have so many points rn, but yeah thank you so much for this dude!
smr905 Oct 3, 2021 @ 2:54am 
@Potato Playing in 2021 doing a playthrough of the campaign
бимп_лизкит Jan 28, 2021 @ 12:03am 
@Potato, hello from 2021
ĐNɌ ♥ Oct 15, 2020 @ 4:55pm 
Yeah, @Potato, quarantine vibes
ALu Khan Aug 10, 2020 @ 10:54pm 
is anyone playing shift? asking in 2020
[Obergefreiter] Porta May 10, 2020 @ 3:10pm 
I'm just tryna make my works-converted Viper driveable with a controller..
Reckless Apr 23, 2018 @ 8:23am 
tnx 4 your job
makey4L Dec 31, 2017 @ 1:16pm 
thonk
Ome Dec 16, 2017 @ 4:23pm 
xd
gimp1045 Jul 1, 2015 @ 8:13pm 
"Break" balance.