I ran across a thread on Bladeforums about a two brick forge and decided to make one. For hardening knives, I need a way to heat them. I’d tried my charcoal grill successfully, but think this smaller forge would be more economical and faster. The two brick forge requires two soft fire bricks which are normally used in kilns. A propane or MAP fueled torch is then used to generate the fire.
Assembling the forge is pretty simple. There are multiple designs that I found online, but the one linked above recommended splitting the bricks in half, drilling and stacking them. The bricks are pretty friable and can easily be cut with a saw. I used a hacksaw to cut my bricks in half. From there, I marked out the center of each piece.

I headed to the drill press to core out the bricks. My hole saw wasn’t deep enough. It required drilling from both sides and then punching out the plug.
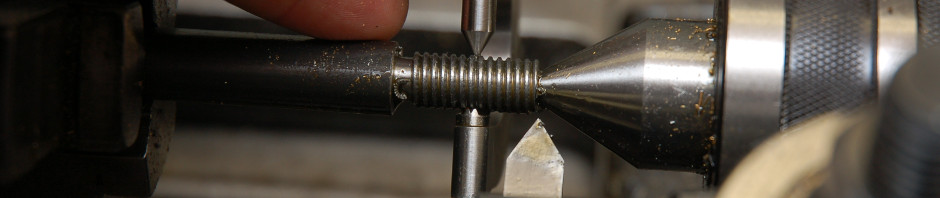
I wanted to use all thread rod to hold the bricks together which required drilling holes near the corners of the blocks. One brick requires cross drilling a hole for the propane torch tip to enter.

After all the holes were drilled, I inserted the all thread rod and lightly tightened down the nuts.

The brick has a tendency to crack and requires a box to hold it all together. I wrapped mine in some thin galvanized steel. As reccomended in the original thread, I coated the inside of my forge with some furnace cement. I also saved and coated one of the plugs. This way I can close off the back end of the forge to keep the temperature up. If I need to heat a longer piece, I’ll be able to remove the plug and proceed. Here’s a picture of the forge after the initial firing.
I’ve been working on another knife from a file. (See my previous post for more on making a knife from a file.) To harden it I used the new forge. It was dim, but the flash from my camera lit the picture up a little too well. Unfortunately, you can’t see the flames coming out of the front, but it was running in the picture below. I think I still have some tweaking to do with the forge because it didn’t get the blade above non-magnetic temp as quick as I thought it would have.

Here’s a shot looking into the opening of the forge. I got a good swirl out of the flame in the forge but may still need to work on positioning the flame some.
The shape and thickness of the file limits what styles of knife can be made with them. So, I went with a American tanto style blade for this knife because I thought it’d be interesting. I reduced the thickness on the back end of the knife to create a tang. After hardening the knife, I removed the scale, and tempered the blade in the oven again.

Here’s the knife about 95% done. I haven’t finished the handle or epoxied it in place yet. I felt a guard would be nice to keep from accidentally cutting my fingers on the blade. The handle is made of Maple and the guard is mild steel. I’m not sure what I’ll do with it. Chris said it looks like a stubby katana. I’ll probably end up using it to open boxes from Amazon…samurai style.

