Using Master Pages in Adobe InDesign—Basics
Adobe, InDesign
The concept of master pages in Adobe InDesign is closely related to headers and footers in many other programs. Microsoft Word, Corel WordPerfect, or even Excel and Access all have a similar feature. So if you’ve used headers and footers, you won’t be on totally unfamiliar ground. Masters are essentially the “background” behind any pages they’re applied to. Think of paper behind glass, with stuff drawn on the glass, and you’ve got the basic concept.
Once we open a document, we usually set the number of pages first. This makes it easier to figure out what goes on a given master (we can have over 100). We also need to tell the document if it’s going to have facing pages (many business documents do).
All InDesign documents automatically receive a set of these. To use them, you simply need to know how to get to them.
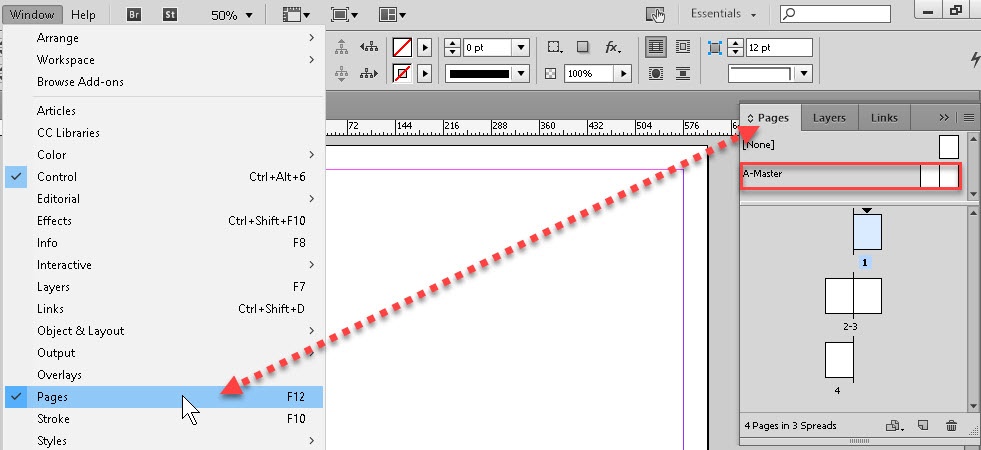
The easiest way to get to the master(s) at all times is to use the Pages panel—go to Window->Pages. There will almost always be two masters at the top—None, for when we don’t need one on a given page, and A-Master, the default. You can simply double-click whichever master, and you’re there. You can also use the navigation menu at bottom left, if you like.
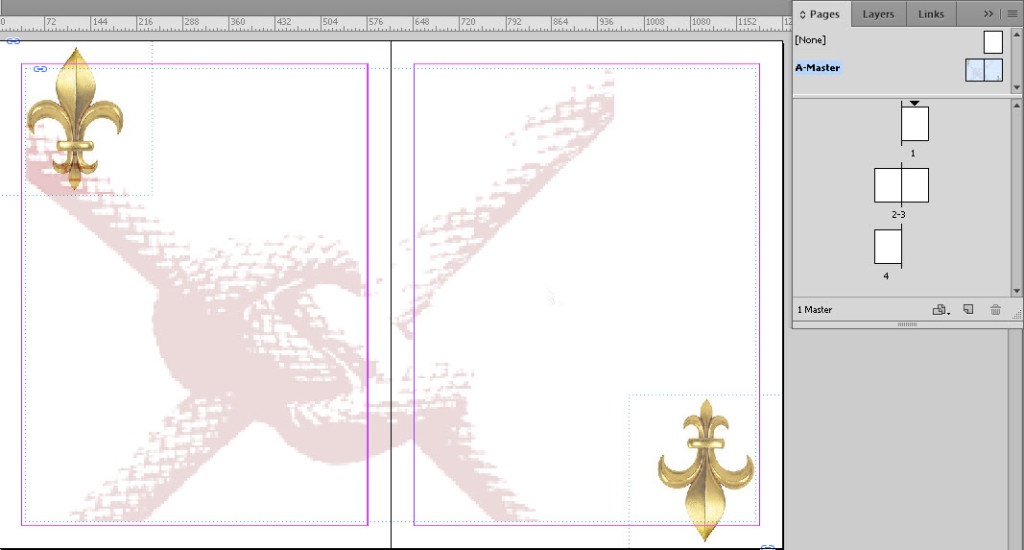
The key thing is, once there, you can treat master pages like any others. You can put text or graphic items anywhere on them. They handle watermark-type graphics like company logos, background art, and so on, very well.

But there are a couple of other things we can do with them. We can put graphic accents on them for left versus right side. This makes for an aesthetically nice look when a two-page spread is open. We can also put a couple of special items on the master, such as page number (Type menu->Insert Special Character->Markers) or the total number of pages (Type->Text Variables->Insert Variable->Last Page Number). This means they’ll show on any page the master is applied to.
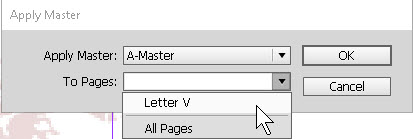
Finally, if we go to the top of the Pages panel, we can click the panel menu button, select Apply Master to Pages…, and specify which. We can use commas to separate single pages and dashes to indicate ranges (e.g. 1,3,5-8,10), and click OK. The master pages then become background to those.
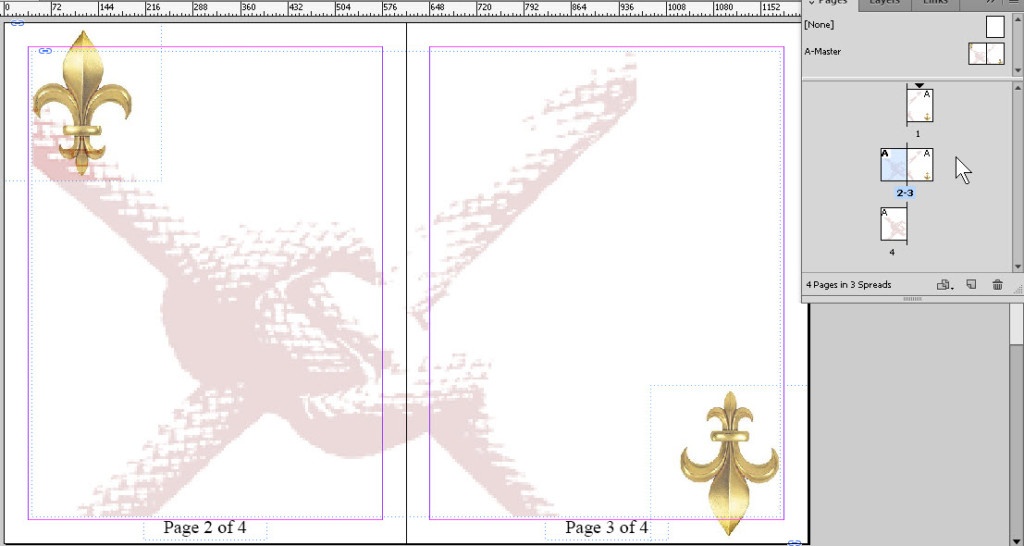
The overarching advantage here is we can add document-wide essentials quickly, even if we need several masters, and very consistently. (Consistency is a golden word in desktop publishing.) And best of all, any changes we make to any master show on all the pages the master “talks” to, instantly. So we never have to worry about placement, colors, etc. more than once—on the master pages.
For more on the Adobe Creative Cloud programs, take a look at our Adobe InDesign training.