
SPLIT FACED BLOCK HOMES IN CHICAGO – ISSUES AND SOLUTIONS
There has been little split faced block used in new residential construction in the past few years in Chicago ; however, I have recently seen a number of new three flats being constructed utilizing this cement based block. While the city imposed some restrictions on the use of split faced block in 2009, I was interested in the pros and cons of the material and how existing buildings may be affected as they age. The following excerpts, from an article from Willian Decker, explain in some detail the history, issues and solutions of split faced block in Chicago construction.
WHAT IS SPLIT FACED BLOCK AND WHY WAS IT USED?
During the building boom of the mid 1990’s to mid 2000’s, there were many new single family homes and condominium buildings constructed in the Chicago area. Many of these condominium buildings utilized a newer exterior masonry product that is commonly called split faced block.
This material looked like an 8″ thick cinder block, but had a rough face, making it look like stone. The material is manufactured using aggregate, Portland cement and course sand. During manufacture, a complete block is “split” to form two pieces, each with a rough face. The finished product resemblesrock-faced masonry in Richardsonian Romanesque houses popular in the mid-1880s. But, as we shall see, prioritizing form over function can lead to long-term problems when building houses.
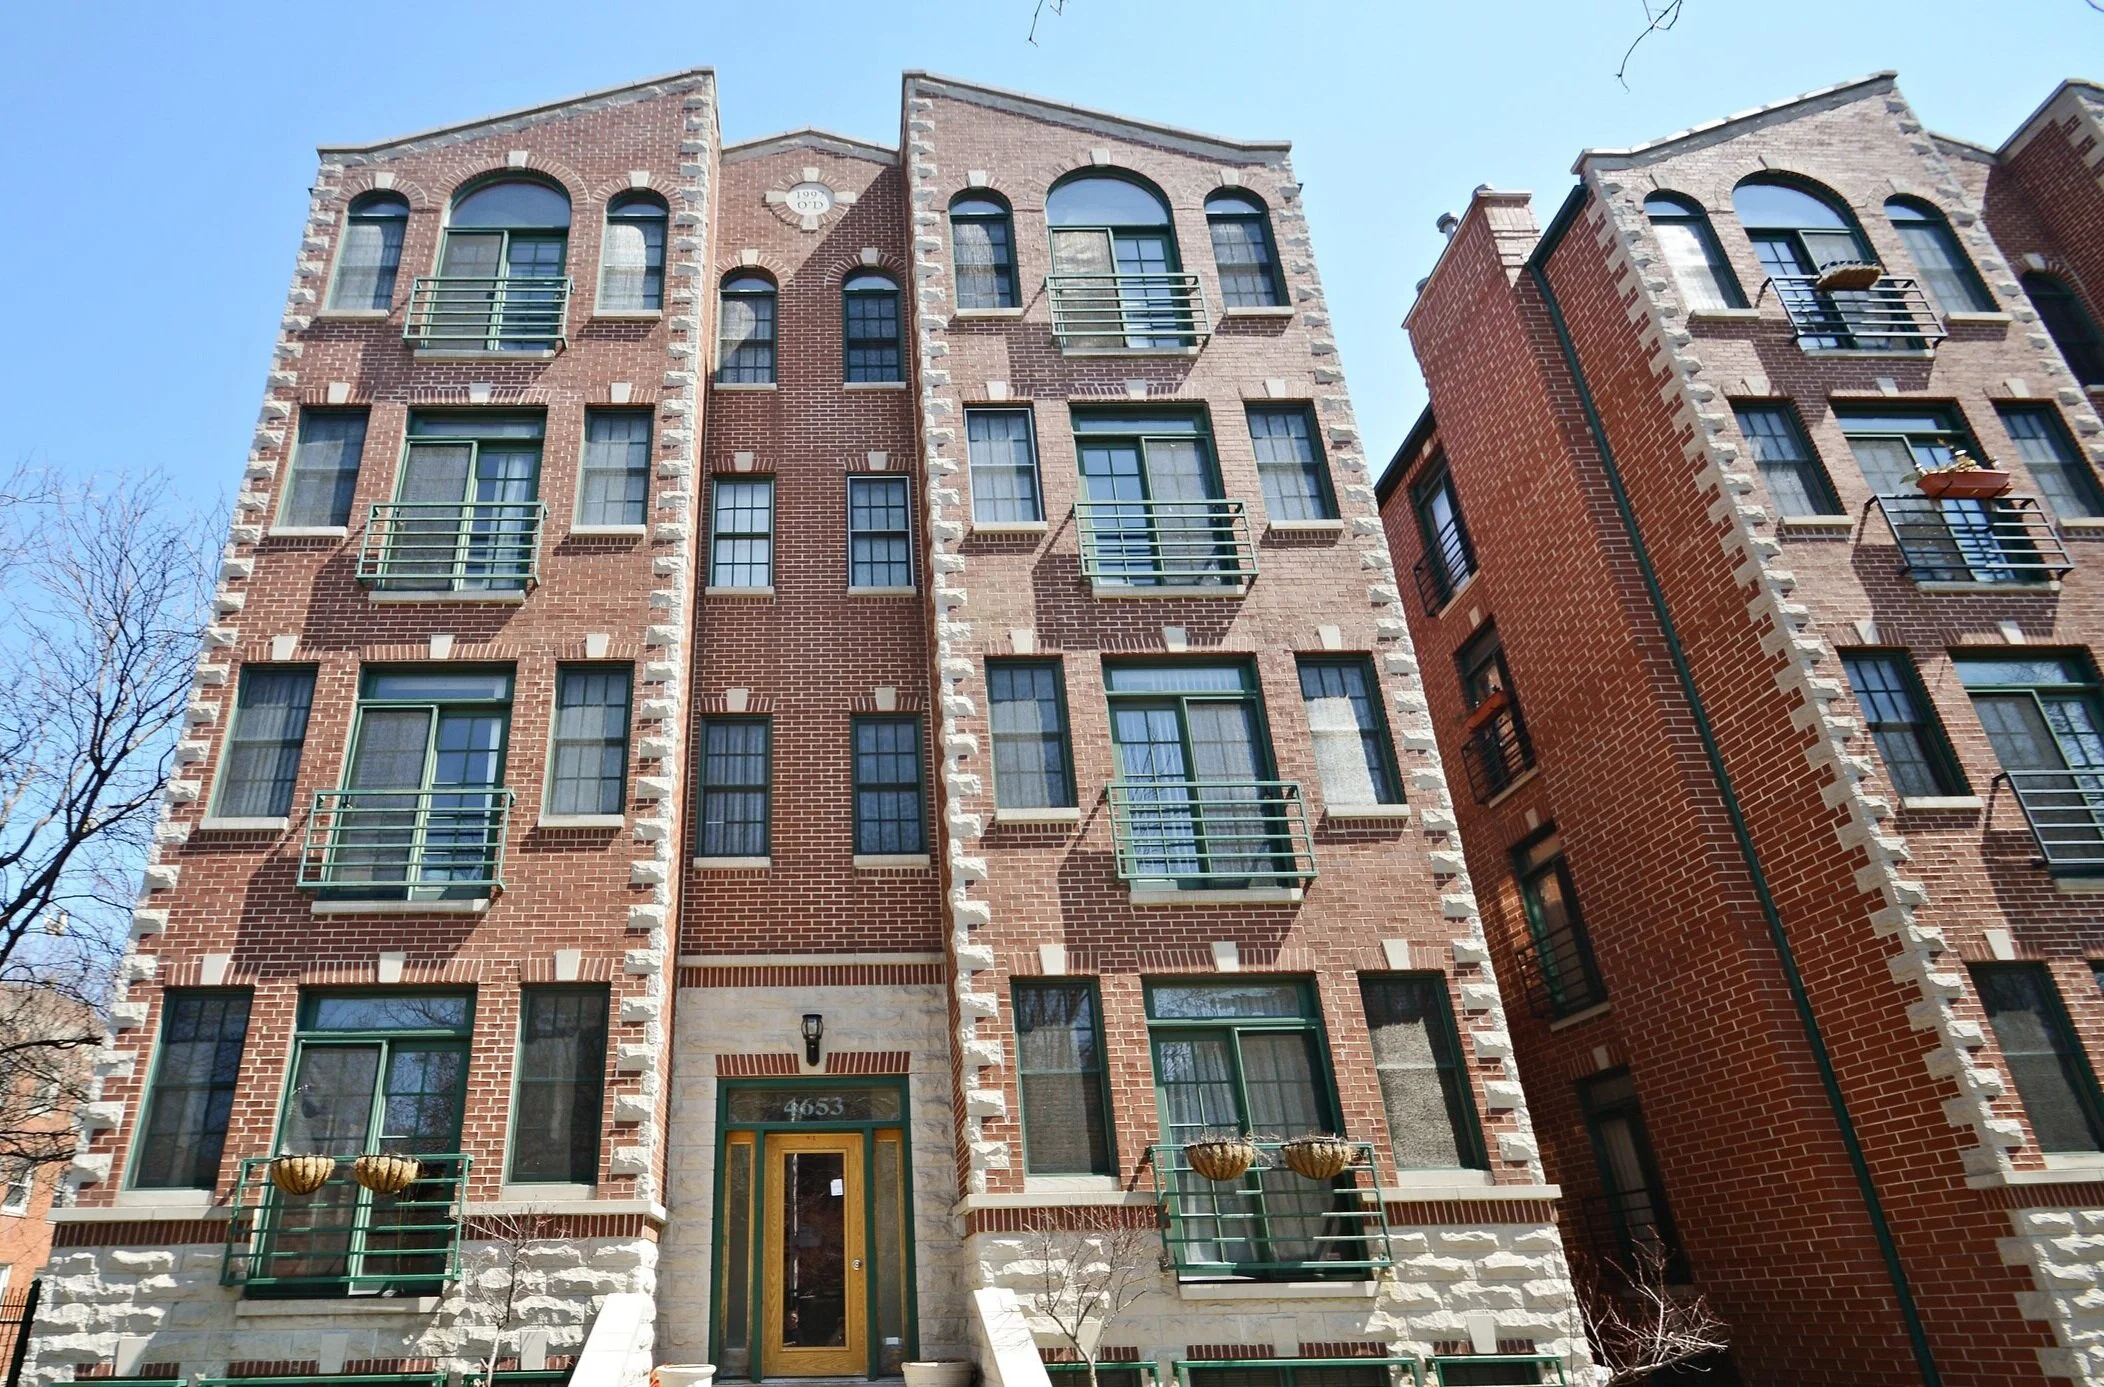
Split faced block was commonly used as the exterior wall cladding on the sides and rear of 3, 6 and 8 unit condominium buildings, with the front of the buildings, usually, being covered with brick or stone. “Was used” is the operative phrase because using this material in new construction residential buildings was stopped, in the Chicago area, in late 2009.
Split faced block was chosen by builders for a number of reasons, but the biggest one was cost. Here are the cost factors:
Split faced block is inexpensive to buy.
Being larger than a brick, it is faster to install.
This block is strong enough to use as a structural wall (i.e. a wall that actually supports the building) and attractive enough to use as an exterior cladding wall at the same time (this is, technically, what is called a single wythe wall, a wall that is only one layer thick).
The material could be installed by less expensive, newly immigrated, non-union workers.
PROBLEMS AND CAUSES
The problems seen with many split faced block buildings have been the result of water intrusion. The symptoms include water stains on ceilings and walls, warping and buckling hardwood floors, water dripping from exterior wall outlet and light switch boxes, musty smells and mold formation. It is important to realize that these are not the problems, they are merely the symptoms or the real problem which is water intrusion through the block. Many times, home owners will have the roof replaced or “fixed” because of suspected leaking when the real problem is not the roof. The best solution is always to solve the primary issue (the water intrusion) before addressing the secondary symptoms.
To fully understand why split faced block houses and buildings have water problems, it is first necessary to understand how these structures are built. The first thing to understand is that all masonry is porous and absorbs water. Brick, stone, cinder block and split faced block will all absorb water. So why aren’t all the old brick and stone houses having water problems? The answer is that they were built as a multiple wythe wall. Multiple wythe (width) walls are actually two (and sometimes three) walls in one. The inner one or two widths are structural and support the building’s weight, while the outer wall (sometimes called a veneer wall) does not. Between the inner and outer walls is an air gap, usually about 1″ wide. Water will travel in pretty much any direction, based upon gravity, capillary action and heat gradients, but the one thing that water will not go through is an air gap. This is the biggest issue with split faced block buildings, they were, almost always, built with single wythe walls.
Even when built in the single wythe configuration, split faced block buildings can avoid water intrusion problems.
COPING FLASHING – The top of the wall (also called the parapet) must be properly sealed. The top of the wall is usually covered with a piece of stone. This stone is supposed to keep rain water from entering the top of the wall and seeping through the masonry. Many masons are not aware that this stone, itself, is porous and, given time, moisture will still get through. Best practices call for the installation of a non-porous membrane (called flashing) under the entire width of the coping stone. This serves as a barrier to water intrusion. This construction detail is crucial because the majority (60 – 90%, depending on the condition and construction of the building) of the intruding water enters the wall through the coping stone.
MORTAR AND BLOCK CRACKS - Another concern is cracking of the mortar. Intuitively, we think that big cracks in the mortar between the block will allow more water to enter the wall. In fact, the opposite is true. Big cracks do allow water to enter, but they also allow this same water to drain out. Small, hairline cracks are very deceptive. They do not just “allow” water to enter the crack, that actually suck it in through a process called capillary action. Because the crack is so narrow, the surface tension of the water draws in water into the crack, where it is soon absorbed by the stone’s natural porosity. Another problem with the mortar is caused by the employment of masons who do not understand the local conditions. Some newly immigrated masons have a long tradition, “from the old country” to add more sand to the mortar than is usually called for. They believe that this will make the mortar stronger, when it actually makes the mortar more water absorbent. Both these factors lead to more water being absorbed into the block.
FLASHING - When building a house, all areas that can possibly allow water to enter the building should be, so to speak, waterproofed. The problem is that almost impossible because most building materials (wood, stone, masonry, siding) are porous. These areas must be “flashed”. Flashing involves installing a water impermeable barrier (vinyl or metal) between the outside and the inside of the house, and between building materials of different water absorptive levels (i.e., between wood and masonry). Flashing materials do not allow water (or water vapor) to pass through them and act to drain and shed any moisture absorbed in the wall down and out.
BTW - Rule # 101 for home inspectors is “Caulking is NOT flashing!”. Caulk will crack, come loose and deteriorate. Any opening that is caulked (window and door frames, roof penetrations, bathtub / tile corners) must also have flashing of some sort behind the caulk. Caulk alone will not stop water and, in most cases, is more cosmetic than functional.
JOIST FLASHING – The floors and roof of these buildings are supported by floor and roof joists. Commonly, these joists are engineered wooden trusses, specially designed and manufactured assemblies that are much stronger than a normal solid piece of lumber. They are usually constructed of lengths of 2 x 4 lumber secured with metal plates called gussets. These truss joists are inserted into pockets in the block masonry walls. There should be a flashing membrane installed between the block and the wooden truss to keep water away from the wood. The truss should also be installed with supporting shims so that there is an air gap between the truss’s wood and the masonry. The membrane and the air gap both provide protection against water wicking into the truss. It is never a good idea for wood to get wet or be in contact with masonry. Problems occur when the builders, a) do not install the flashing properly and / or, b) grout the truss end pocket instead of shimming. In both cases, moisture from the masonry wicks into the wooden truss ends, rotting the wood and rusting the securing gussets. As we shall see, later, this can lead to a very serious problem.
EXTERIOR WALL FLASHING – The other reason for the joist flashing is to catch any moisture that is draining down, within the wall, and direct it outward, away from the building. This flashing membrane should be upturned on the interior side of the wall (so as to catch and drain the water outward) and extend out of the exterior side of the wall, forming a drip edge. The drip edge should extend, at least, 5/8″ away from the wall. Current national construction standards call for the exterior drip edges to be made of stainless steel, for durability.
Many times, the masons (or the insulation sub-contractors) do not properly turn up the interior end of the flashing and this allows water to drain into the building, warping hardwood floors and causing floor tiles to crack. Similarly, many builders fail to properly extend the exterior drip edge far enough outward from the exterior of the wall, which causes water (both already in the wall and water falling on the wall from rain) to be sucked back into the masonry mortar. It is a very funny circumstance that many builders do not properly install this flashing because they believe that the buyers will think it looks “ugly”. Functionality should always trump any cosmetics of a building and they should be designed to be properly appealing in the first place.
SOLUTIONS
EXTERIOR WALL SEALING – The exterior face of split faced block MUST be sealed. Sealing adds water impermeability to the block and acts to shed water off the surface. When the exterior wall of block is not sealed, and depending upon local weather conditions, rain water and humidity in the air is drawn into the block. This moisture travels through the masonry into the insulation and drywall. It should be stressed that the majority (60 – 90%) of the water intrusion DOES NOT come through the walls, from the sides, but through improperly flashed parapet wall coping stones and stone window sills. That being said, the moisture intrusion through the walls must not be ignored.
A curious phenomenon that we have observed, many times, is what is known as “solar loading”. Imagine a large building with split faced block sides and the south side exposed to the sun. It rains for a couple of days, not a hard driving rain but just a steady drizzle. There are no water intrusion problems while it is raining. Finally, the rain stops and the sun comes out. After 4 to 6 hours (around 1:00 PM or so) water starts staining the interior wall and dripping through electrical outlet and light switch covers on the south side. One wonders why the water didn’t come in during the rain, but does when the sun is shining.
What is happening is that the sun is heating the exterior block wall. Intuitively, one thinks that the sun will dry the water. In reality, the sun is only “drying” the moisture on the very surface of the block. The water that has already been absorbed is actually being driven further into the masonry because the heat of the sun is expanding its volume, increasing the vapor pressure and further pushing the water that was already in the masonry out into the insulation, drywall and out the wall.
It is interesting to note that, contrary to common sense, masonry buildings, in fact, do most of their drying out during the winter, not the summer. In the winter, heat moves, outward, from the heated living space. As this heat moves, it pushes any moisture in the masonry ahead of it (heated water expands). When this water reaches the exterior surface of the masonry, the cold, dry air causes it to evaporate. Because of a couple of relatively warm (and wet) winters in our area, problems with water intrusion in masonry has been much more pronounced.
Two important things to remember are:
Absorbent exterior masonry should be sealed, and
Deep and complete drying of masonry walls occurs during the winter, when the temperatures (and humidity levels) are low (single digit temperatures) for a week or two.
The old, commonly accepted best practices method of split faced block sealing used to be applying a “pigmented, silicone based, silane/siloxane, penetrating sealer“, but it has been found that such products only lasted 3 to 7 years (depending upon the manufacturer and the skill of application). Many times, the sealing contractor has not been properly trained in how to apply the sealer, and the condition of many “sealed” buildings attests to this fact. Silicone silane/siloxane sealers MUST be applied in a flood coat, completely covering the block and allowed to be soaked into the block. The current “best practices” sealing solution is a polyurethane or elastomeric based “plugger” type paint, installed by licensed, insured, trained and qualified masonry contractors. This product will completely seal both the block and any small cracks in the mortar joints rather than just retard absorption. But, this will NOT solve the totality of the problem without completing the next step.
DRYING OUT THE RETAINED MOISTURE – When a split faced block wall has been exposed to moisture for a long time, it tends to retain (or “sequester”) the water deep in the block. Think of a wide sponge. If you spray it with water it will absorb. When the sponge’s capacity to absorb the water is exceeded (in building science, this is called the “hygric buffer barrier”) water will start being “leaked” out the other side. But, the water being leaked is NOT the same water that is being sprayed on the other side. There is always going to be some water, “in the pipeline”, so to speak. Split faced block can absorb its own weight in water, and this retained water has to be removed.
Once the exterior walls and the coping stones have been sealed, no more water will enter the wall. BUT, there is still a great deal of water that is already in the wall, and will not be dried out because the exterior has been sealed against water getting in, and water getting out.
To fully solve the problem, the water that has already been absorbed in the masonry has to be removed. This can only be done by greatly lowering the humidity levels inside the house, which will draw the water out of the masonry through the insulation and drywall. Remember, in a typical three unit, duplex down, condominium building with split faced block on the sides and rear, there is approximately 2,500 GALLONS of water that is still in the block.
This process requires time (1 to 3 weeks, depending upon the conditions) and multiple, industrial capacity de-humidifiers running full tilt, 24/7 under closed building protocols. This requires that the doors and windows in the house or building be kept closed (except for normal entering and exiting). Many times, we have seen home and condominium owners who believe that once the cause of the water intrusion has been solved, they can just re-drywall and / or re-paint and everything will be fine. They soon find the same water stains reappearing, sometimes in less than a week. Solve the cause of the problem, then remove all the residual moisture before tending to the cosmetic details. A car may have a really shiny and smooth paint job and cool chrome, but what really counts is what is under the hood.
FINAL STEPS – OK, we have solved the source of the water intrusion, and we have dried out the masonry walls. Now we can “fix” the original problems that were the first complaint (i.e., water stains, puddles, mold growth, a “musty” smell, warped window frames, baseboards and window frames, etc). Fine!
But how do we repair these problems, and do so following “best construction practices” (i.e., how the original builder should have done it in the first place!).
First, make sure that you have properly (and professionally) remediated any mold problems. DO NOT USE BLEACH TO CLEAN MOLD! It will only make it worse. Mold on tile, grout and other non-porous surfaces can be killed with bleach, but for porous surfaces (i.e., drywall, wood) you must use special means. A good, over the counter product is Mold Control which is available at most home improvement stores. The best solution is to hire a professional, licensed, certified and insured mold remediation company. There are plenty of guys out there who claim that they can clean mold, but you should always ask to see their credentials, licenses and insurance cover sheets and ask if they utilize licensed industrial hygienist in their remediation plans. Also ask about their guarantee. There is no state licensing or qualification requirements for mold remediation contractors. Be sure that, when the work is done, you have a “clearance test” done by an independent mold testing inspector.
Install the proper type insulation for the type of construction, and have that insulation installed properly. Insulation should provide an effective “building envelope”. A building envelope serves as a barrier to heat (insulation), but also to air leakage (cold air infiltration, in the winter, and cold air loss, in the summer), water intrusion (liquid water) and vapor movement (humidity, which will condense into liquid water). This type of barrier can only be achieved with a foam type insulation and the easiest way to have foam insulation is the use of spray foam.
The two types of modern spray foam are open and closed cell foam insulation, and they are meant to be used in two different areas of the house. Closed cell foam is used to insulate exterior walls. Closed cell foam has small bubbles and will stop all water, vapor and air movement, as well as heat movement. Open cell foam insulation has larger bubbles and will allow a small amount of moisture movement through the foam. Why would one want to allow any movement of moisture through insulation, you ask? The answer is when you are insulating the ceiling and / or roof. Human nature being what it is, most people do not replace their roof covering until water in already dripping down through the ceiling. By that time, however, the roof itself has already been leaking for a year of so, it just hasn’t actually leaked through the interior ceiling (out of sight, out of mind). If closed cell insulation is used to insulate the roof area, it will further retard roof leaks from dripping and will allow the water to be retained in the roof decking, causing rot and eventual roof structural collapse. So roofs should be insulated with an open cell foam so that any leakage can be seen and the roof replaced before it becomes an even bigger problem. Open cell foam also allows the building envelope to be extended, outward, from the ceiling of the top floor of the house to the underside of the roof decking, sealing any attic areas (the space between the ceiling and the roof) and better preventing heat loss (as well as stopping the natural “stack effect” of the house).
Finally, make sure that the interior drywall is properly installed and prepared. Interior walls should be primed before painting. All door and window spaces (the air gaps between the windows and doors and their openings in the exterior walls) should be properly sealed (low volume foam). And, it is always a good idea to properly control the humidity levels in the house. Inside humidity levels should be kept between 25 – 35%, year round. Use a de-humidifier in the humid seasons (in Chicago, remember, Summer, Fall and Spring are ALL humid). A good rule-of-thumb is this: If there is condensation on the inside of the windows, it is too humid. If you get shocks when you touch metal objects, during the winter, it is too dry. Buy and use a good humidity meter in the house. It will help to keep the house comfortable and save you money in air conditioning electrical costs.
Source: William Decker – Decker Home Services