
Solid carbide spiral router bits cause confusion. What is the difference between upcut, downcut, or the compression up/down spiral router bit that does both? Do I need all of them in every size? Why can't I use one for every job? Why not just use a straight bit?
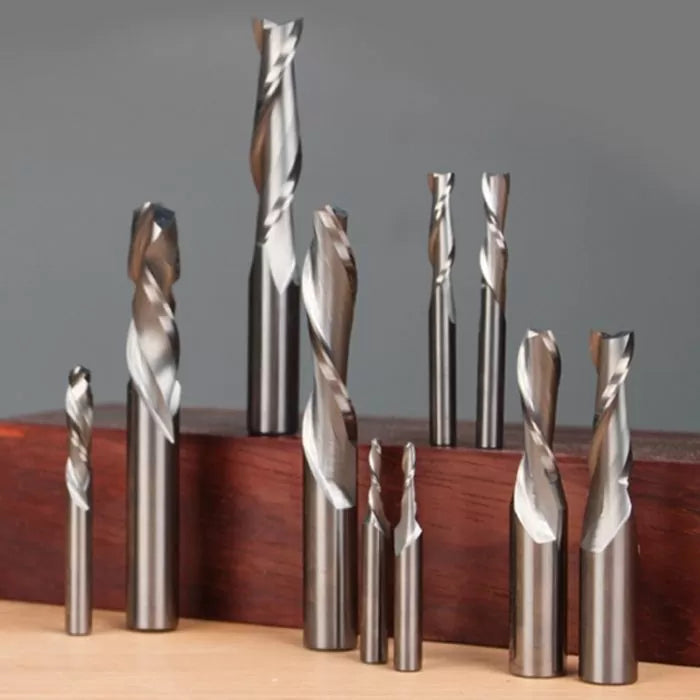
Why not just use a straight router bit? Well, that's an easy one. The spiral bit's geometry and top point allow you to plunge into your work like a drill. Our solid carbide spiral bits begin life as extra-hard C4 micro-grain cylindrical carbide blanks. We then use sophisticated 6-Axis C.N.C. grinding machines to grind their spiral geometry. The precision of the spiral and hardness of carbide allows for a very sharp edge and typically longer edge sharpness. A straight bit can't compete with that.
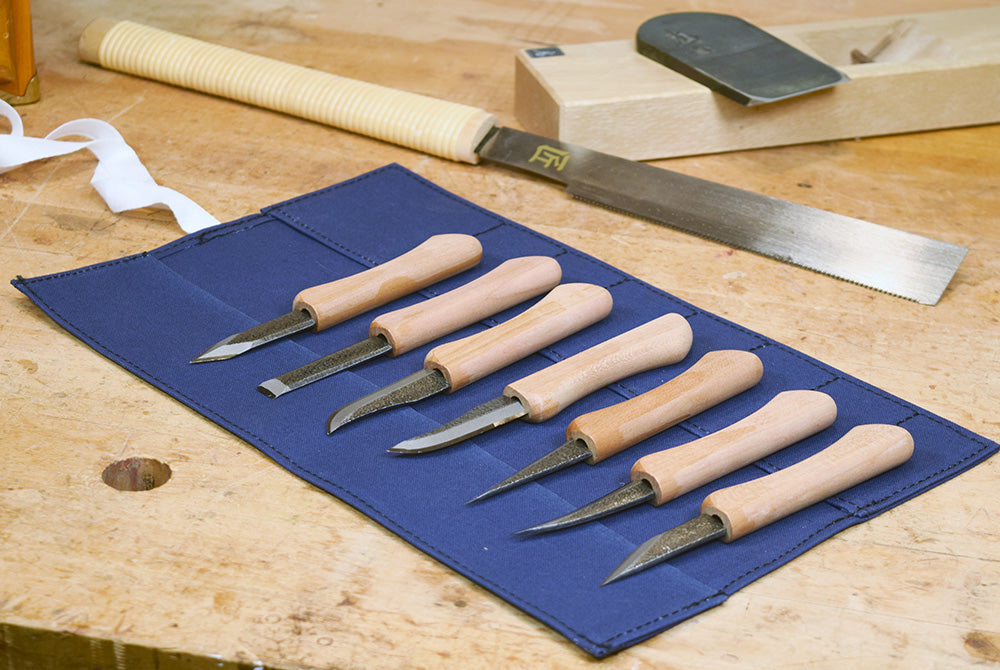
The solid carbide spiral bit uses a constant shearing action when making the cuts instead of a typical straight head router bit which basically smacks the bit edge against the wood over and over. This does not mean that the spiral bit is your perfect go-to bit though. Straight bits still have their place and typically get used more in most shops, not to mention that spiral bits have a higher up-front cost.

To determine a spiral bits direction of cut you need to look at it upside down. I don't mean you need to be upside down, but the bit needs to be upside down. So hold the router bit's shank in your hand with the cutting edge pointing towards the ground. Now spin the bit in a clockwise rotation. If the spiral is 'pushing' down you're holding a downcut bit, if the spiral is pulling up you're holding an upcut bit, there, that was easy. The other way to look at it is to hold the bits in your hand with the router tips facing upwards. Reading the flutes from left to right, if the flute goes upwards to the right, then you have an upcut, and if the flutes go downwards to the right, then you have a downcut. I drew really bad arrows on the photograph below to illustrate my point. By now you've probably figured out that spiral bits were originally meant to work in an overhead (handheld) routing application, having been developed for guys with overhead CNC routers.

The upcut bit's spiral direction allows for great chip ejection from the cut making it the perfect router bit for plunge cut mortises. This bit ejects the wood chips out of the way of the router bits point making the plunge go nice and easy with less chance of bit wander. It is fine for any hole or opening that will not be seen.
The downcut bit is the one I use more often though as I use it for cutting grooves, dadoes, and inlays. This bit's fluting direction pushes the top grain on the wood down creating a cleaner top surface when you are doing grooves or inlays. A lighter depth of cut is preferable with this bit.
In this photo, you can see that I used the upcut bit for the U and the downcut for the D. The D has a much cleaner edge with minimal tearout (excluding the fact that it is freehanded and I have a hard time going in a straight line without a jig), while the U has a larger amount of tearout.

One important thing to take note of is that if you do use the spiral router bits in a router table, then the downcut bit will actually push material towards your workpiece sometimes raising the workpiece off of the table. It will still function the same making a clean-edged cut, but it does want to raise the workpiece up, so its important to use a good downward feather board system. And please take light passes when using it in the table. The upcut bit will actually pull the piece downward towards the table making it a little safer, but the tearout issue still exists.
The compression (upcut & downcut) spiral bit creates a great edge on the side of a board when you need both edges to be crisp. Its spiral action pulls both sides into the center of the bit where it ejects out of the side.