
It’s that time of year again…Oxalis is getting sleepy after a summer of relentless growth. As many of you know, I grow my Oxalis triangularis in a pot on my balcony, and this year, my plant has grown to it’s largest since I have had it over two years ago – it currently spans 60cm across!
I first came across this plant in a beautiful display outside Liberty…A few weeks later I saw a small cluster of purple oxalis leaves in a relatives garden… which I quickly dug up!
One of the first posts I wrote when I started my website was about how to care for oxalis and there, I talked about my initial experiences with dormancy. I definitely thought I had killed the plant when a pot of soil was all that was left after I’d cut it back. If this is your first year growing oxalis, fear not, I am here to help. They have definitely increased in popularity in the UK this spring/ summer and different varieties have been popping up all over the place. Oxalis tetraphylla ‘iron cross’ has been popular, alongside the green variety oxalis regnellii but perhaps most notable was B&Q stocking the beautiful origami leaves of the oxalis adenophylla (silver shamrock) for the first time.
Sidenote – I know that they are considered a weed to a lot of people as they can be quite invasive if left to spread in a garden, but ‘weeds’ that look this beautiful can happily have a pot or two on my balcony!
I’ve had a lot of messages about what happens at this point, so I have put together this post to arm you with the care tips required to prepare your oxalis for resurrection come Springtime!


The triptych above shows the growth of my oxalis between June and October 2018.

HPH Oxalis dormancy care:
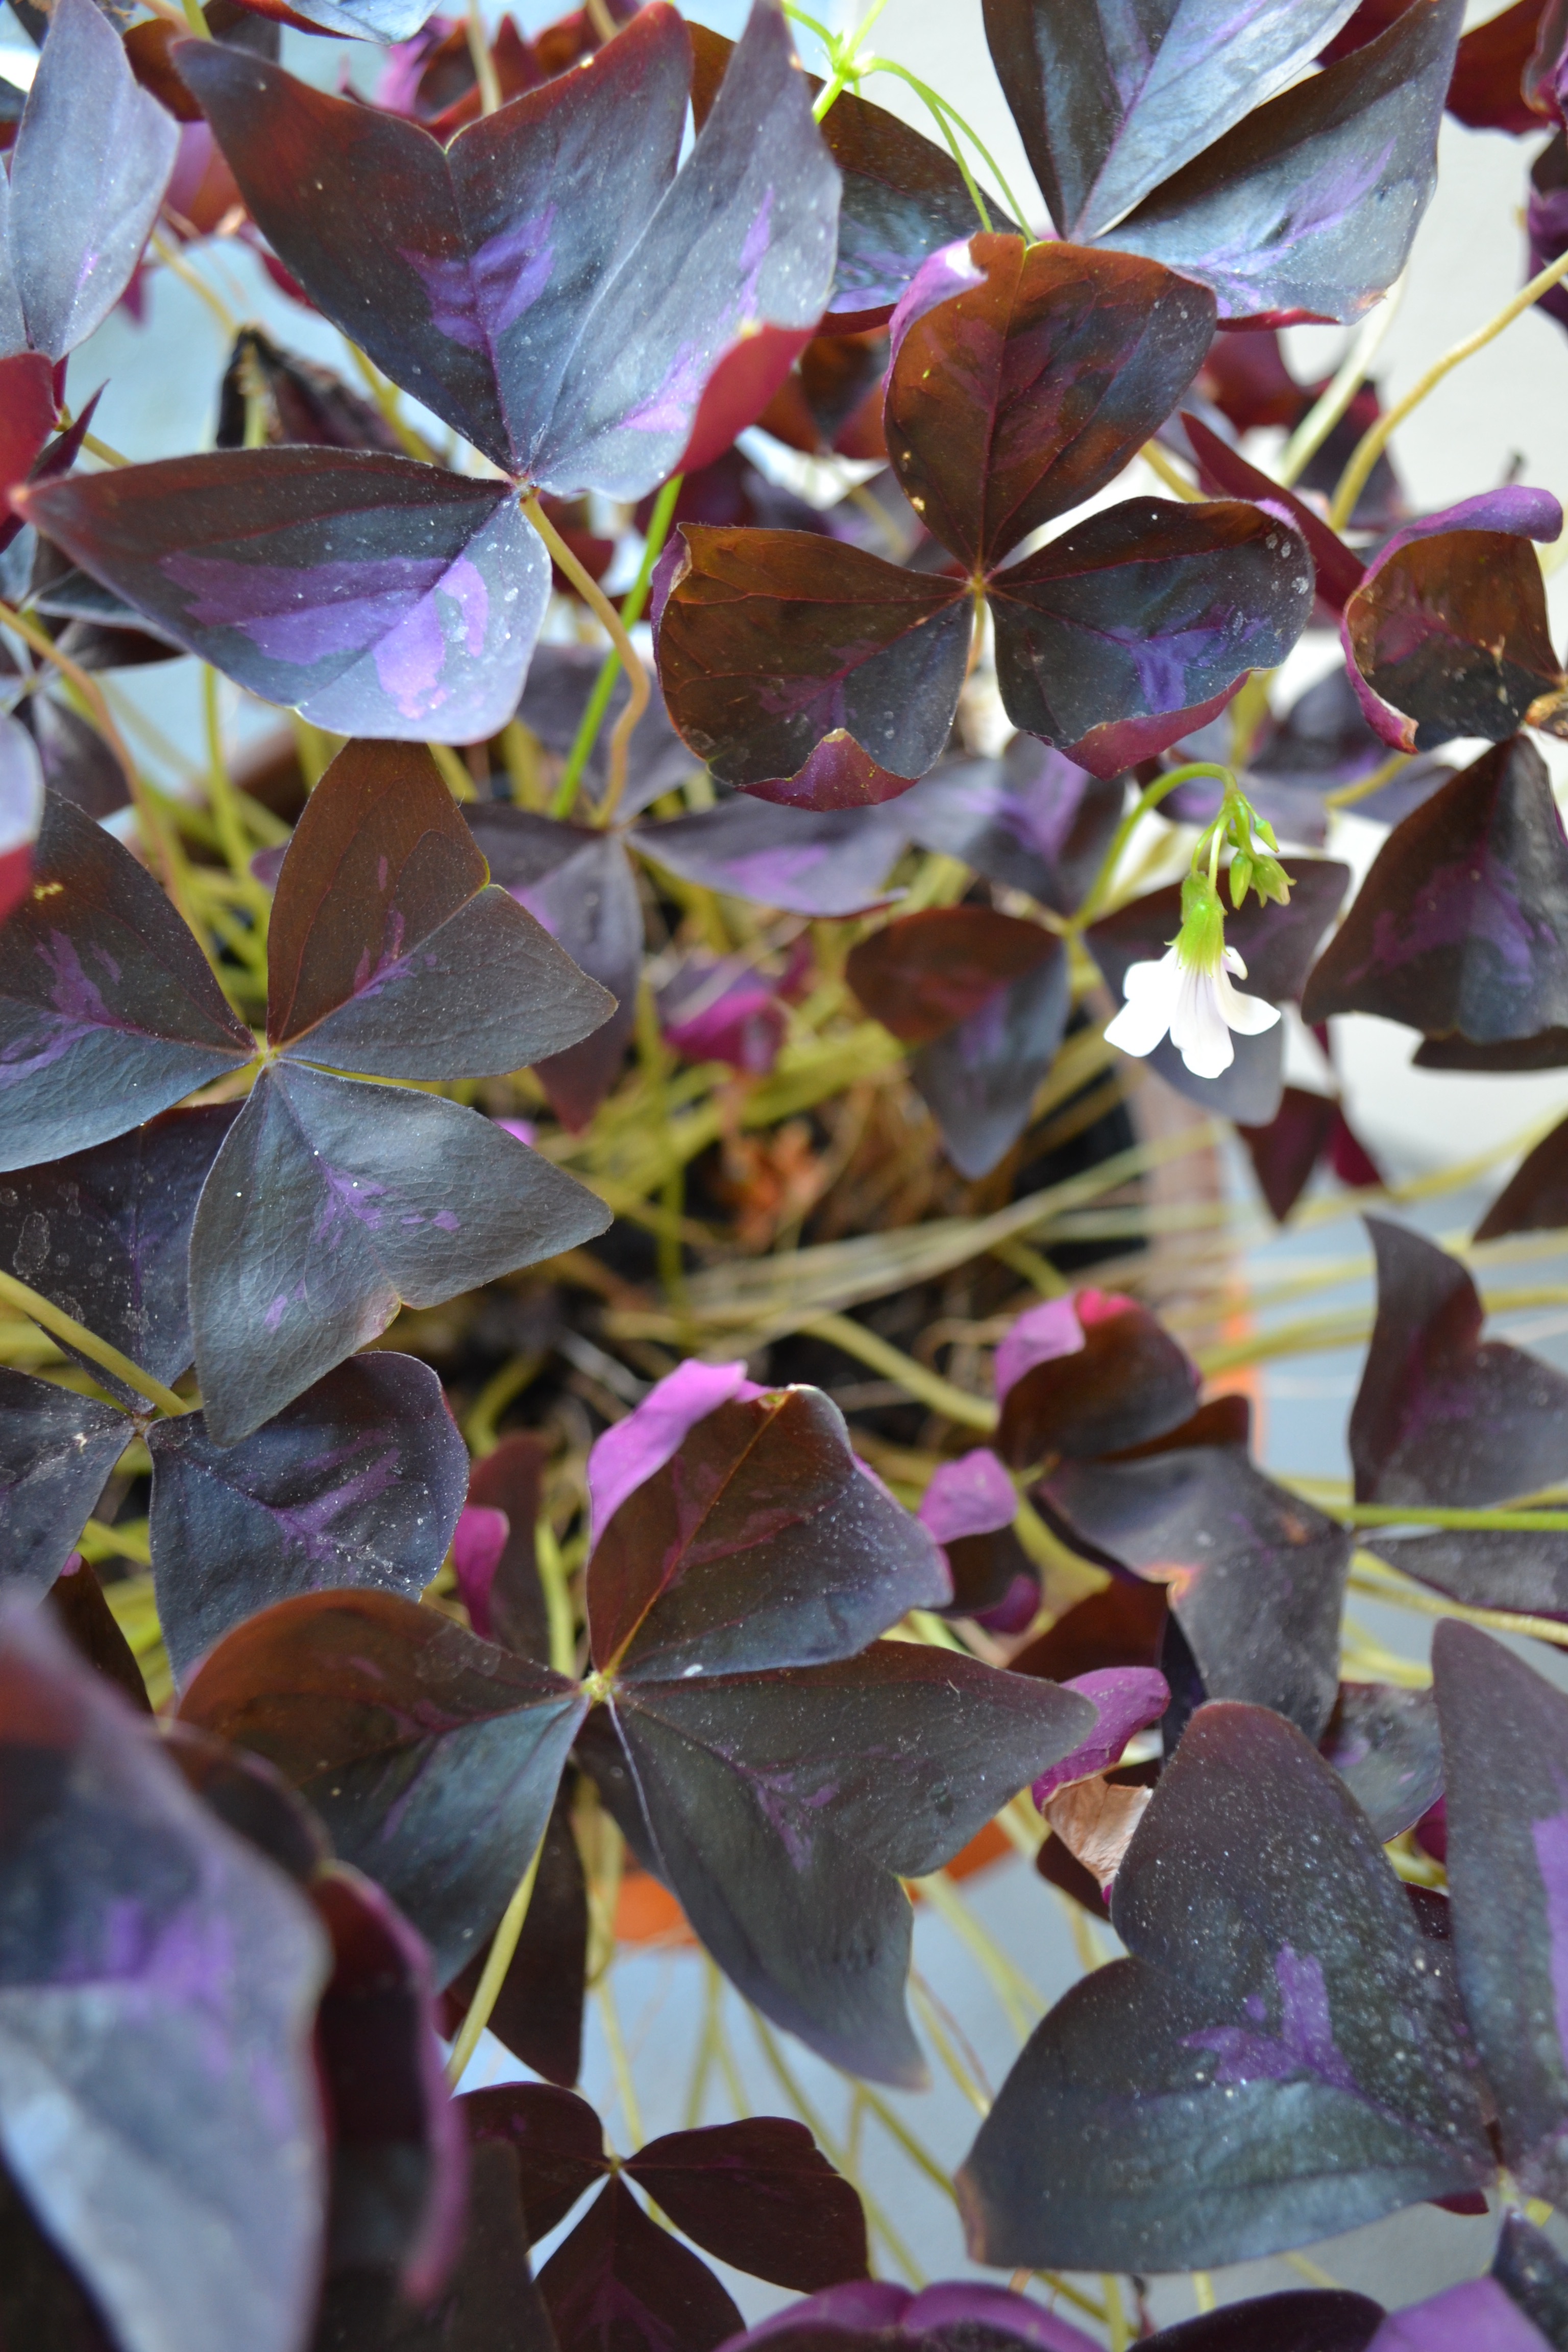
1. As the plant approaches dormancy, you’ll notice that the flowers will fade and the plant can tend to look a bit dishevelled and ‘droopy’. This is the stage mine is at now, at the beginning of October. A sign that it’s getting ready for its winter rest can be identified when the butterfly-like leaves stop opening up in day time. Here is a photo of what this looks like (taken at night with the light of my grow light):

2. At this stage you can either leave the plant die back naturally or cut it right back. I like to cut back, as a pot of withered stems on my balcony just doesn’t look very nice! Now is the time to stop watering the plant – the roots will get waterlogged otherwise which increases the potential for the roots and tubers to rot if they become saturated with water. Rotten tubers = no plant next year.

3. The plant can be left outside in a sheltered spot, but if there are signs of frost, bring it indoors and keep somewhere cool but dry. My balcony is covered so I don’t have problems with heavy rainfall on my pots, but if this is an issue for you, consider making it a cover or move it somewhere more protected.
4. Some time around March, I like to empty the pot and dig out the tubers. It’s not essential to do this, it’s just my personal preference to give the plant some fresh soil and pot on to a larger pot. After a full growing season, you might find the plant was quite root bound, so this gives the tubers some more space to grow if you so wish. I wash the tubers in tepid water in my bath (I don’t have any running water outside!) and leave them on a tray to dry out for a few hours – see photos below:


5. Pot into fresh soil and water lightly. When you see signs of active growth, you can increase watering to normal levels and I also feed my plant fortnightly between April and September. I do think this helps keep the plant strong and helps with growth by giving the plant the nutrients it requires. Regular feeding can also help the size of the foliage too as the plant matures.


This year, I tried growing some of the tubers indoors, mainly because I kept seeing them on Instagram! To me, oxalis has always been a balcony plant, but as I had a lot of tubers, I divided them into three pots, putting two small ones indoors, and the larger pot outside. As pretty as they look in the photo above, I must say, I didn’t love mine indoors, they just seemed a bit sparse and spindly. I felt the the outdoor plant was slower, yet stronger and more compact, so next year I am not going to bother planting indoors with this – two pots on my balcony instead I think.
Hope this post was helpful + thank you for all of you that got in touch with your questions. I have a few other Oxalis blogposts which I’ll link here if you would like to read more on these lovely plants:

Leave a Reply