When working in automatic mode on your DSLR, your camera will make the decision for you regarding what it thinks the correct exposure settings need to be by using its internal light meter.
So, what exactly is light metering?
Light metering is how your camera decides what your exposure settings should be based on the amount of light that is hitting your image sensor. Contrary to earlier days of photography when our devices were not equipped with a light meter in front – photographers now no longer need to rely on a handheld light meter to determine the optimal settings.
Light meters measure the light and break it down into accurate measurements for aperture, shutter speed, and ISO. While it sounds unnecessary to some, light meters can save you from a few difficult lighting scenarios like too much black or too much white in a frame.
Whenever you point and set your camera at a scene, you can rely on a light meter to measure the incoming light. In this way, you’ll know how much light is available and what camera settings you should choose to control lighting.
Focal Points
Before anything else, you must understand a camera’s focus points. When you half-press the shutter button, the autofocus takes effect and considers what focal distance the lens must use so that the subject is in focus. Light meters utilize focus points to evaluate exposure.
Types of Light Meters
Most cameras today use a process called TTL or Through-The-Lens Metering. This means your camera examines the light coming in through the lens and evaluates the brightness of a scene. In effect, you can adjust camera settings to ensure your image gets the appropriate exposure.
To help you understand how to use a light meter, you must first know the two types of light meters:
Incident Light Meter
Incident light meters measure the amount of light falling on the subject. The light falling can be natural light, ambient light that comes from the sun or artificial lighting like strobe or flash. This type is more accurate in falling lightning situations that tend to fool a reflective meter, such as strong backlighting.
The main difference between the two types of light meters is that this one only applies to a handheld light meter. The light meter has a white dome that picks up the light reading. Hence, you need to hold these meters between the light source and as close to the subject as possible in certain lighting situations.
For instance, if the subject is standing in the noontime sun, the incident light under the chin is different from the light on the nose bridge. Set the shutter speed and ISO, which the meter in front will use to measure the light intensity and suggest the right aperture.
Reflective Light Meter
The reflective meter is the in-camera incident metering that points at the subject. These meters provide a reading of the intensity of light reflected by the subject or scene. Likewise, reflected measurements cover a broad area of different reflective surfaces or colors that can affect the meter reading.
The reflected meter serves as a digital scale tool. Depending on how you set the aperture, shutter speed, and ISO, the digital pins will move from the right or the left of the center of the scale. When the scale zeroes out to the center, then you have a correctly exposed image.
However, its ability to pick up the reflective qualities of the surface you are measuring is also its weakness. For example, readings may show dark clothing comes with a lower exposure value, even if there’s a powerful light. In this case, the reflected incident metering might overexpose parts of the photo.
Metering Modes
Figuring out which metering mode to use is crucial if you want to get the right exposure for a scene or subject with your meters. Your camera will make its evaluation depending on the metering mode you use because each one looks at a scene in different ways.
Matrix Metering
Matrix Metering measures the light while it divides the entire frame into several zones, with the meter analyzing each zone for light and dark tones. The focus point impacts the matrix metering, which means the camera will consider it as more important than the other zones. The reading these meters will provide may depend on the average light they measure.
Center-Weighted Metering
While this mode looks at the average light in the middle of a scene, it also evaluates the frame’s surroundings. This works best for close-up portraits and headshots. If the sun is behind the subject, this mode will expose the face of the person correctly.
Spot Metering
This mode measures the light around the focus point and ignores everything else. For example, an image of birds means the animals will most likely occupy a smaller portion of the scene. Spot metering is perfect for this shot because it calculates exposure based on its evaluation of a single zone.
Partial Metering
This mode evaluates light in a small area of the center of the frame, although a bit bigger than spot meter. Use partial metering when the background is much brighter than the subject, like silhouette shots. If you’re having problems with backlighting, this mode will produce better exposure and details.
How to Use a Light Meter to Get Even Exposure
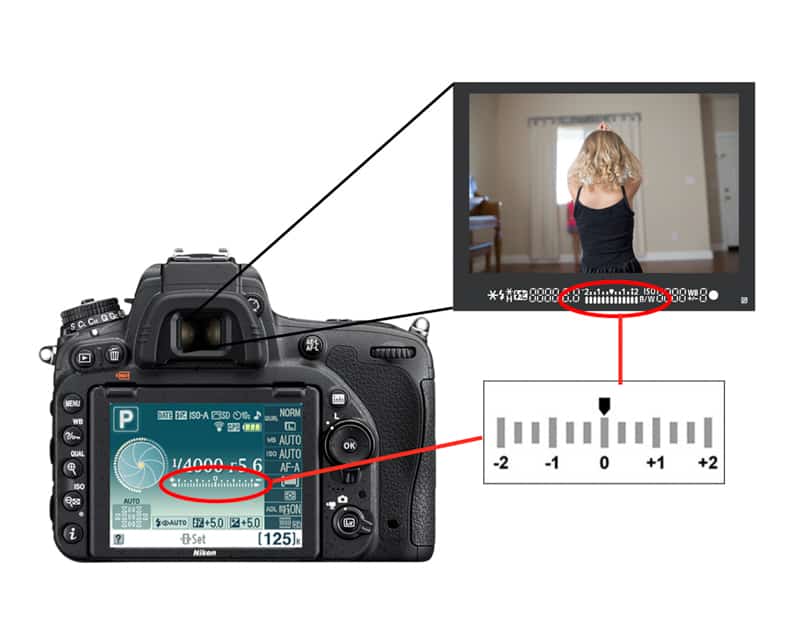
Not to worry, even when working in manual mode your camera is still going to help you choose your best settings. You can view your DSLR’s meter in action by taking a peek inside your viewfinder.
You will notice a series of bars or dashed lines toggling from left to right with a zero marker indicating your center – or in this case correct exposure. Your meter will also most likely be displayed on your digital info screen on the back of your camera.
The easiest way to get used to this tool is to practice aiming your camera at various light sources to observe your light meter shift from side to side.
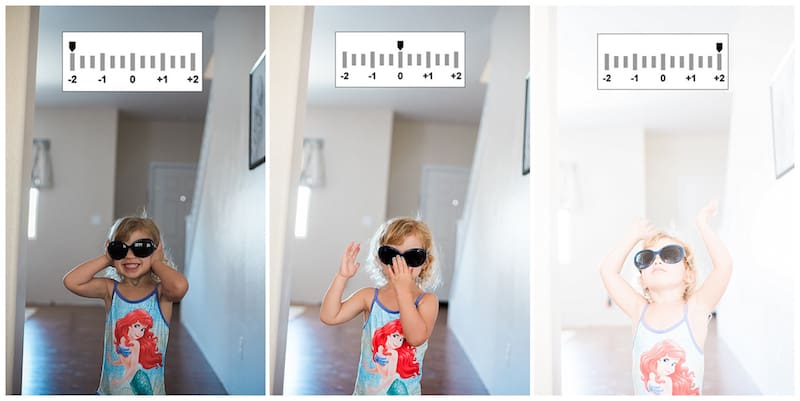
When aimed at a brightly lit area – you will see the lines shift to the right (positive) side – indicating your current settings will allow too much light to enter. This results in an overexposed photo.
Likewise, pointing your camera towards a scene with lower light will cause your indicator to shift towards the negative end – prompting you to adjust the aperture to let more light in.
As additional practice, I encourage you to keep an eye on your meter while you adjust one setting at a time. Seeing this scale working will give you first hand insight as to how each setting affects your exposure individually.
[ad id =3]
First, watch your indicator shift to the positive end as you take a small aperture of f/7.1 to a much larger aperture of f/2.2. Next, repeat the process with your shutter speed. A low shutter speed of 1/125 will have much more time to let in light than a high shutter speed of 1/2000. Watch your meter shift as you switch between the two settings.
Note: If you are having troubles making your meter move, make sure your camera’s exposure mechanism is initiated when pointed at your subject. You can do this either by pressing your shutter release button halfway down or pressing your back button if “back button focus” is your method of choice.
Once you have a handle on your camera settings and your personal preference stylistically – your internal light meter is going to be your best friend.
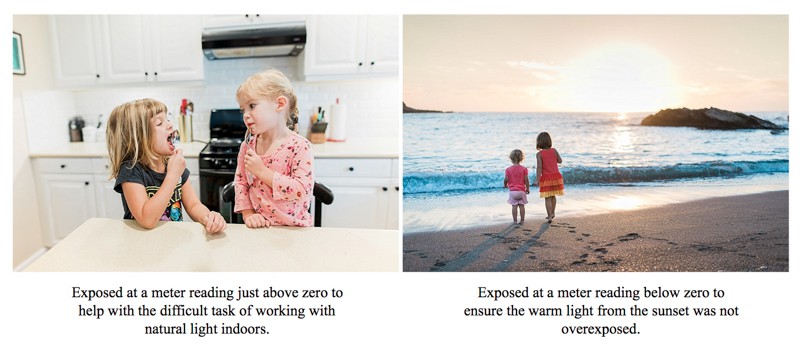
For instance, I prefer to slightly overexpose my indoor lifestyle photography so I make sure to adjust the aperture, shutter speed, and set the ISO until my meter indicates one stop above my zero marker.
For outdoor photos, especially when shooting into the light, I tend to expose for one or two stops below zero as to avoid blowing out the highlights in the sky. Each of these methods is purely my stylistic choice andevery photographer is free to develop their own personal preferences.
Learning how to read your meter and having an understanding about how each setting will directly affect it will make vast improvements on your photos straight out of camera. This process takes the guessing game out of shooting and puts all of the control in your hands.
In Part 2 of this series, I’ll discuss how you can take this technique one step further by metering for specific parts of your frame and using separate your cameras’ metering modes.
When I first began taking clients, the only thing I thought about when picking out the location with my clients for their session was how the location looked. Was it eye catching? Was it pretty? And it makes sense, right? Who doesn’t want the backdrop for their photos to be gorgeous? What I didn’t realize…
There are a lot of things you can do to make a portrait more interesting, and shooting it in black and white mode is very popular. Many people tend to associate color with emotion, but some of the most powerful and evocative portraits are in monochrome. Black and white portraits have a certain “soulfulness” that…
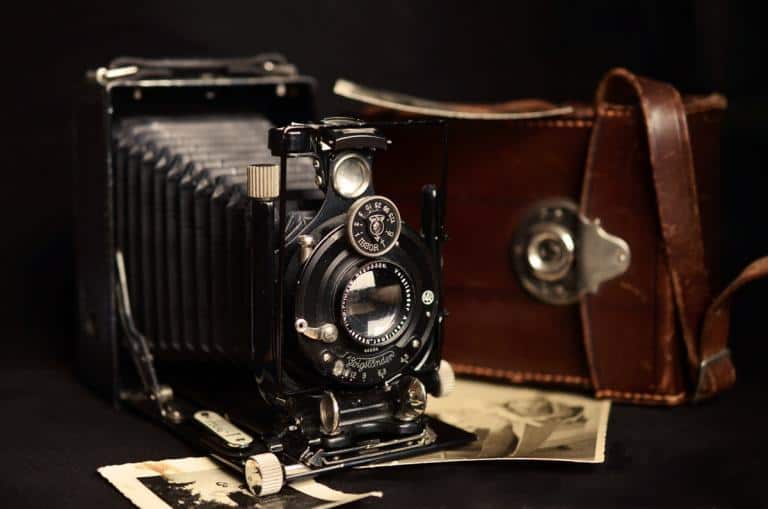
Do you know who invented the camera? Where the first image was ever recorded? Learn more about the history of photography right here! Paris Hilton once claimed she invented the selfie. Um…no. The first self-portrait was actually taken by Robert Cornelius in 1839. Sorry Ms. Hilton but you’re 64,9070 days late and a dollar short. …
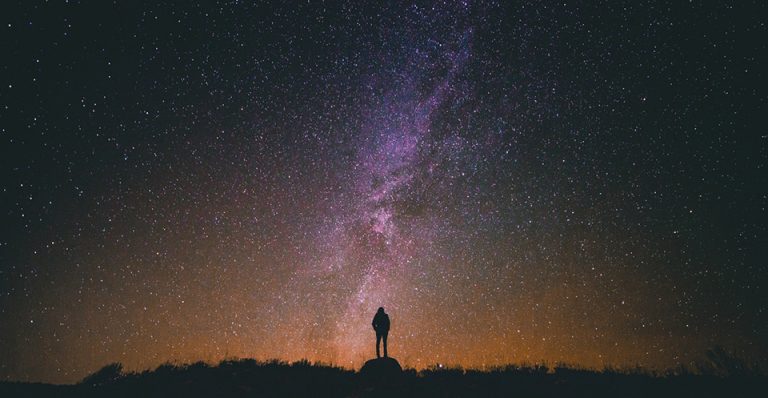
How to Photograph Stars and the Night Sky? Most people look up at the night sky and ponder alien life, the vastness of the universe or the relative smallness of their own existence. Photographers just want to know what settings to use to capture an amazing night photo. Photographing the night sky can be a…
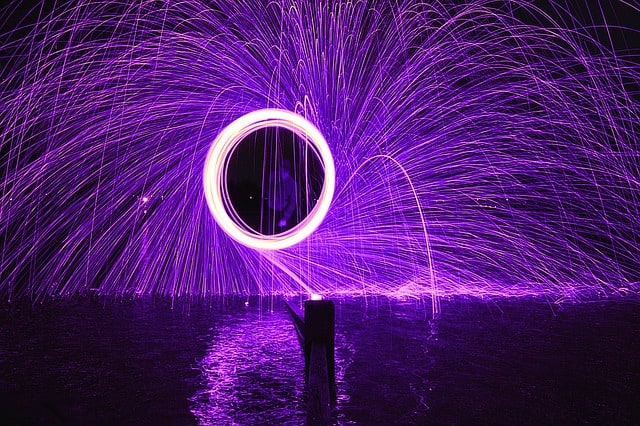
Steel wool photography is a light painting technique that produces amazing results. You can get a steel wool photograph with a few simple items, and there are a lot of possibilities to explore with that material. What is Steel Wool Photography? Steel wool is a cleaning product that is typically used to polish surfaces or…
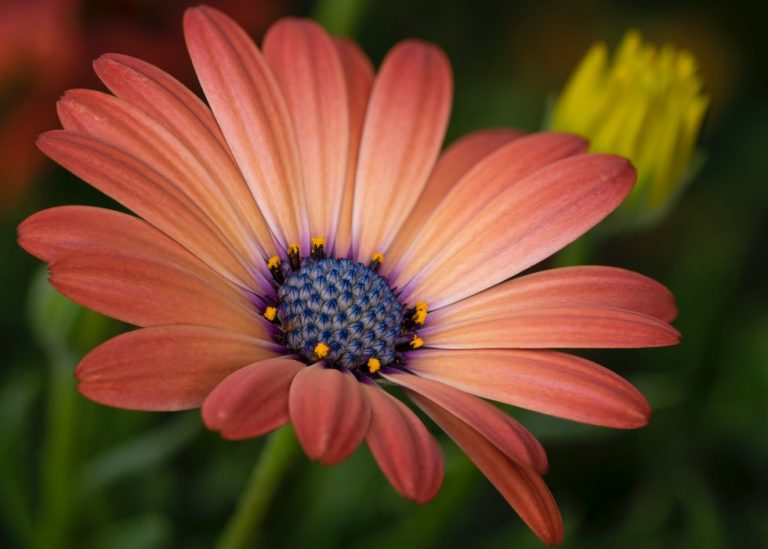
If you’ve ever tried to take a close-up macro photograph of a flower, you know that it’s tough to get your entire subject in focus. While autofocus or auto-blend layers tools can help a lot with macro photography sharpness, they still leave a lot to be desired. In this article, we’ll explain how you can…