
The 2018 Hogwarts Express train (set 75955) was a step change up in quality over the previous iterations. And for those who collects sets to display static on shelves, it is pretty much perfect, but for those building larger displays, who want to have the train running around on a train track, you will need to source some train tracks and in particular, add a motor to the set. This post discusses how this can be done…
I have previously reviewed the 2018 Hogwarts Express train (set 75955) – see my review here – and I was very pleased with how movie accurate it looked compared to previous versions.
But it is not motorised. In fact, it didn’t even come with train tracks. In this post, I will show one way to motorise the set. A link to instructions is provided further down.
But firstly, let us have a look at the end result (with my Diagon Alley display in the back).
Key parts needed
If you want to motorise your Hogwarts Express, you can either source the parts needed directly from LEGO as spare parts, or – as I show in the following – buy a motorised LEGO City train set and use the parts from this instead. I have based it on the newer Bluetooth-based Powered Up elements, as this avoids having to build in the additional infrared receiver that would have been required if using the previous Power Functions system. But let’s get on with the discussion of parts needed.
Firstly, you will of course need the Hogwarts Express set itself (in the following, prices are based on the US LEGO Shop at Home – and affiliate links are used):
Note that this set if from 2018 and will eventually be retired from LEGO’s stores. So now may be a good time to source it.
Then you need the parts to motorise it, in particular:
- Set 88009: Powered Up – Hub – US$49.99
- Set 88010: Powered Up – Remote Control – US$22.99
- Set 88011: Powered Up – Train motor – US$13.99

You need train tracks too of course, for example this set:

You need at least two train track sets, and even that may actually be short a few curved tracks to create a full oval it looks (you’ll need 16 curved pieces). But assuming you buy two train tracks sets, the total costs are $127 beyond the cost of Hogwarts Express itself.
One alternative to all the extra parts above is to seek out this set:
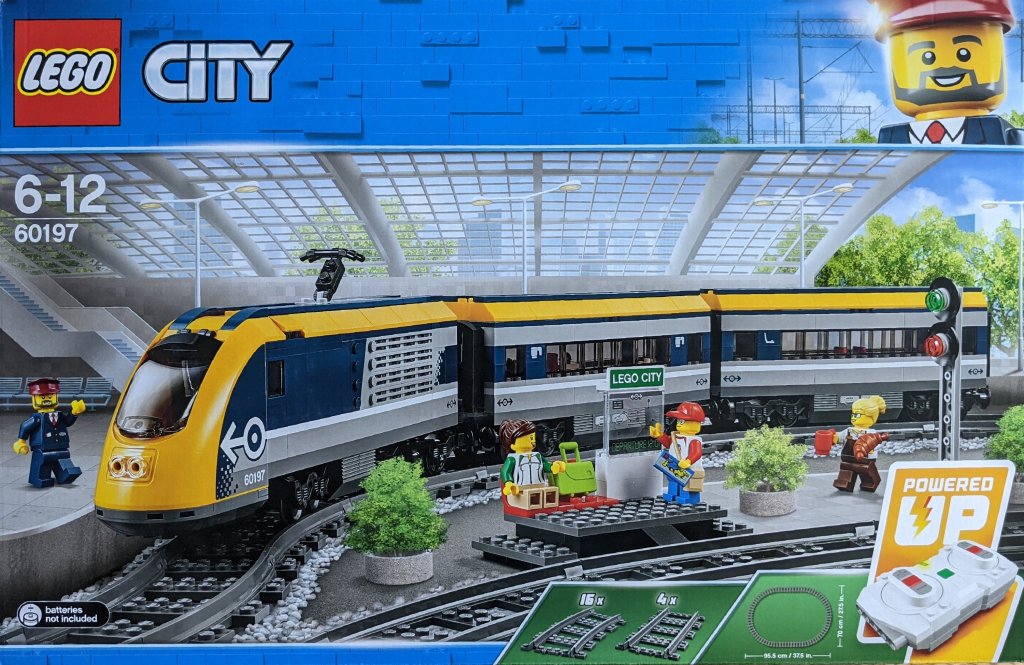
As seen, it is more expensive, but often stores have such sets on sale, and if you find the train with 20% off, you pay exactly the same as the loose parts above, and get an nice looking yellow high speed train as well! And it does give you a full (though somewhat small oval of tracks). So I’d generally suggest this alternative, and should note that LEGO’s Community Engagement Team kindly provided a set, which I could use in the making of this post.
Finally, in addition to the parts discussed above, you will need some additional bricks for the rebuild of the Hogwarts Express tender. More about that later…
Building the passenger train
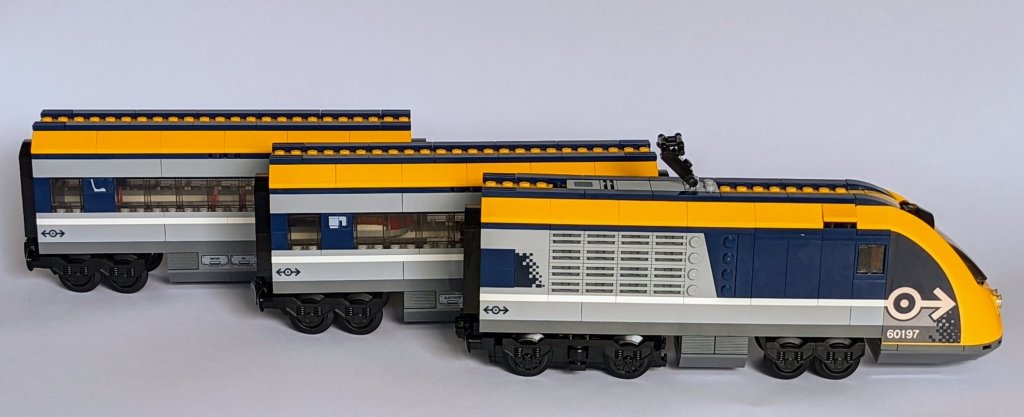
While I didn’t need the whole train – but only parts from the pack – I wasn’t going to give up a change to build it. So over the Easter break, I sat down with a coffee (or two) and started building. Overall, it’s a good build, though not complex/challenging (as expected for a set targeting 6-12 year olds), and building the second carriage was a bit repetitive when you have completed the first.

Here is what the completed train looked like. It looks very cool, and could potentially be used for the muggle part of a Kings Cross station display.
With that done, I quickly proceeded to remove the Powered-Up parts I needed for Hogwarts Express and put the remainder of the train back into the box for future use.
Motorising the Hogwarts Express
I’m sure it can be done in many ways, and some may very well have come up with the same solution, as I did here.
Initially I thought of providing two options: one with the battery box along with the motor in the tender, and another, where the tender could be lower as the battery box was put in the carriage instead, and the tender only would have the motor.
But I was pretty happy with option one when I had done that and thus never felt the urge to do number two. Option two would allow the tender to be a brick lower, but the battery box in the carriage would be visible through the windows there.
So I will only provide one option below, which is basically a rebuild of the tender.
Detailed instructions (with parts list) are available here, with the photos below providing some additional insights into the building process. Note that you can hide more of the cable in the space between the motor and the battery box than shown on the photos below, though that process is a bit fiddly.


Here is the final result:

Now you are able to run the train. To do so, you need to ensure the front bogie of the steam engine can traverse freely, lifting up the lock (which makes it easier to push around on carpets) as shown below.


As said, there will be other options that can achieve the same too. I hope this has been useful as inspiration though. Happy building!
With this, I’ll continue with my 20th Anniversary of LEGO Harry Potter series of posts. Remember that we are running a MOC competition too with details on the competition page. So plenty to look forward to.
Till then, Build the Magic!

Thanks so much for this, cant wait to convert my Hogwarts Express 🙂
LikeLike