
We bought our first house north of the Mason Dixon a week and a half ago and let me tell ya, it felt good. We just love being homeowners. Can I get an Amen?! Paint what you want, smash what you want, redo what you want. It's all yours. It's like getting your own apartment, or first 'own' bedroom. You're just really really excited.
We sold Taylor's Wood in March of last year. It has almost been a year since we got to dig into some of our own projects. The Lord has been good though. I've had so many design jobs this past year. It has completely filled my creative hole. And doing y'alls projects is SOOOO much fun!!!!
However, call us crazy, but 2 hours after closing, Darling Husband had found a crowbar and we had BIG plans.
Here is our living room/fireplace BEFORE photo.

What a blessing of a 'Before' picture. Natural light, gorgeous floors. What is WRONG with us? Well. I think we have an illness. Mostly me. I'll take the blame. And it's this: I love to take perfectly good spaces and redo them. To maybe make them a teensy tiny bit better. Take something that is already 'wow' and go to 'woah'. That is the fun. So stinkin' fun.
In other news, the fireplace re-do was going to be a tiny bit functional too. Y'all. We are about to be a family of FOUR... and I prefer TVs, electronics, and wires 'out-of-reach'. Two-year-olds know how to climb on entertainment centers. So to make life easier, we started our fireplace reno project ASAP.
I envisioned a wood paneled fireplace that extended to the wall (the fireplace stopped short of the wall with the brick, about a foot). I wanted a rustic barn wood mantle (the existing fireplace had no mantle). And I wanted all cords and wires concealed (the nearest electrical outlet is on the adjacent wall).
We started by doing some highly "not to code" electrical work. We used concrete screws to attach 2x2s to the brick, making sure to leave tiny spaces for our highly official surge protector to run behind, what would eventually, be pine wood paneling.
I know. We are so legit. Y'all... don't judge. Just either steal our brilliant idea, or mentally make a note to NEVER accept electrical advice from us. I never claimed to be smart. Just savvy. And I like pretty decorating. And I like being a visionary, even when its dangerous. I live on the edge. What can I say?
Below is our gorgeous puzzle of electrical wires and 2x2:
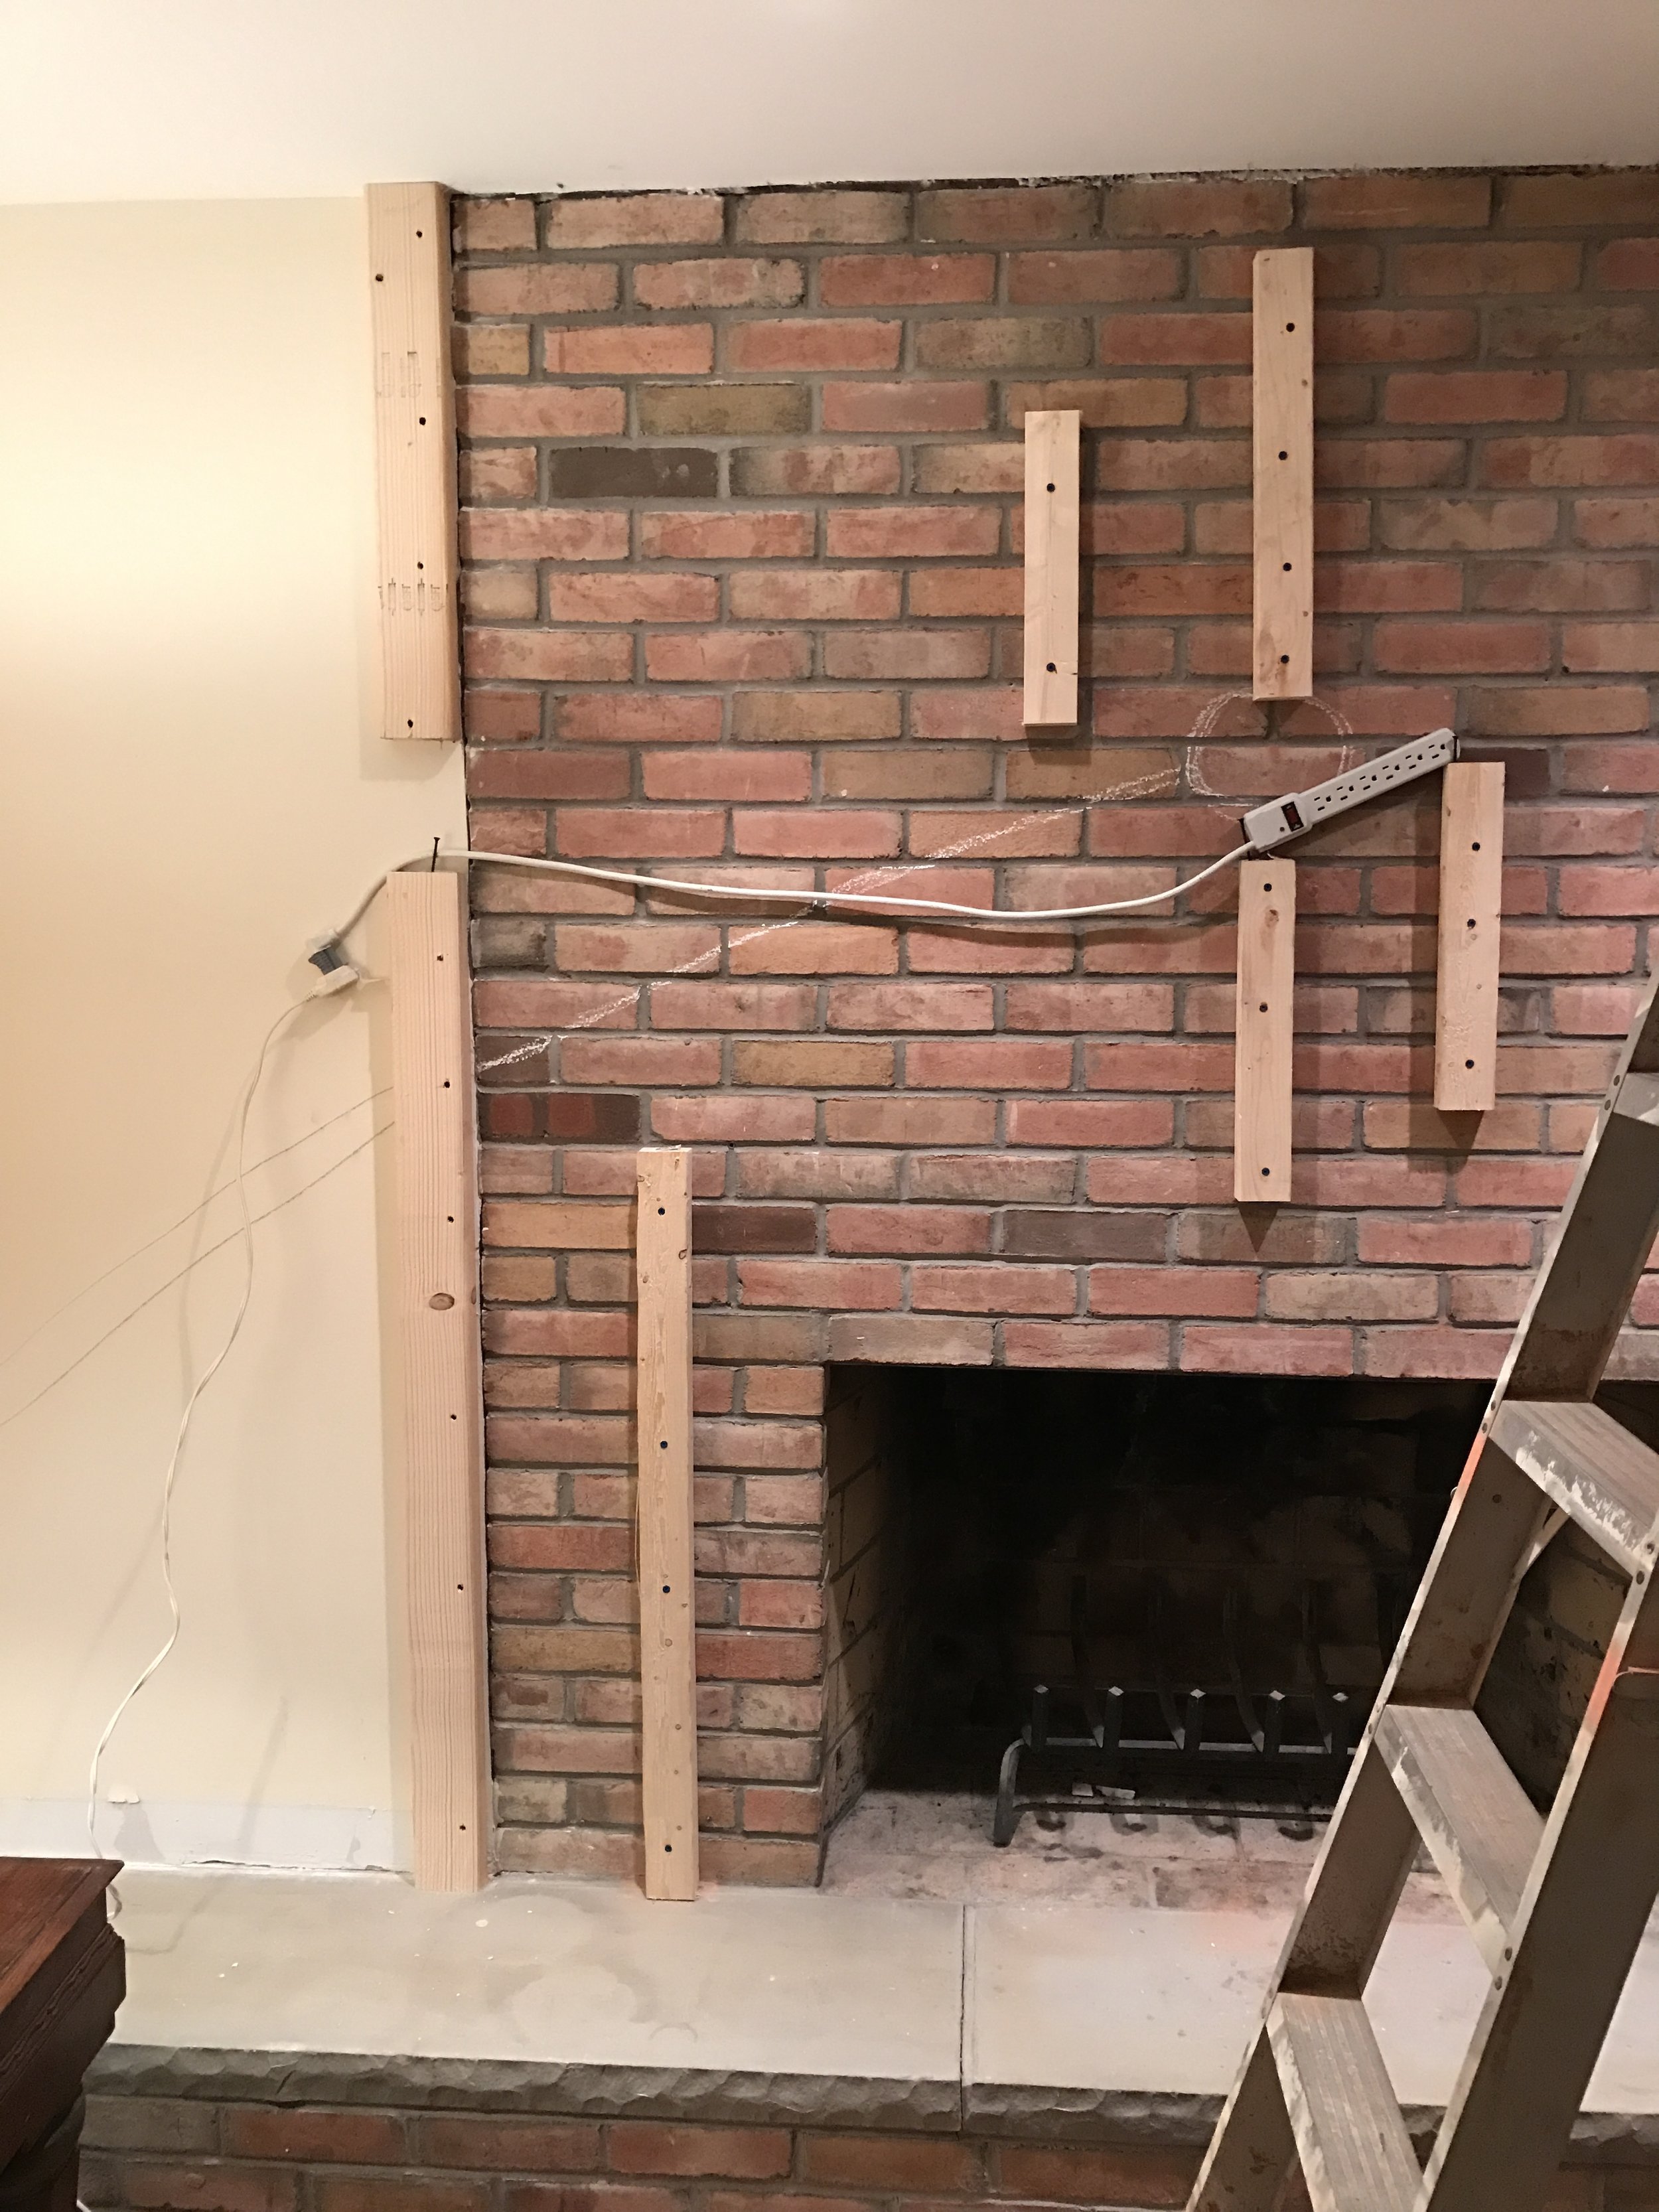
The 2x2s, when thoroughly attached with cement screws to your existing brick, lay a perfect grid for safely screwing in the wood paneling

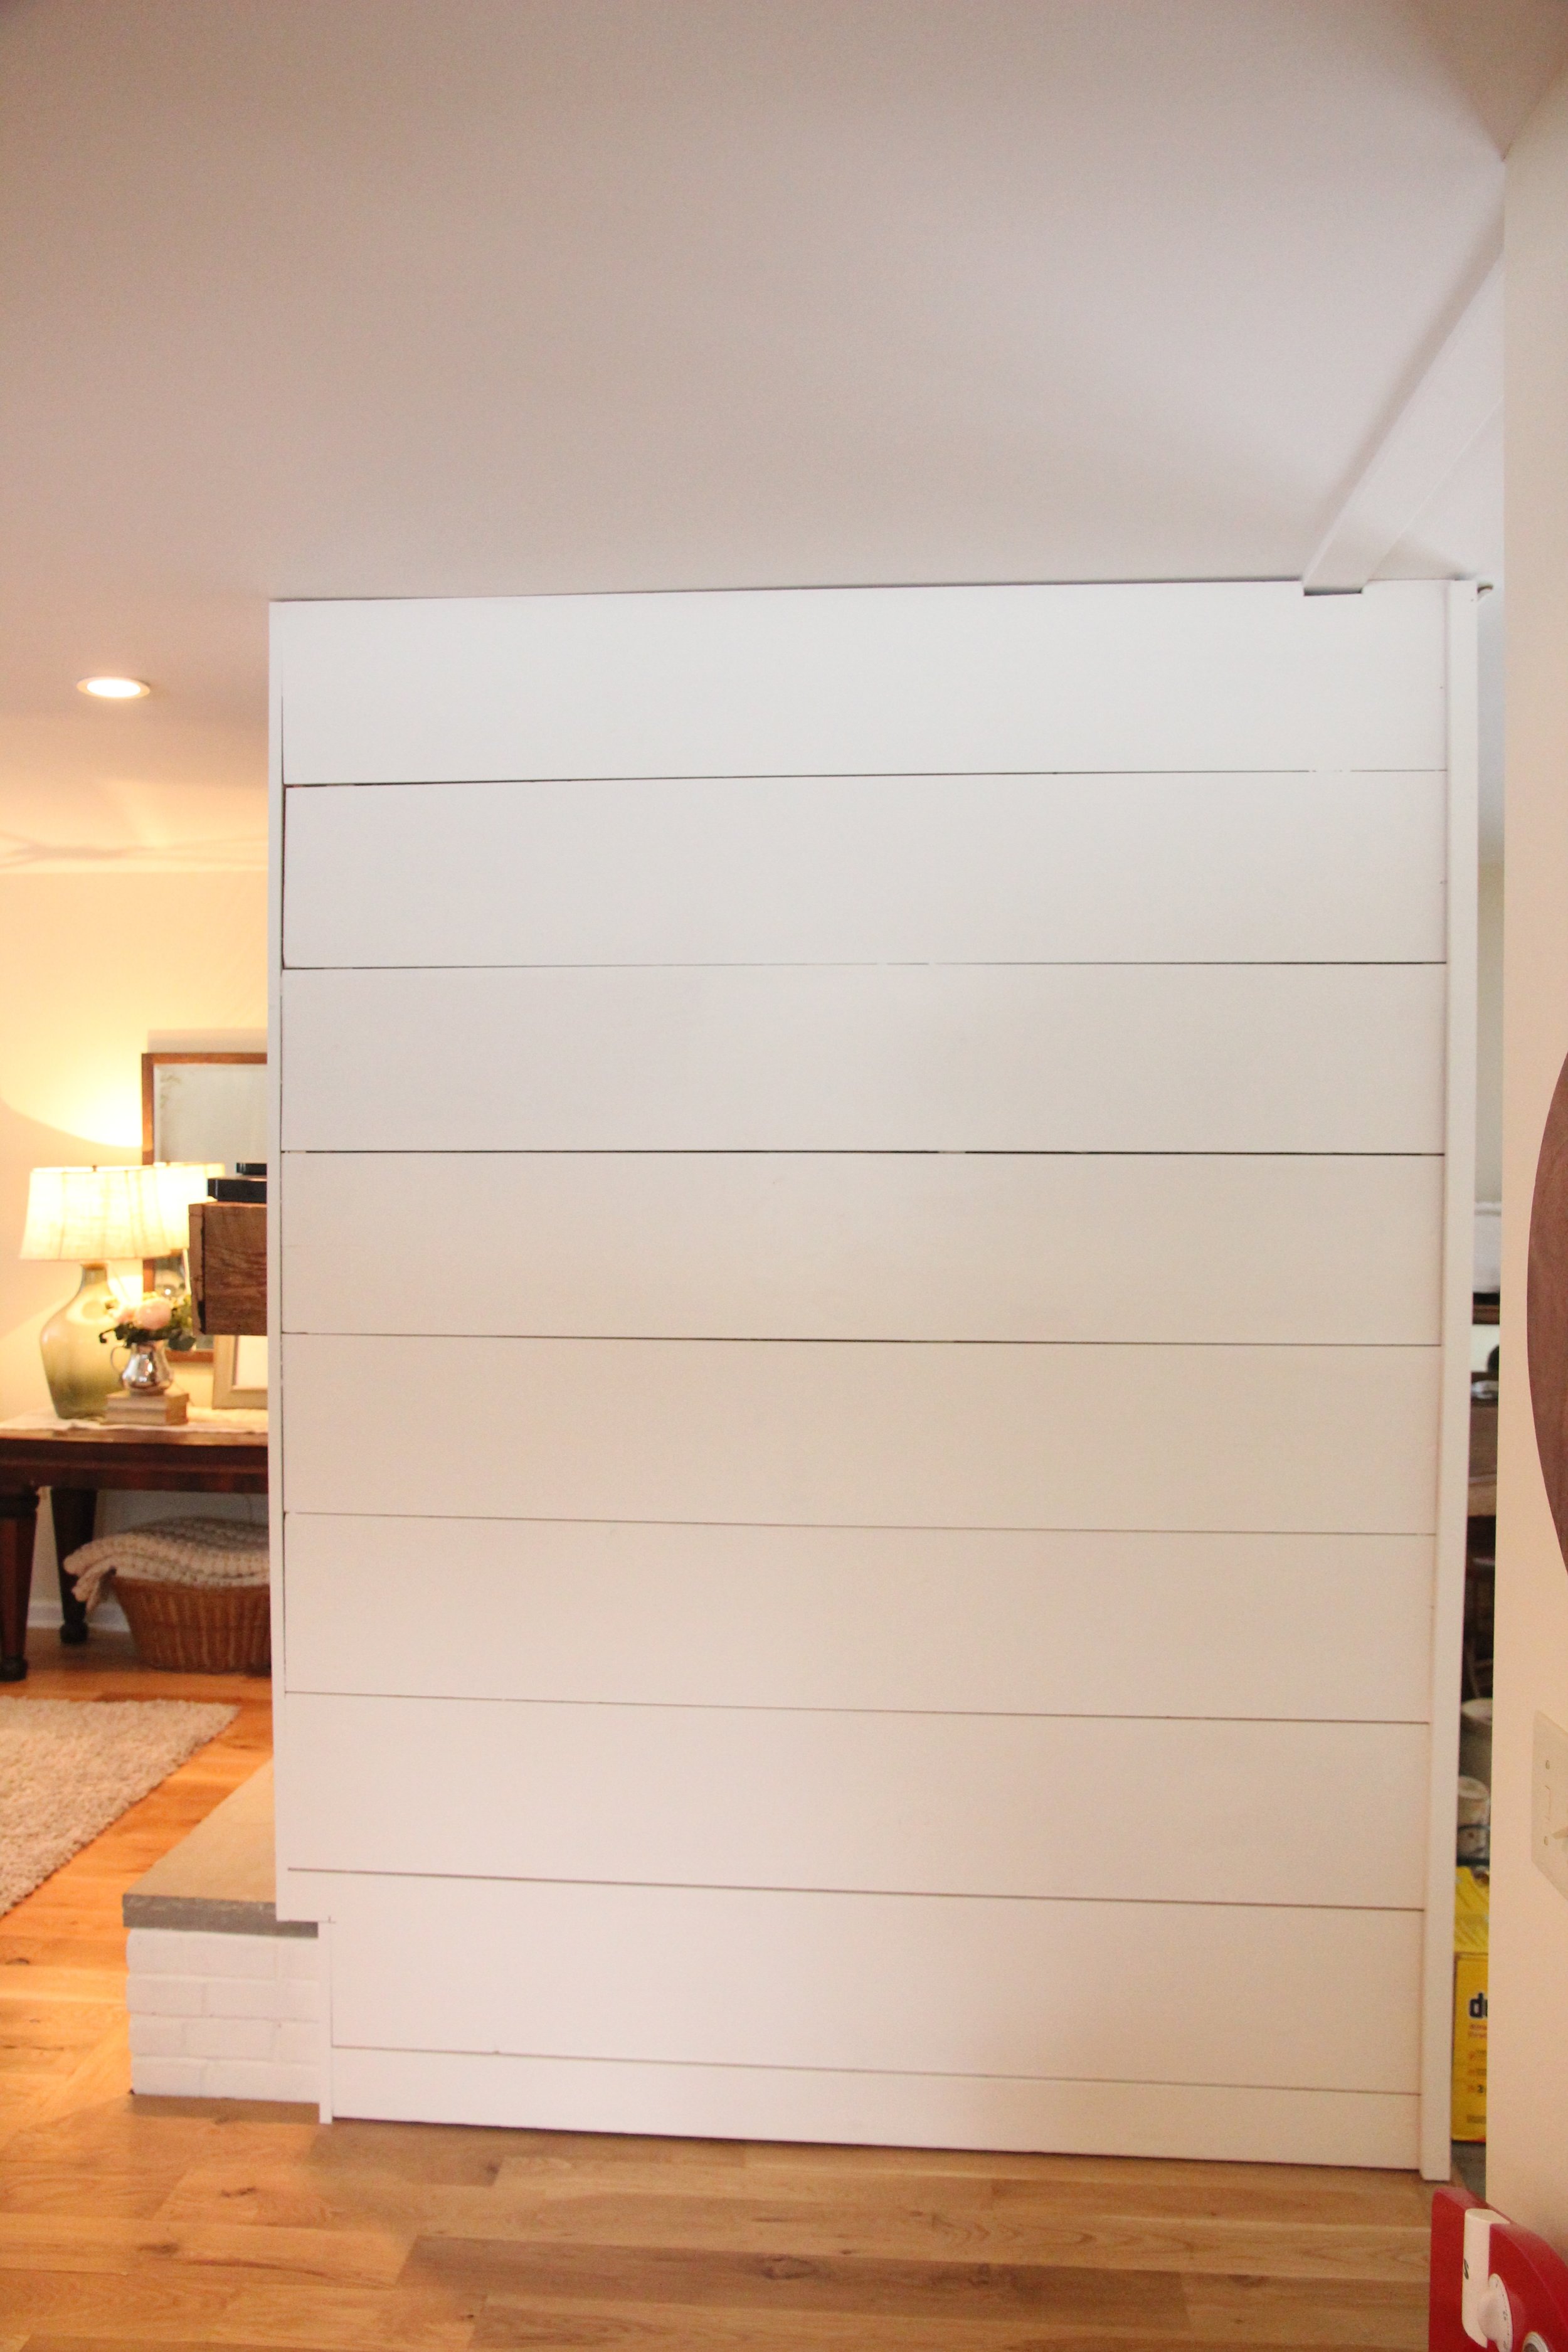
As you can see, we then started attaching the pine paneling. We began at the ceiling and worked our way down. We needed eight 1x12s for our fireplace front. We have a 3 sided fireplace and we paneled 2 sides. As you can see, we carefully matched the paneling on both sides.
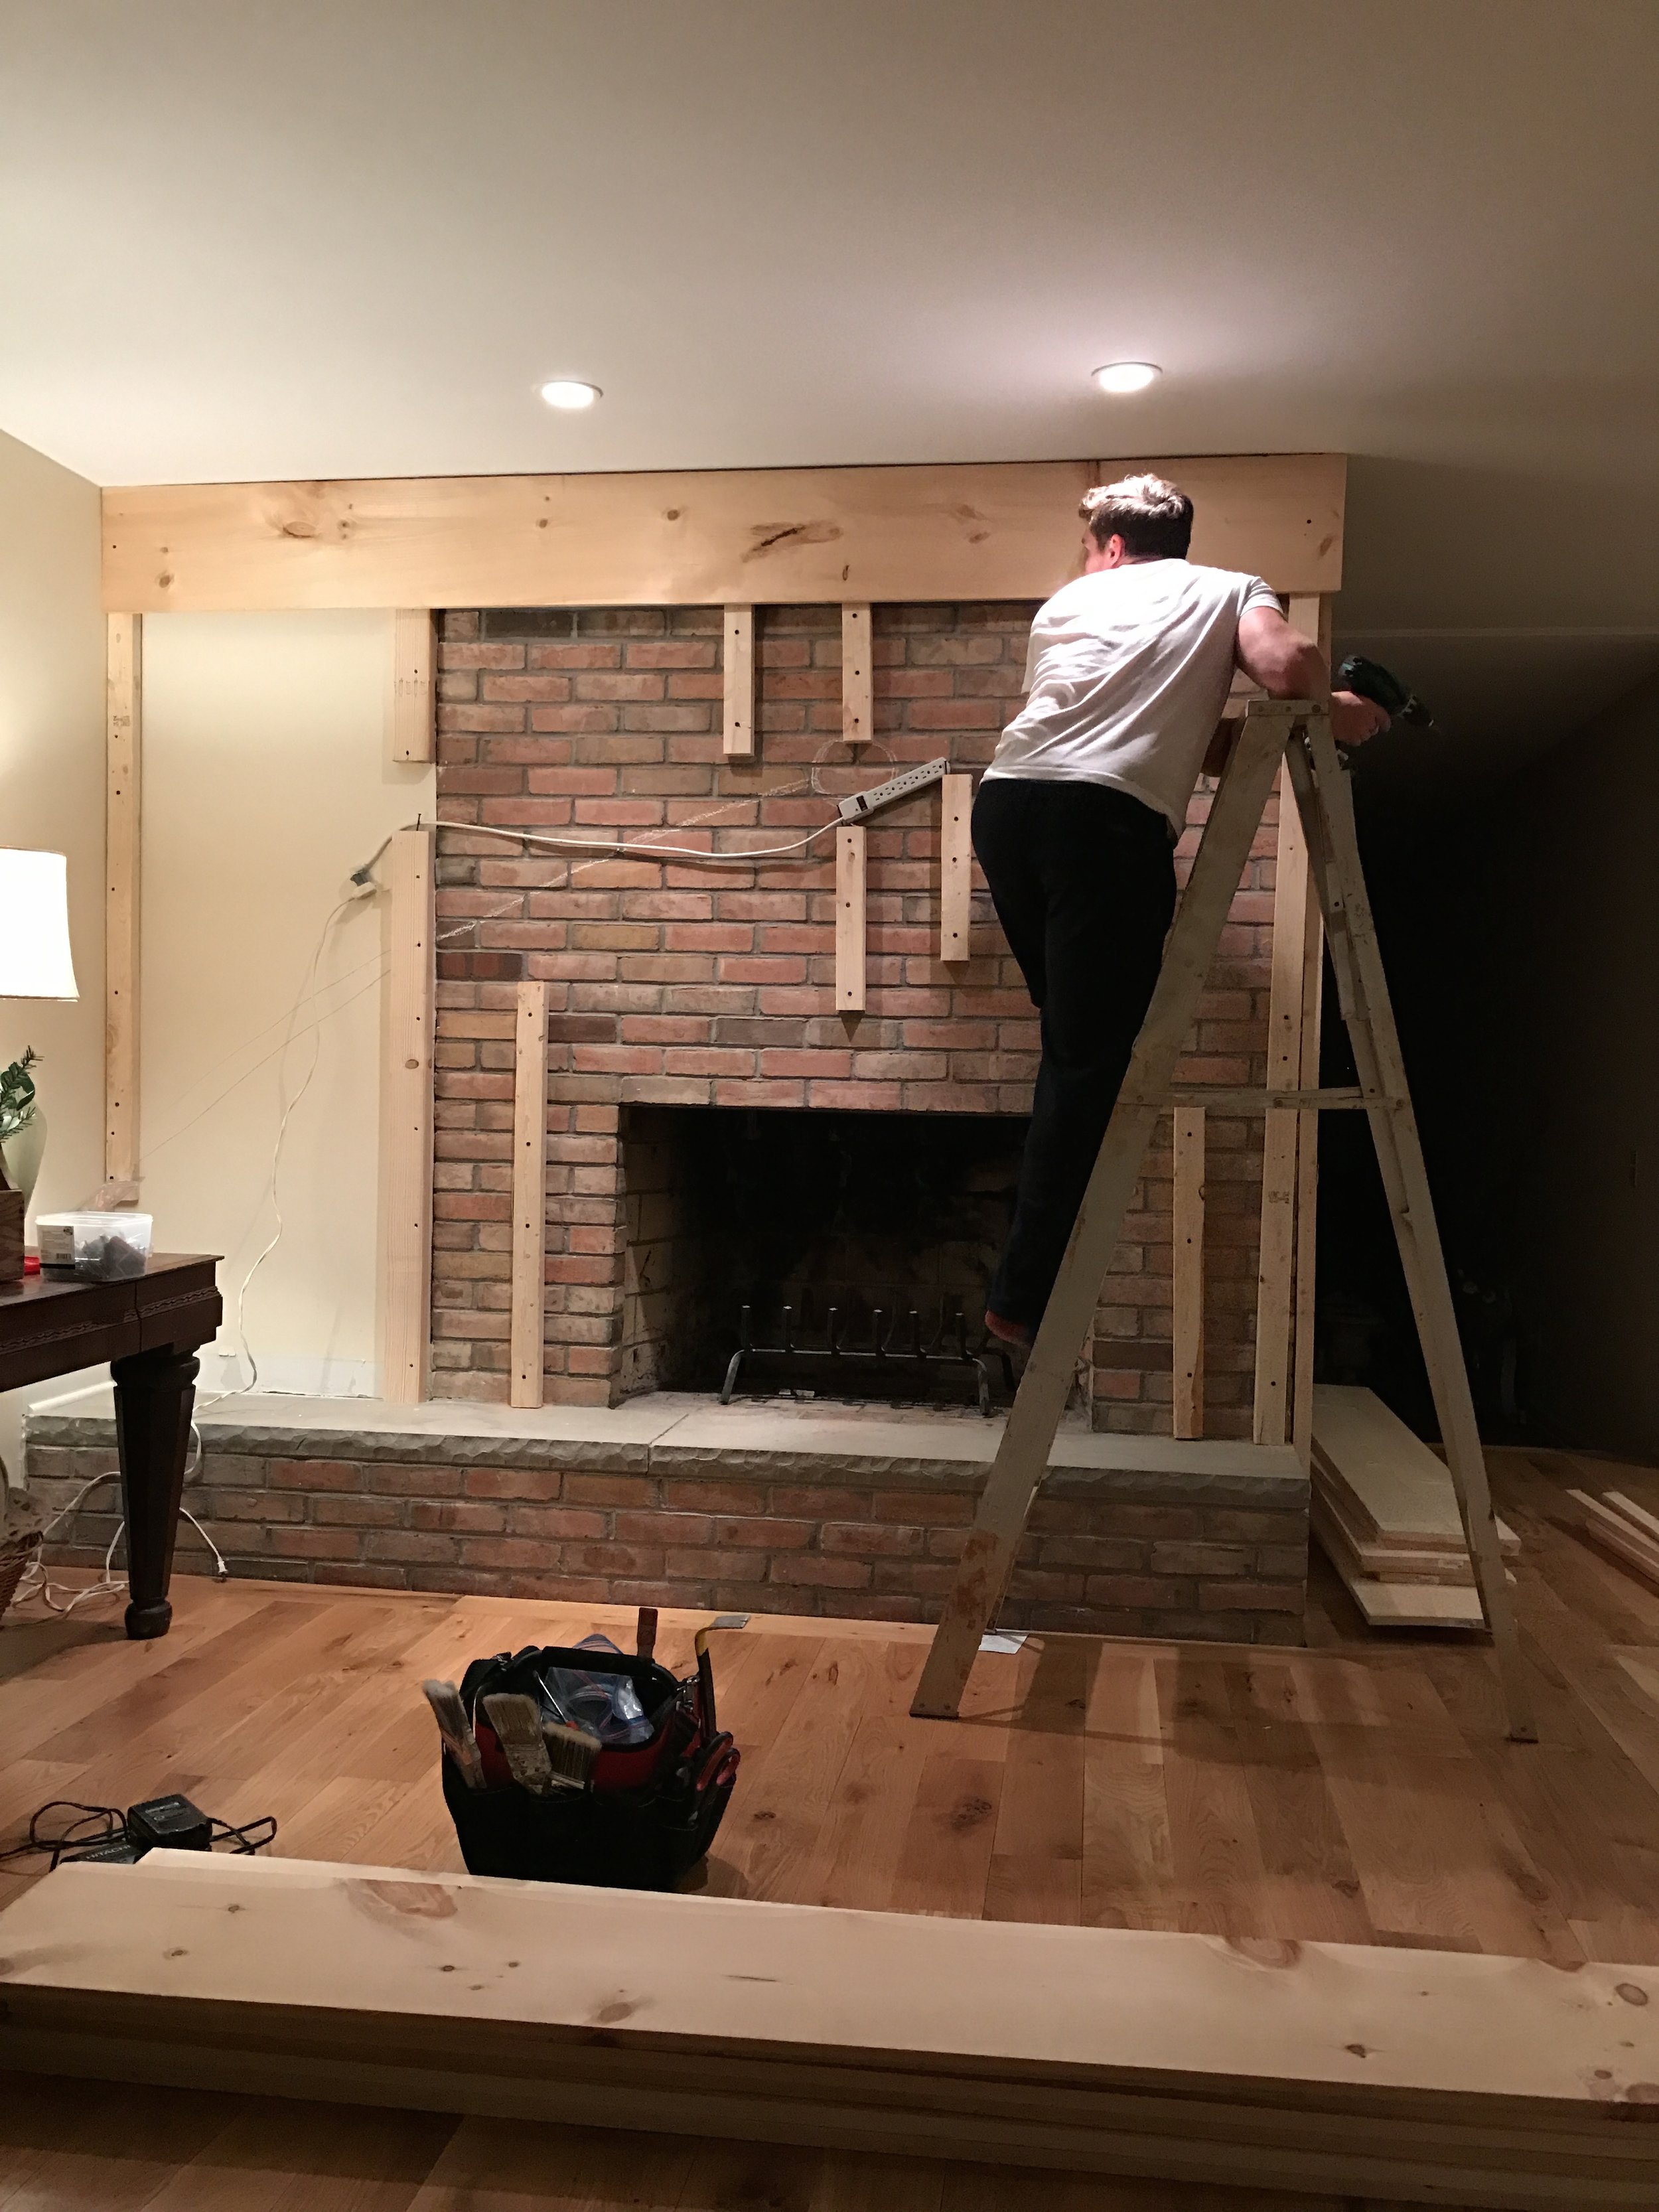
Code requires the wood paneling to stop short 6 inches on all sides of the opening of your fireplace. We left a gap where our beautiful surge protector faced out. We needed to access all those outlets with our mess of electronic crap (sorry male folk, that is what it is to me. If it were up to me, this mantle would be covered in decorative knick knacks). Insert marriage and compromise. My darling spouse will be all the brawn behind my fabulous fireplace facelift, presuming he gets a 50 inch black box and sound system contraption placed atop my gorgeous new mantle. Life is full of compromise. I still think I get the better end of the deal anyway. And he's pretty cute. So we made the deal.

To finally act like safe adults, we placed 4-6 'easy to access' screws in each pine board so as to access our electrical 'guts' of the operation. See, I told you we were cautious and unenterprising. And you were worried about that blasted surge protector. Pish Posh.

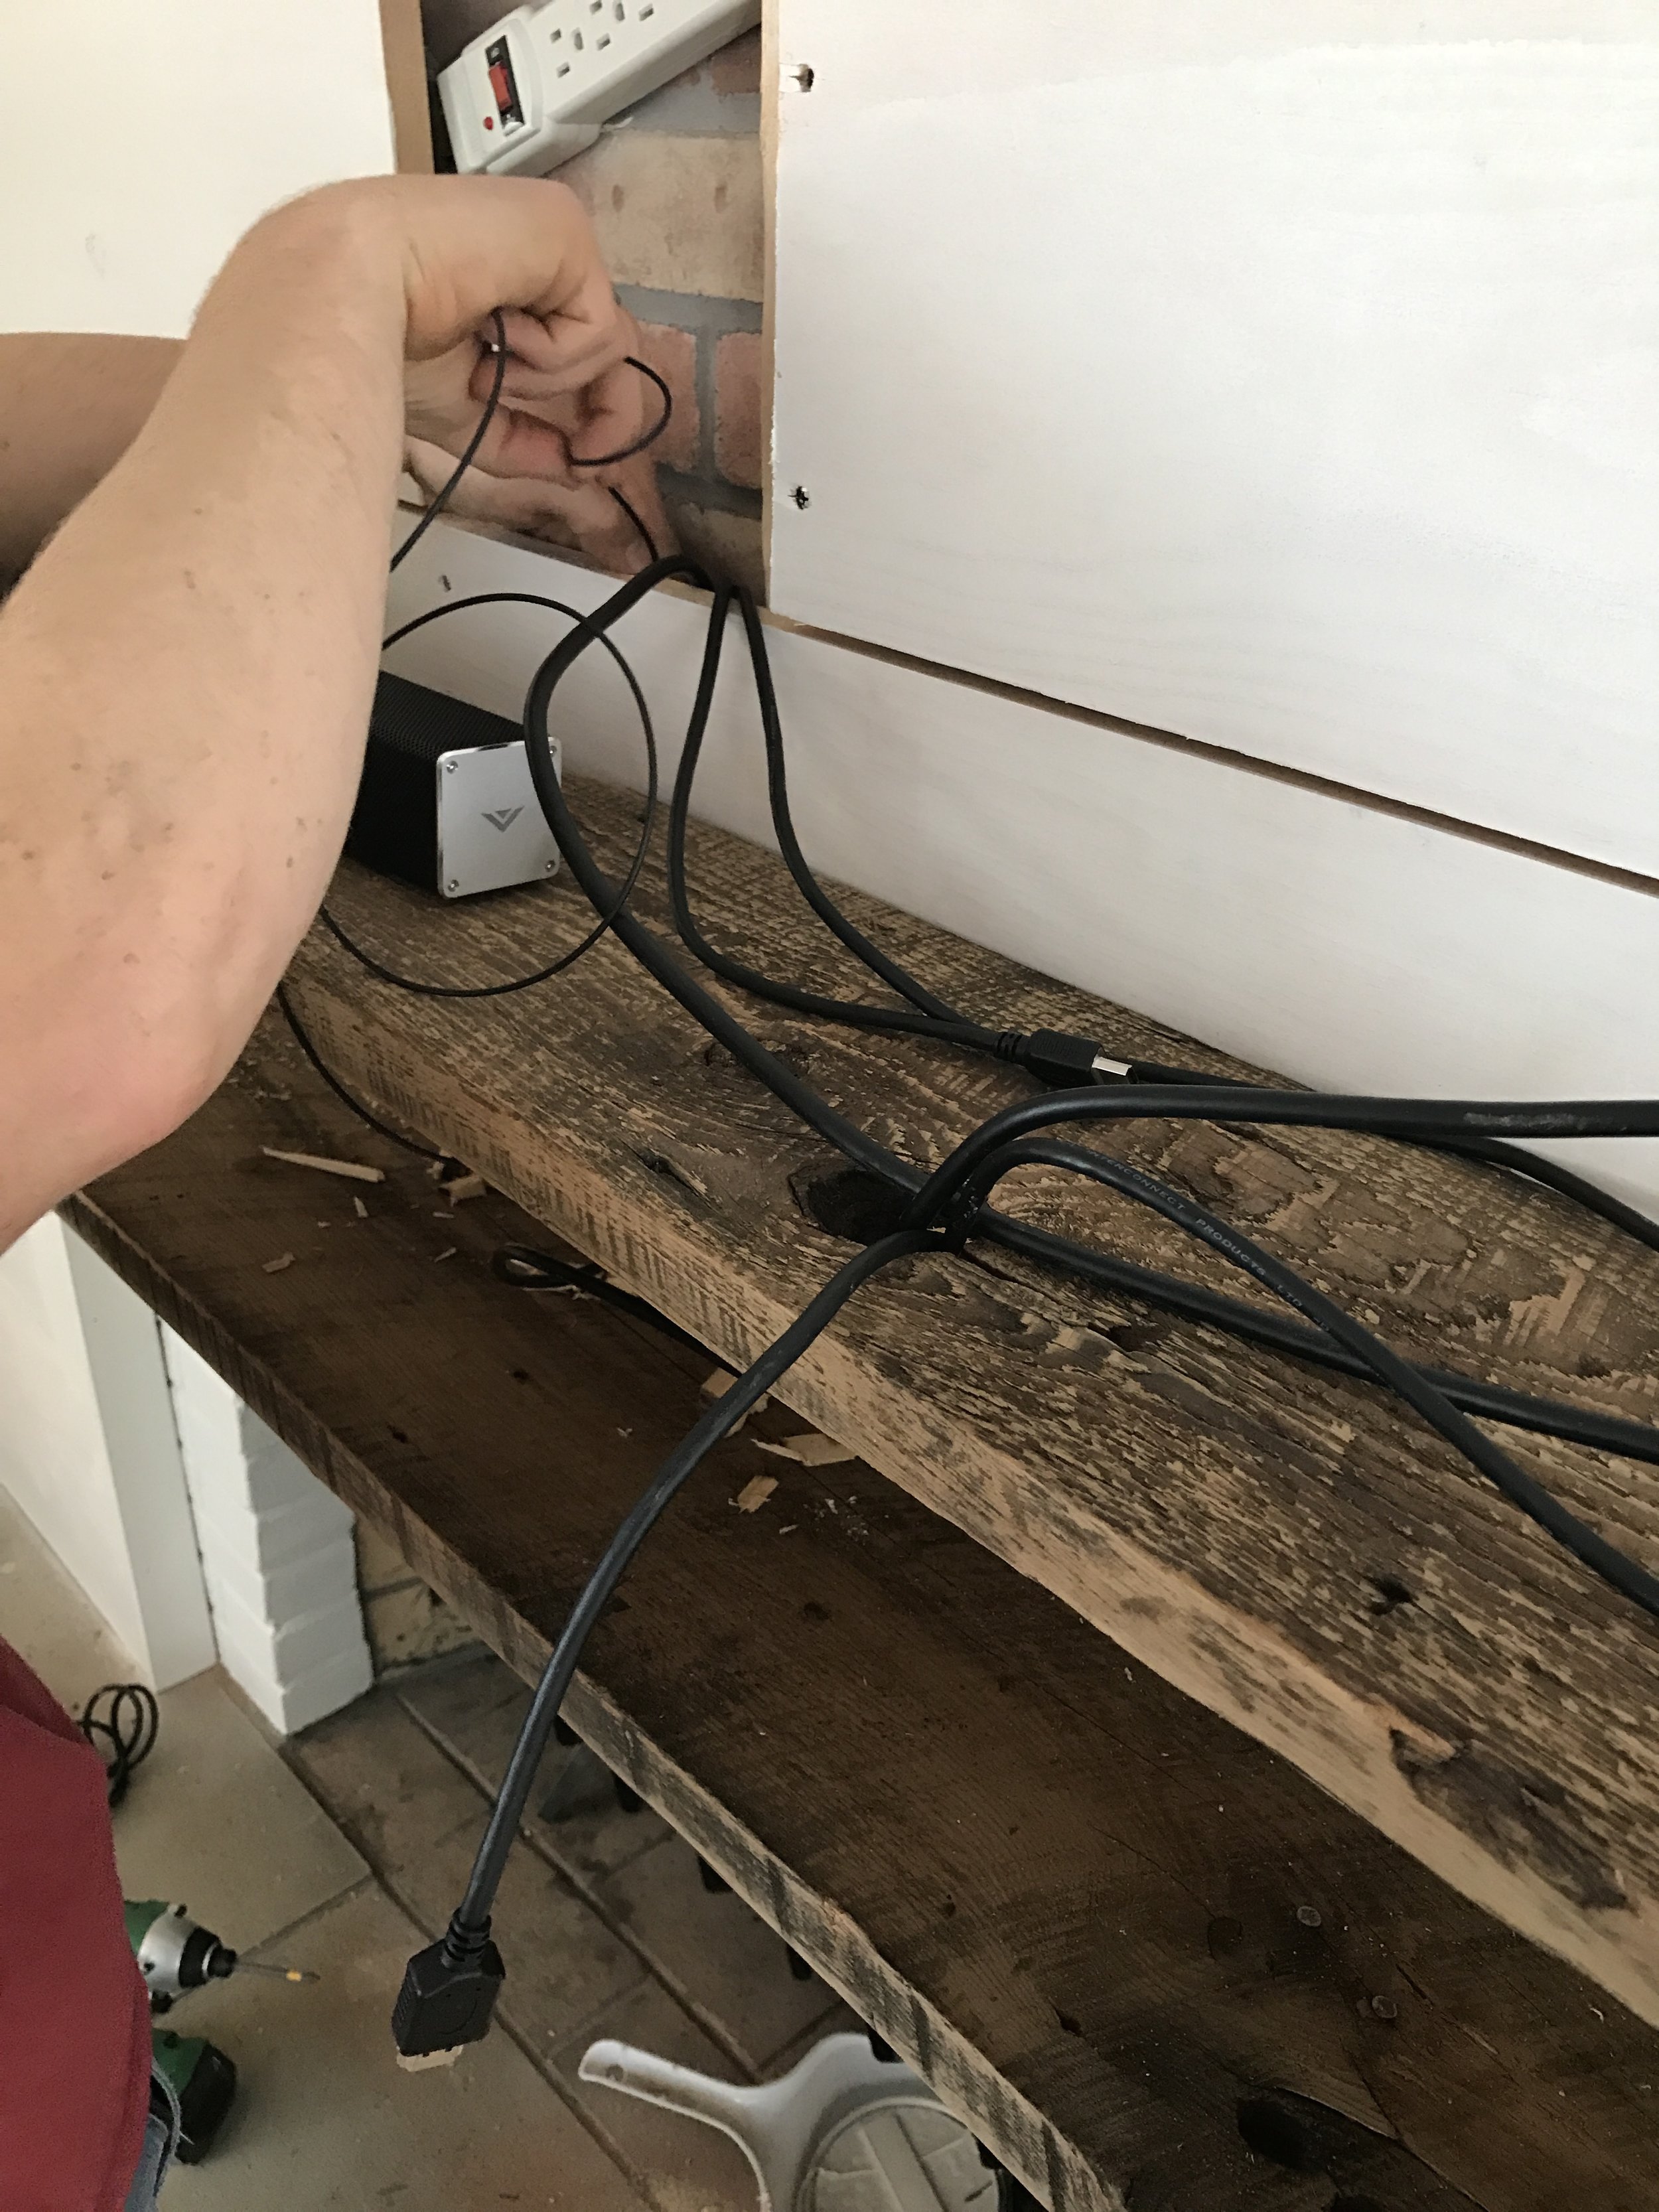
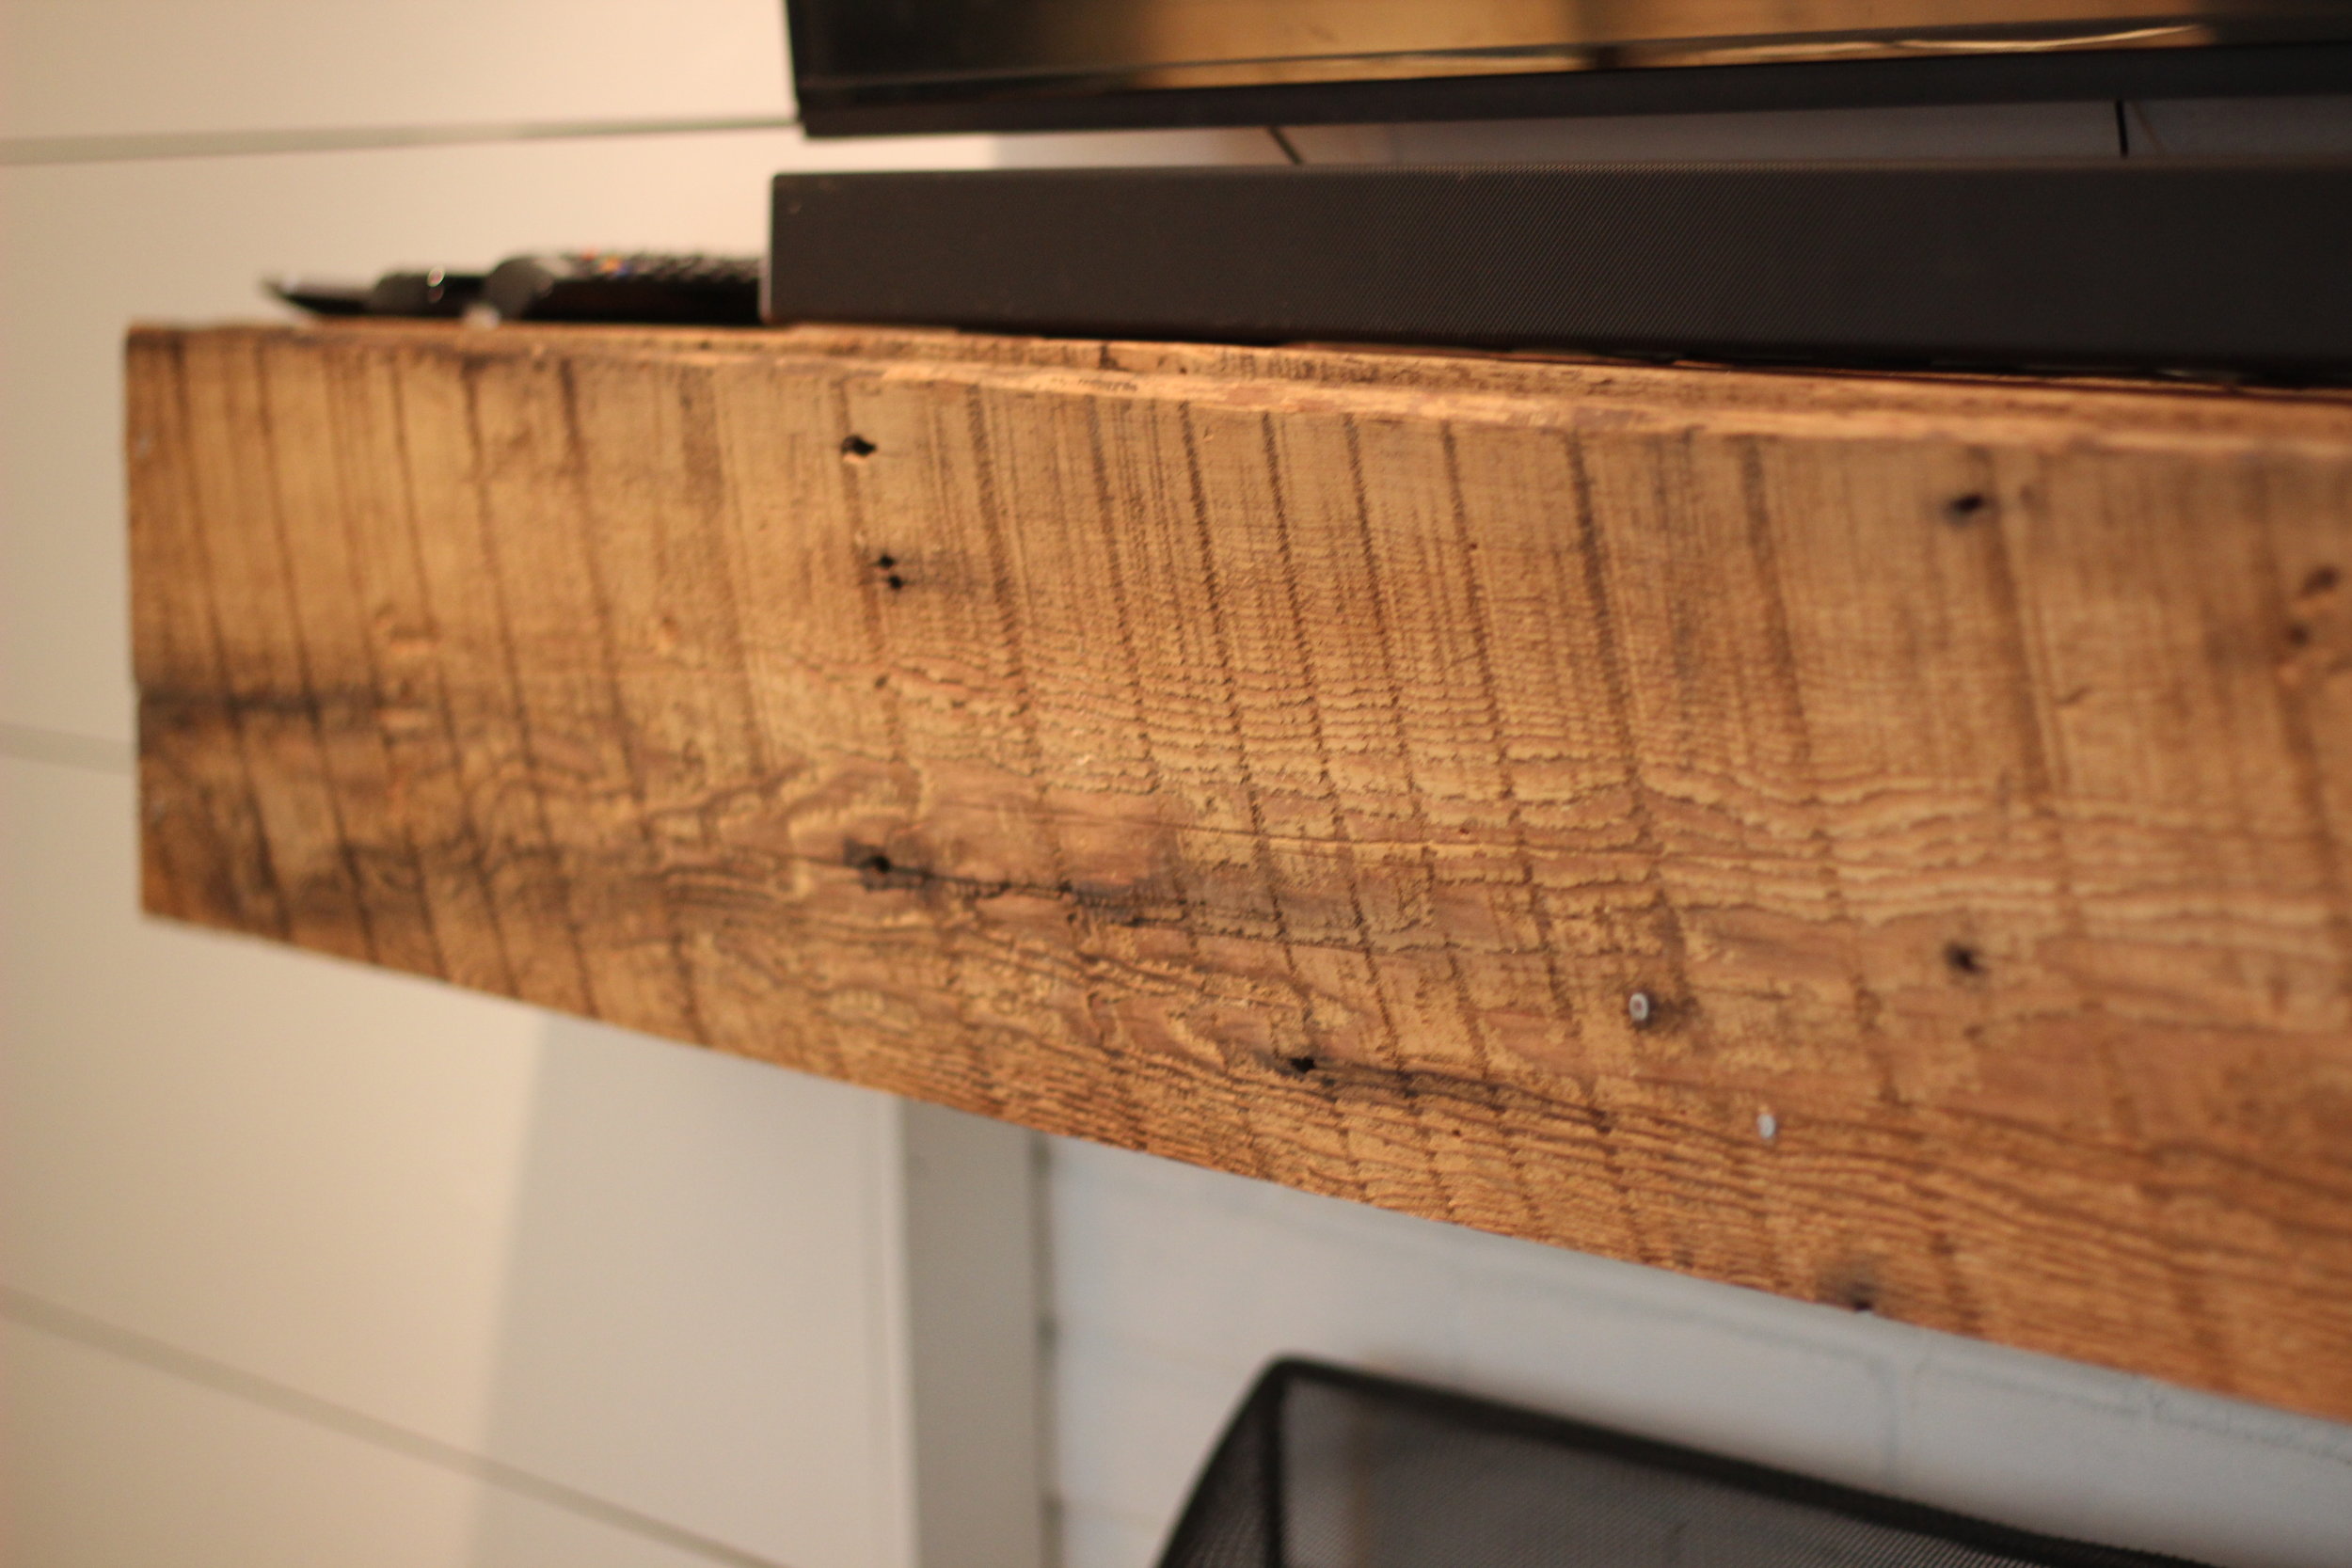
Next we prepped for the mantle. We didn't have any ACTUAL barn beams. We had barn boards. Easy, we would make a wood frame to cover, on all sides, with our barn boards. Basically, you fake it to make it. It actually worked out because the hollow mantle could house extra cords. Below you can see the 1x1 we used to create our little frame.

First coat of paint. My all time favorite, Benjamin Moore 'White Dove' in satin finish. Bless my soul. This color could have also been named 'Perfection White that Isn't Cream or Yellow'. Or they could have named it 'The Color of Warm Steamed Milk in my Toasty Coffee'. It's just brilliant, okay?

Here you can see my darling husband master-minding the cords. A brilliant little knot-hole in the piece of barn board affixed to the top of our mantle frame, helped run HDMIs and Optic cords perfectly!

Next we attached the TV wall bracket. Finally, an easy step.

A second coat of paint, and hanging the TV, along with screwing on the front board of the mantle frame box, finished the project. We are pretty pumped with the results.
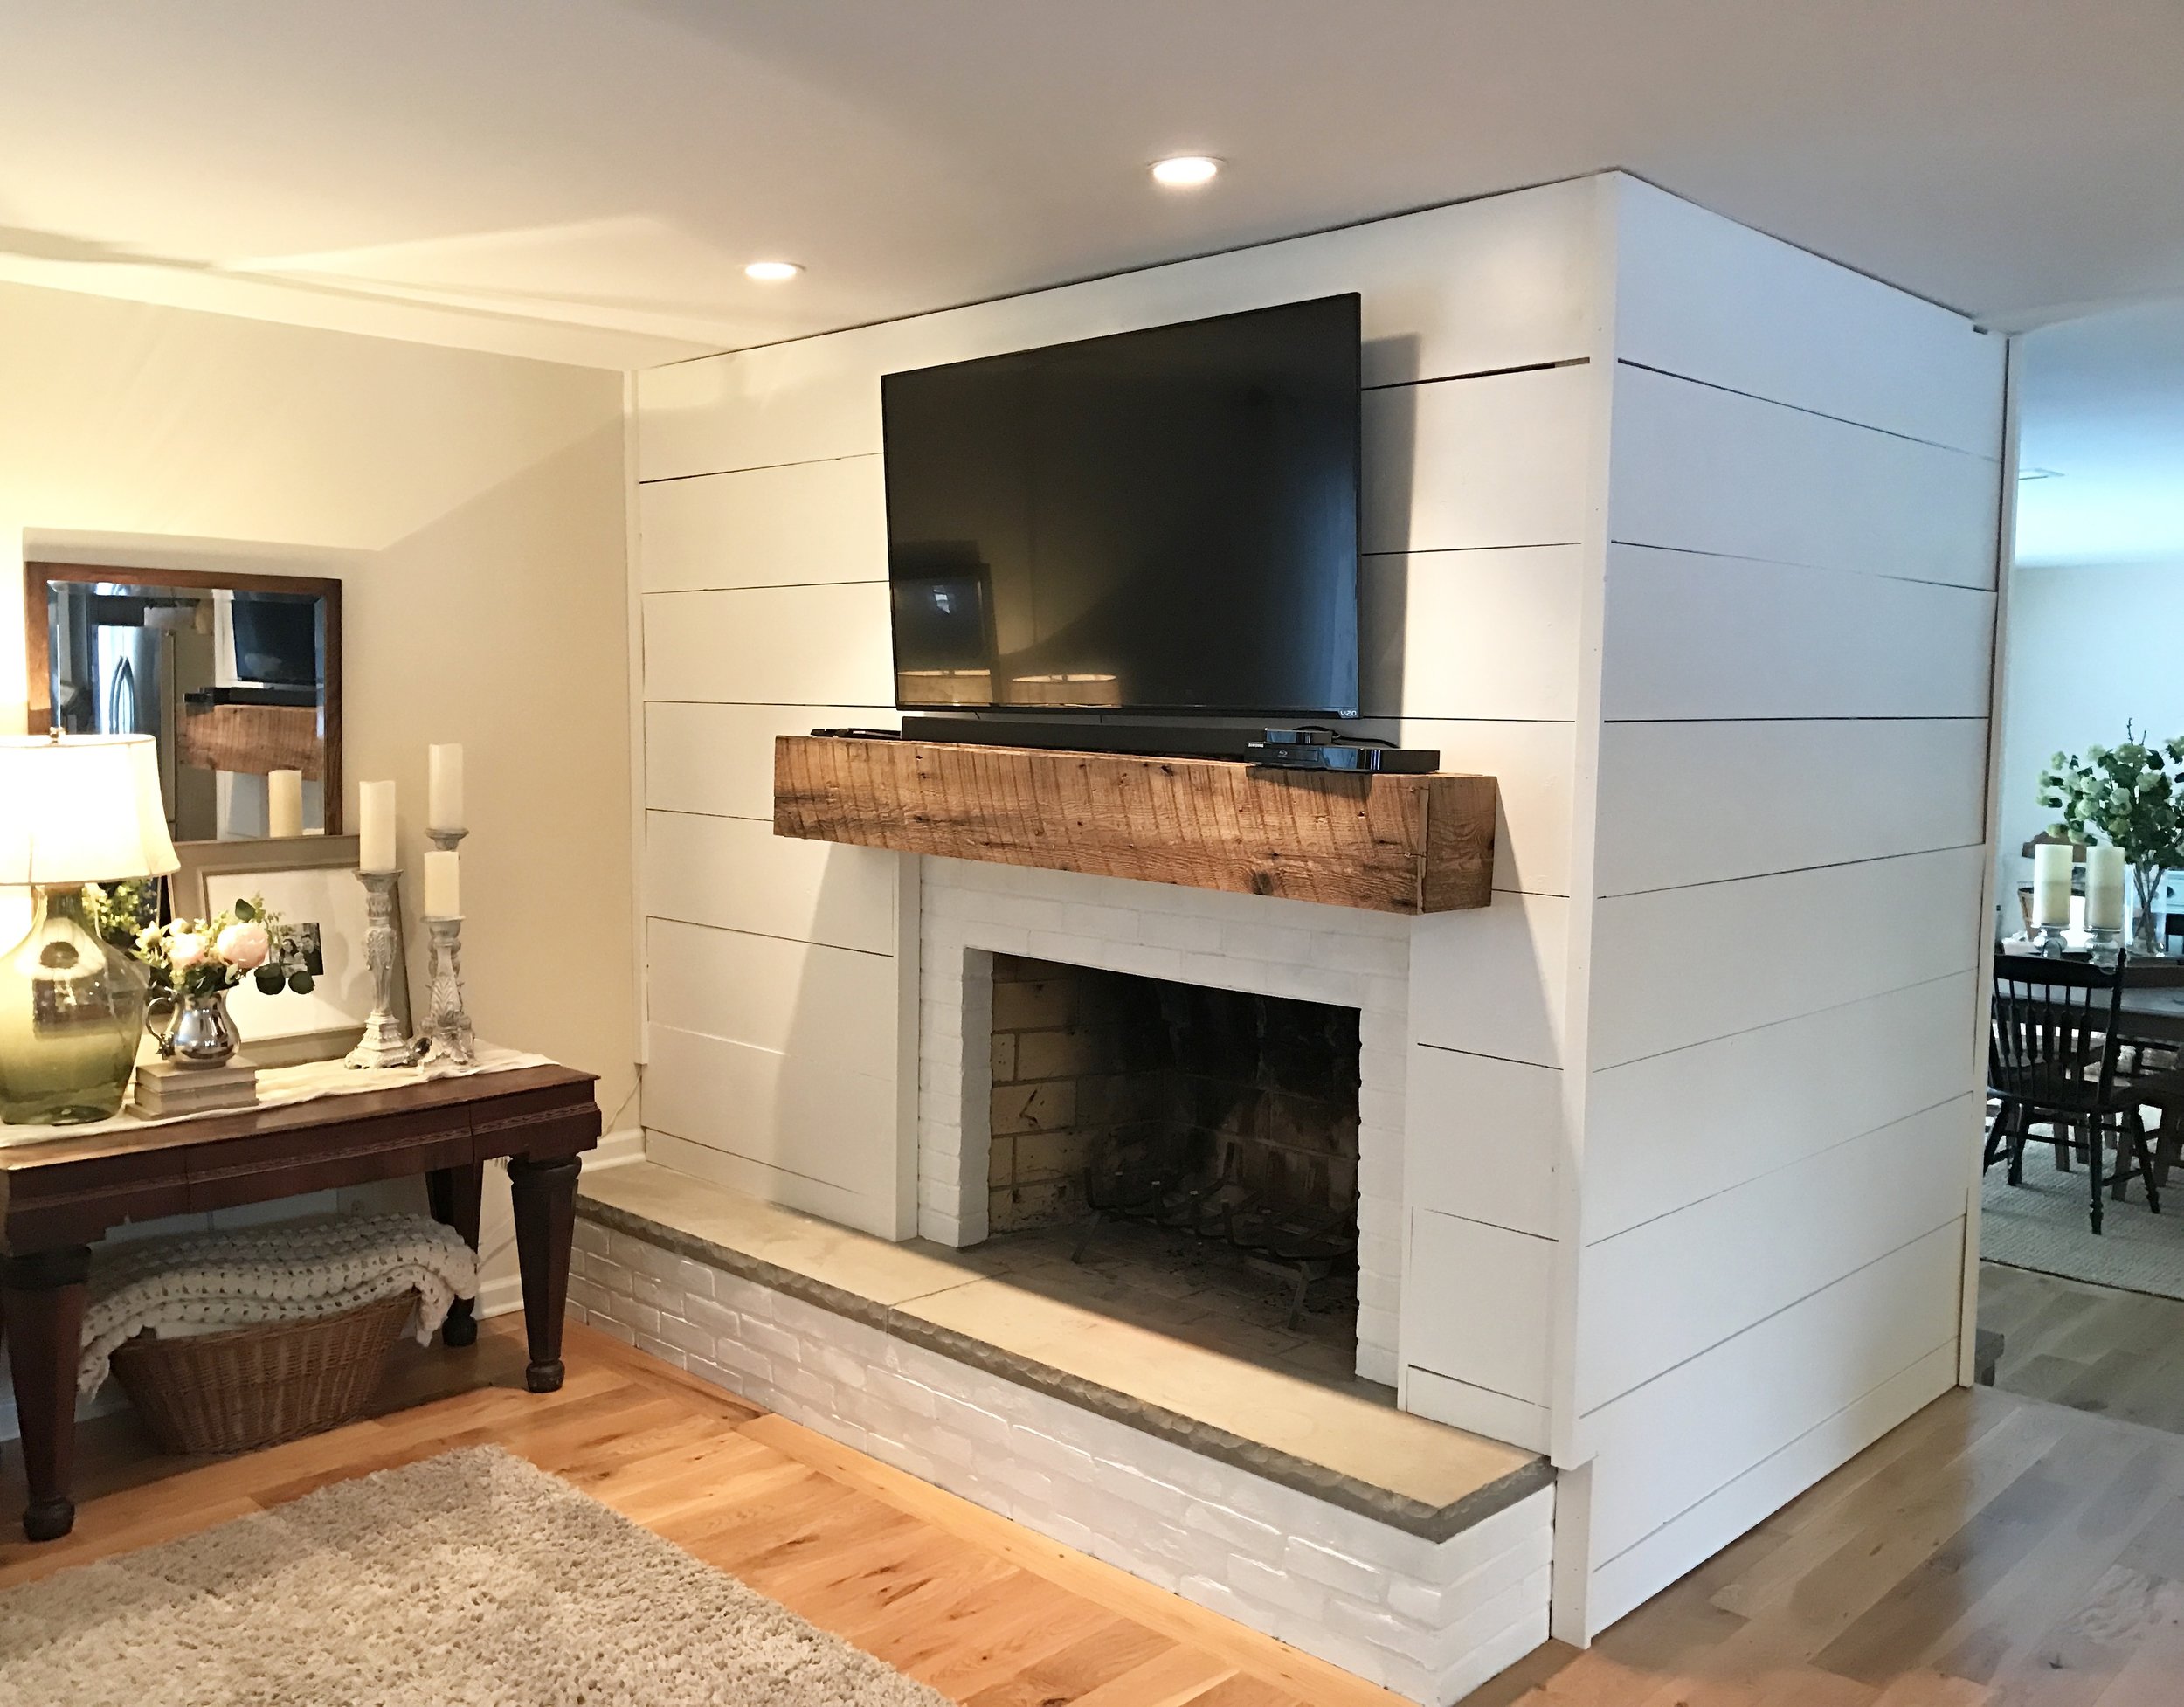

This project took about 8 hours. It cost $300, much cheaper then a furniture store TV entertainment center. We bought the lumber at Home Depot and already owned the can of paint, the barn wood, as well as the TV bracket and surge protector.
The results are pretty cozy!